Finished the Sarafina Fiber Art Frog Tutorial using the supply pack I purchased a while back. The kit is generous because it’s meant to provide enough fiber to create two frogs. Overall, this is a very good tutorial because you learn how to wet felt an animal skin (or pelt depending on the creature). But I had some issues with the design and construction of the frog.
You begin by building a wire armature. It felt a little off to me so I looked up frog skeletons. The shoulders seemed too high. And the back legs and feet appeared to be too short. If you are going to do this tutorial, I’d recommend that you look up frog skeletons, especially if you can find one that shows a sitting side view. I used this one and it helped me get a feel for how a frog’s body is constructed.
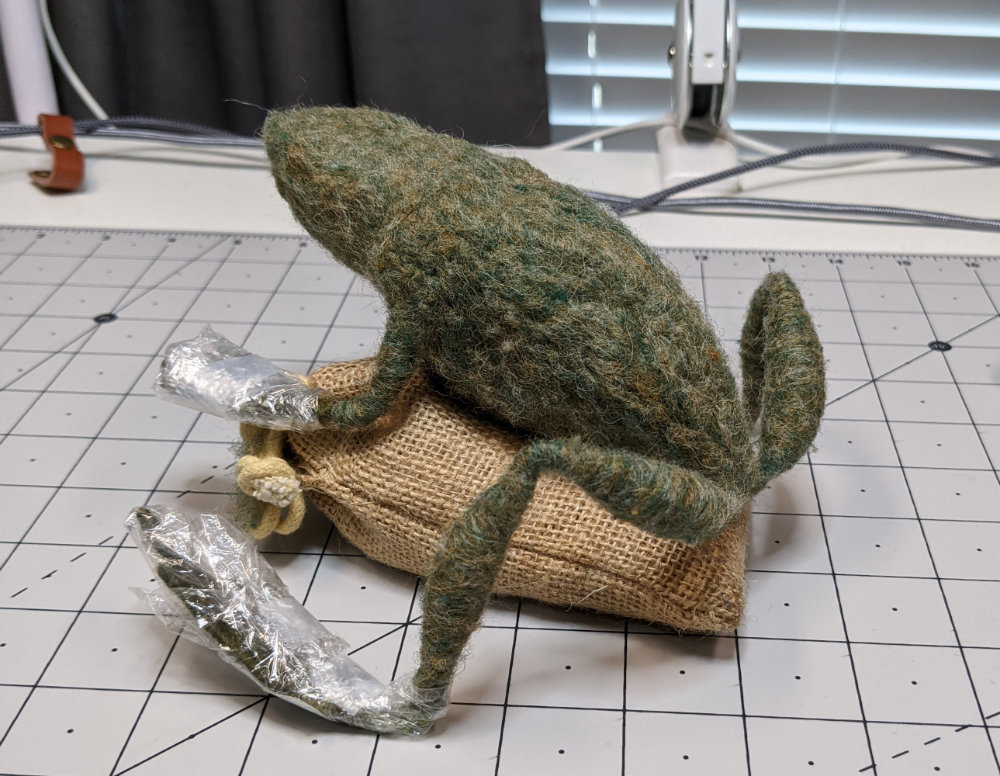
I made some adjustments to the armature and mine ended up looking like this.

Next you add core wool to the armature. and wrap the long, skinny toes. Since I increased the length of my frogs toes on the back feet, they were especially delicate to cover with wool. It took time and patience, but it’s excellent practice.
Once I got the wool on the toes, I covered the feet with plastic wrap. This helped keep the toes smooth versus getting fuzzy while I worked on the rest of the frog.
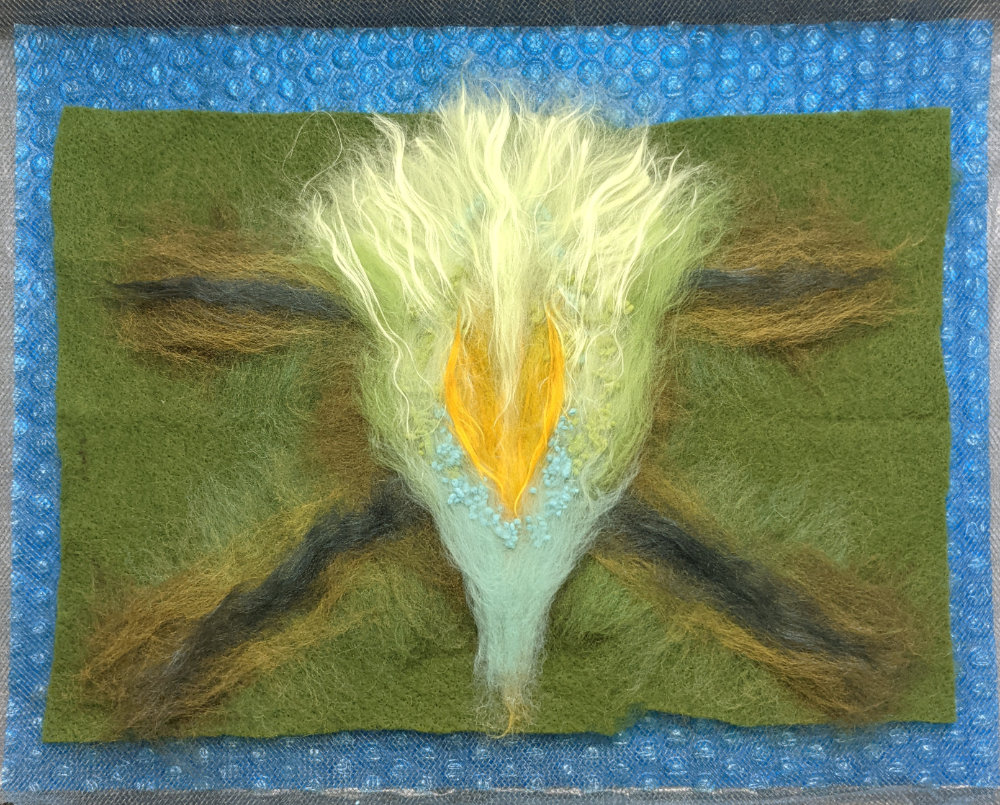
Then comes the fun part, laying out the design for the frog skin! I wanted to try all the different types of fiber in the supply pack but still have the wet felted piece fit the contours of the frog’s body. I knew the piece would shrink during felting but I wasn’t sure how much. Laying the design out a little bigger than the size I needed gave me a buffer. I also planned to have a light body and darker legs.
I had never used wool nepps before but I’d heard the horror stories. Sara gives you solid advice on working with nepps. Pay attention to what she says or your nepps may fall off. No one wants to lose their nepps!
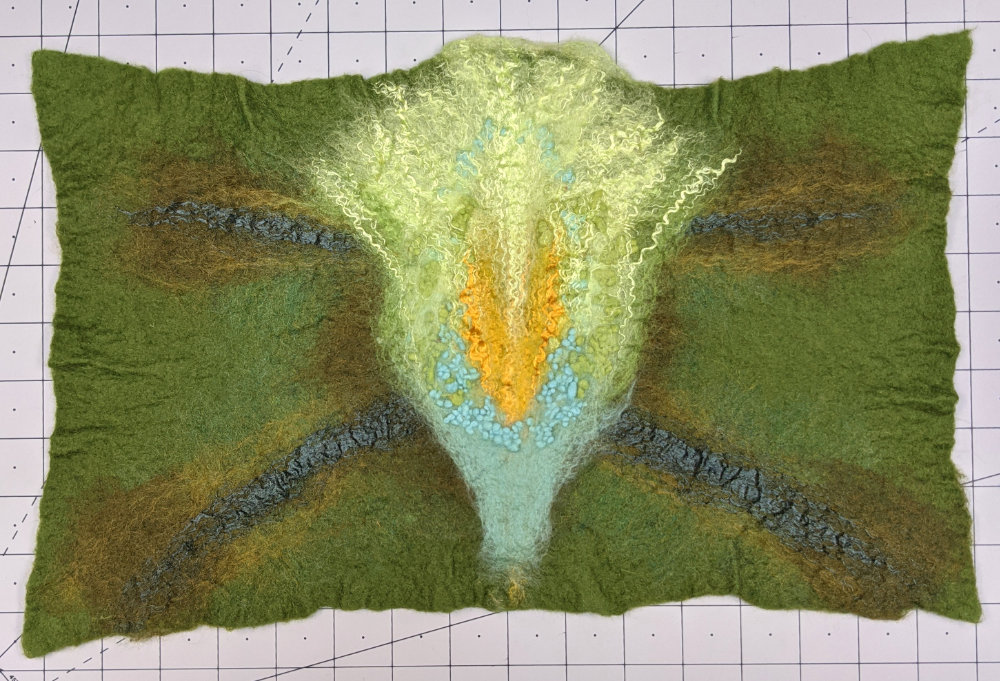
I’ve only done a little wet felting prior to this and it was super labor intensive. But since Sara has you start with a piece of pre-felted merino (genius idea!), you don’t have to work as hard to felt the fiber. It went surprisingly fast compared to my previous attempts. The hardest part was waiting for it to dry. When it dried, the silk made lustrous crimpy waves down the frogs back.
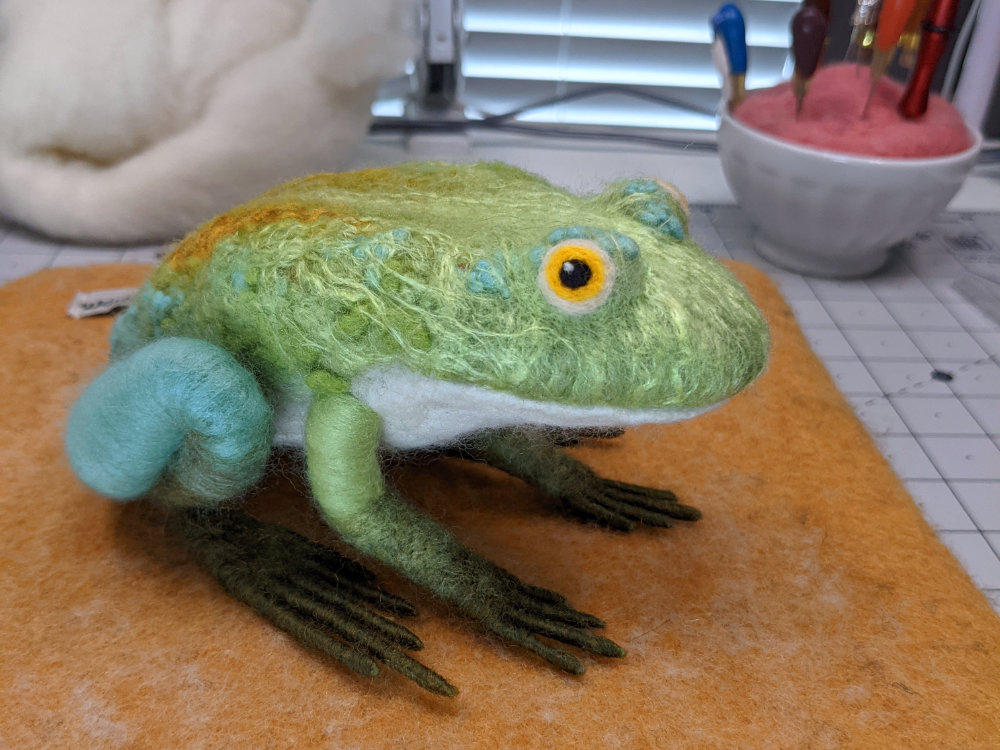
I tried the skin on the frog. It fit perfect! The nepps were also firmly attached. But I didn’t like the way the dark legs looked with the light body. I experimented with different ways to position them but none looked good.
Since I did this tutorial to learn how to wet felt a skin or pelt, I decided to just wrap the legs with leftover merino from the supply pack and call it done.
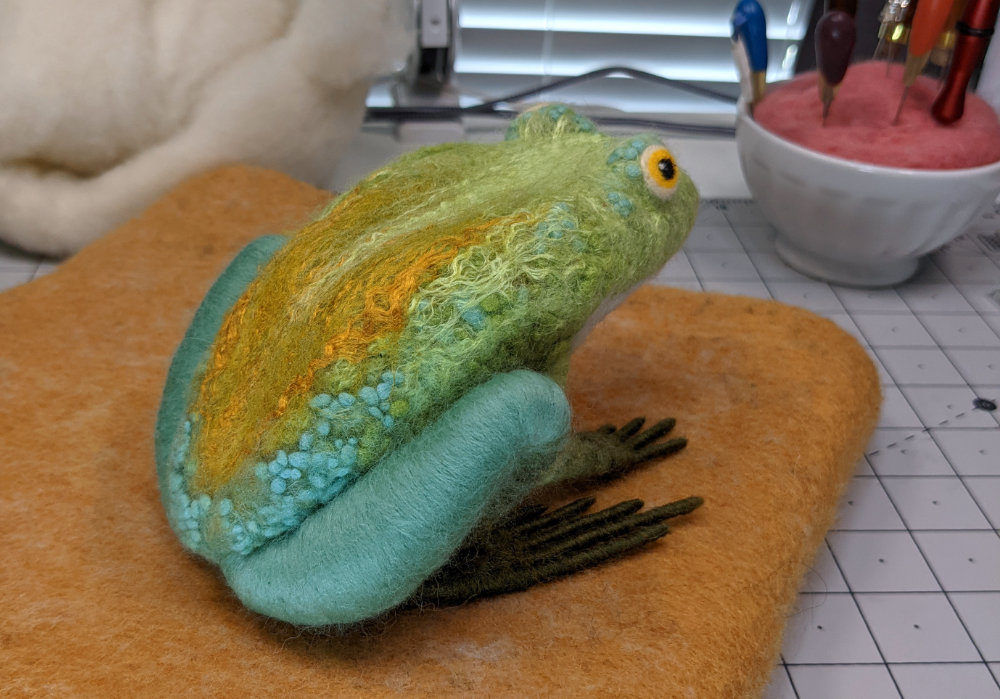
If I were making this frog to give as a gift, I would spend more time on the finishing. His legs need some love. I’d also add a brow over each eye, nostrils and that circular ear marking frogs have behind their eye.
As it is, I’m really happy with the frog’s body. I learned a lot and it sparked tons of ideas for future projects. Definitely recommend trying this technique!