Have you ever seen a fluffy, lifelike animal sculpture and wondered, “How was that made?” If so, you’ve probably stumbled upon the fascinating art of needle felting! As a needle felting artist specializing in bringing wildlife and livestock to life, I’m often asked about the basic principles behind this craft. That’s why I’ve created a new video series dedicated to answering your frequently asked questions.
Here’s the first FAQ in this series!
In this video, you’ll discover:
- The fundamentals of needle felting: Learn the basic techniques and what it takes to sculpt with wool.
- The surprising history: Uncover the origins of felting – from the ancient practice of wet felting to the industrial revolution’s impact on the process.
- A glimpse into the world of artistic needle felting: We’ll look at a truly influential book by Ayala Talpai and some of its projects to see how she helped popularize this craft.
- A quick demo: Watch as I walk you through the basics of felting with a single needle, demonstrating the technique in action.
- Inspiration: I’ll showcase some of my own finished sculptures and portraits to give you an idea of the amazing possibilities of needle felting.
Whether you’re a complete beginner, or simply curious about this technique, this video provides a great introduction. It’s a quick and easy way to understand the basic principles of this unique craft.
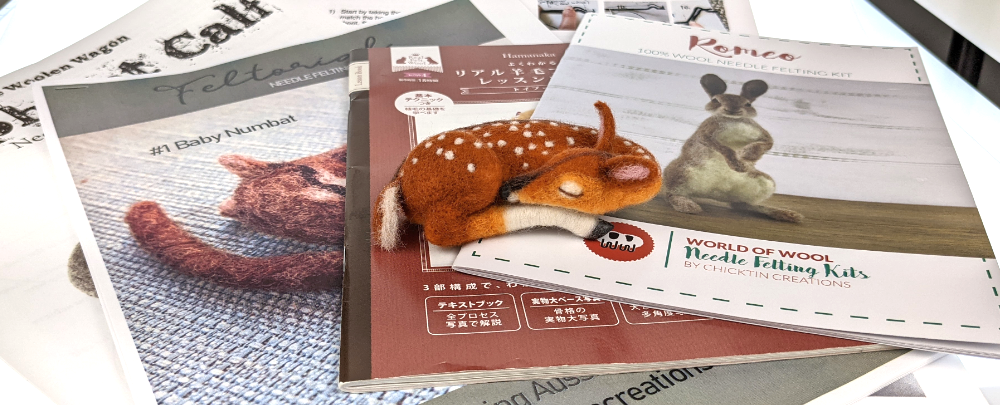
Tutorials for the needle felted animals shown in this video
My free tutorials are videos. Each of them include a free PDF pattern you can download, a list of tools, a list of supplies, and step-by-step instructions.
- Fennec Fox free video tutorial
- Barn Owl Ornament free video tutorial
- Baby Chick free video tutorial
- Rabbit Wool Painting created following a tutorial in Dani Ives Painting With Wool Course
Tools and supplies
I have included Amazon affiliate links for some of the items below. This means I may earn a small commission (at no extra cost to you) if you click through and make a purchase. Thank you in advance if you decide to support my work using these links. Doing so helps me continue to create content for you!
Tools used in this video
- Pink American Crafts Self Healing Cutting Mat, 18 x 24-Inch
- Small Woolbuddy Felting Mat
- 38 Star (Medium) Felting Needle
- Dritz Sewing Gauge
Supplies used in this video
- LivingFelt Cobweb Scarf Kit
- Off-White Chunky Core Wool
- Sarafina White wool roving (dyed with PAAS Neon 6 tablet Easter Egg Decorating Kit)
If you prefer to read rather than watch, here’s what I covered
Felting, in general, is the process of matting wool fibers together. But there are a couple of different ways to do it. The older method is called “wet felting.” This ancient craft has been around for centuries. To make wet felt, you use water, soap, and agitation to lock the fibers together. Think of the process of making a felted wool yurt, hat, slippers, or a scarf the one I shared in the video. I created it from a Living Felt kit and tutorial.
Needle felting, on the other hand, is a much more recent technique. Instead of water and soap, to agitate the wool, you use a special notched or barbed needle. With needle felting, we’re usually aiming for sculpted and detailed pieces. Needle felting gives you more control over the placement of the wool. This allows you to achieve effects that would be significantly more difficult using wet felting techniques.
A little history
This idea of using needles to felt wool wasn’t initially about art. In the 19th century, industrial machines were developed to mass-produce felt. These machines used countless needles working rapidly to create everything from carpets to industrial padding. So the concept has been around for a while but only recently became popular for artistic uses.
It wasn’t until much later that artists really began to explore this as an art form. One of the artists who helped push the craft forward was Ayala Talpai. In the year 2000, she released the book: “Felting Needle For Fiber Fanatics”.
This book amazes me. It clearly lays out the process of needle felting as a craft, making it accessible to anyone. Ayala included multiple projects to make and inspire, uses bamboo skewers as an armature in one project, and even discusses an idea for incorporating needle felting into wet felting. Best of all, the book included 4 felting needles to get you started. The needles in my book are 25 years old and they still look great!
The needle felting process
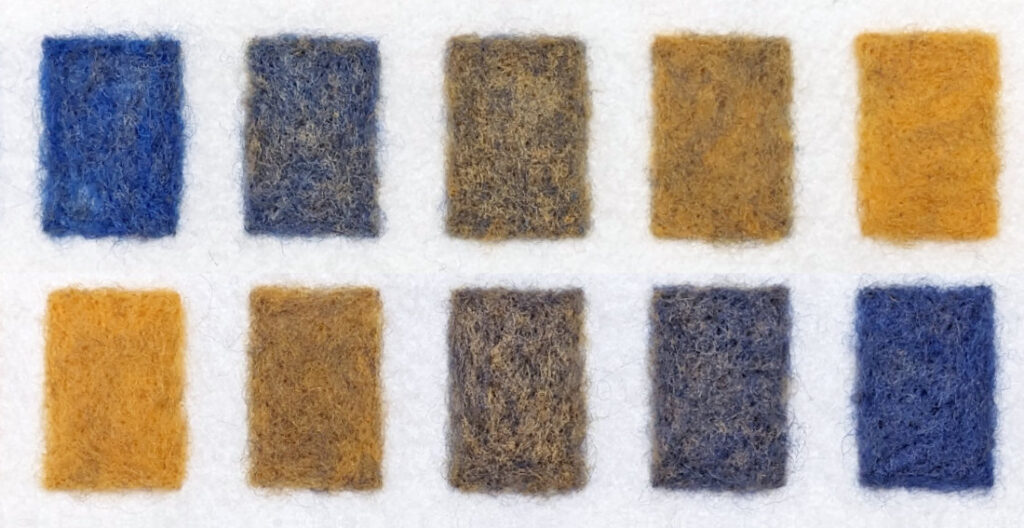
Now, let’s dive into how needle felting works. All you need is some wool, a felting mat to protect your table surface, and a needle. The needles are sharp, so you’ll want to be careful! In the video, I demonstrate how to take two colors of wool and felt them into a thick sheet. I layer the two colors on top of each other and repeatedly stab or insert the needle in and out of the wool. The wool quickly begins to compress.
The notches or barbs on the needle grab the fibers and pull them down, tangling them together with each poke. It is really important to keep the angle of needle the same as you move it in and out to avoid breaking it. The wool starts to condense and hold its new shape.
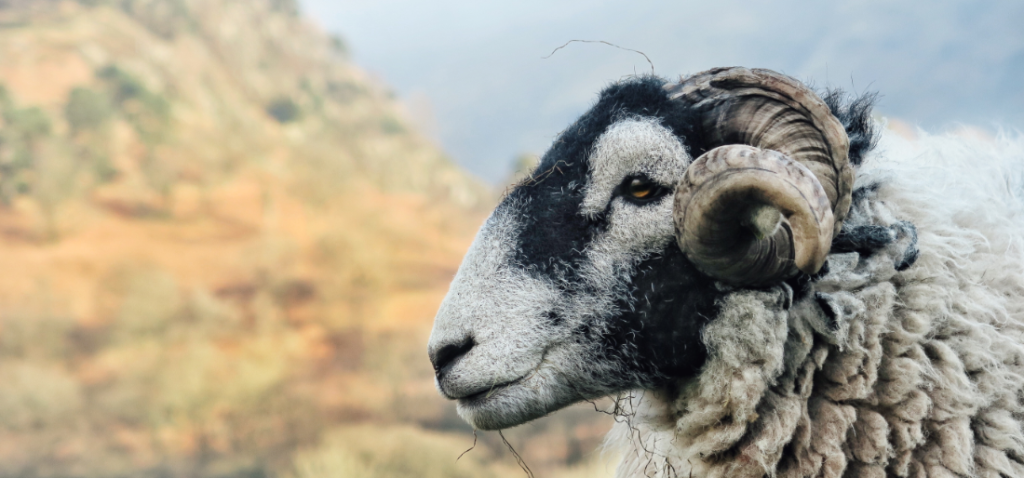
This is because wool fibers have a rough, craggy surface. This rough surface texture means wool fibers will catch and grab onto each other quickly, sort of like velcro. And they stay stuck.
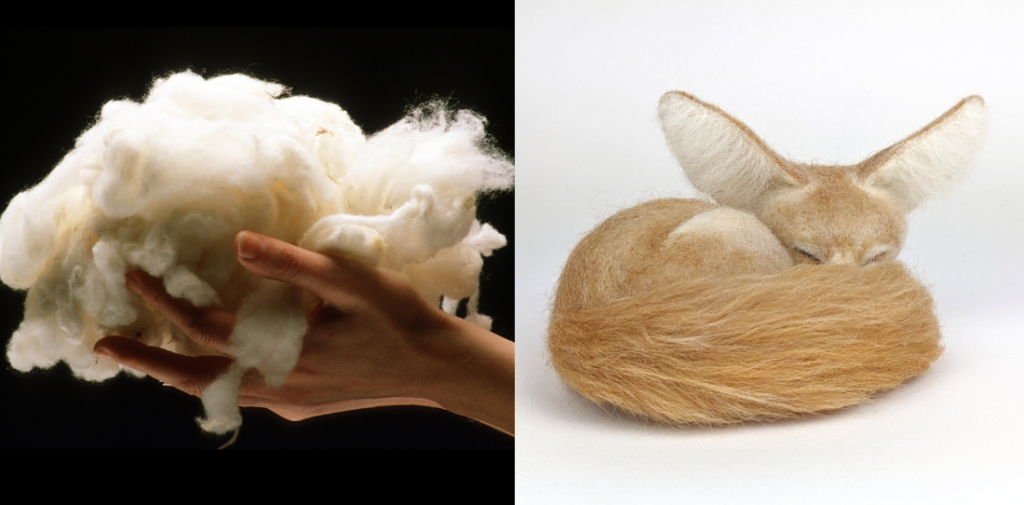
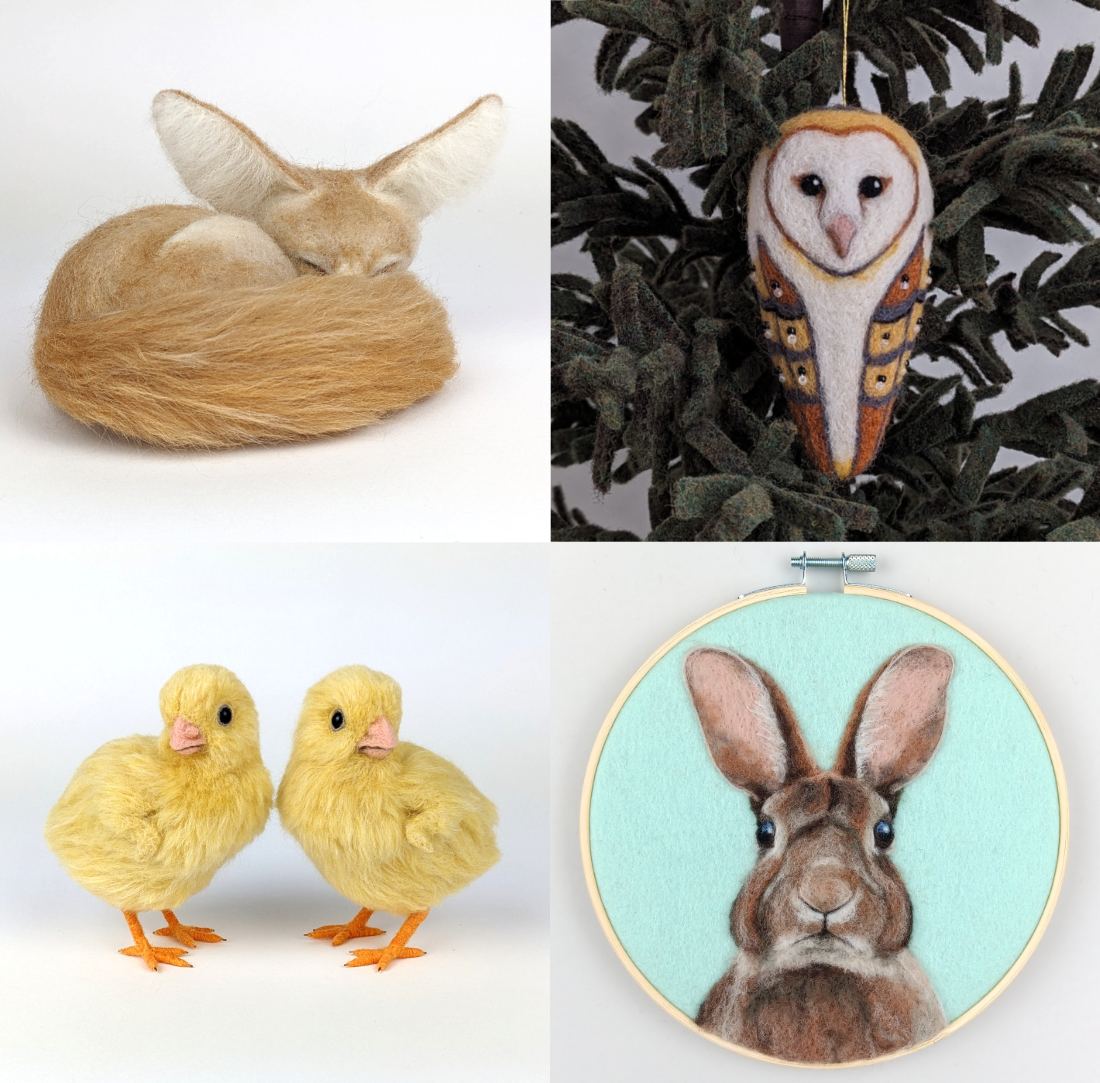
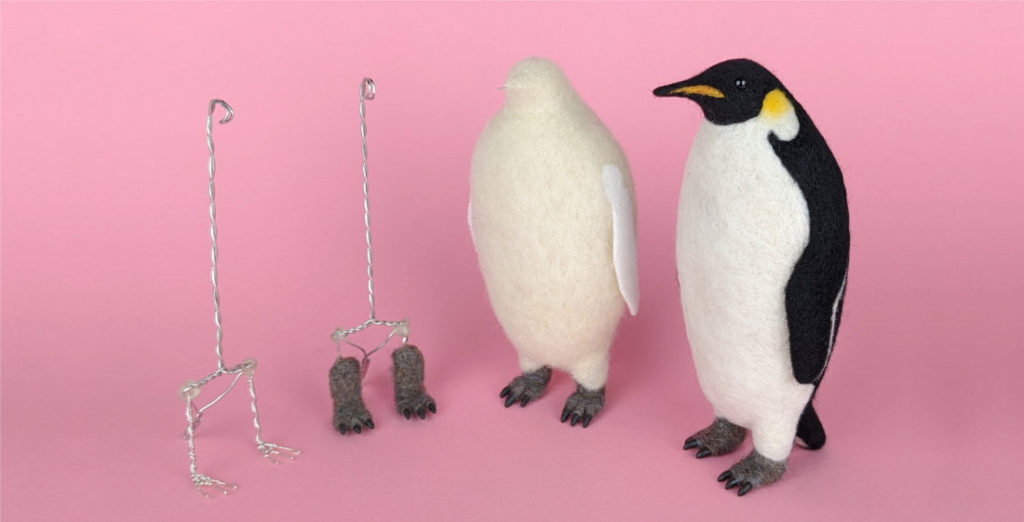
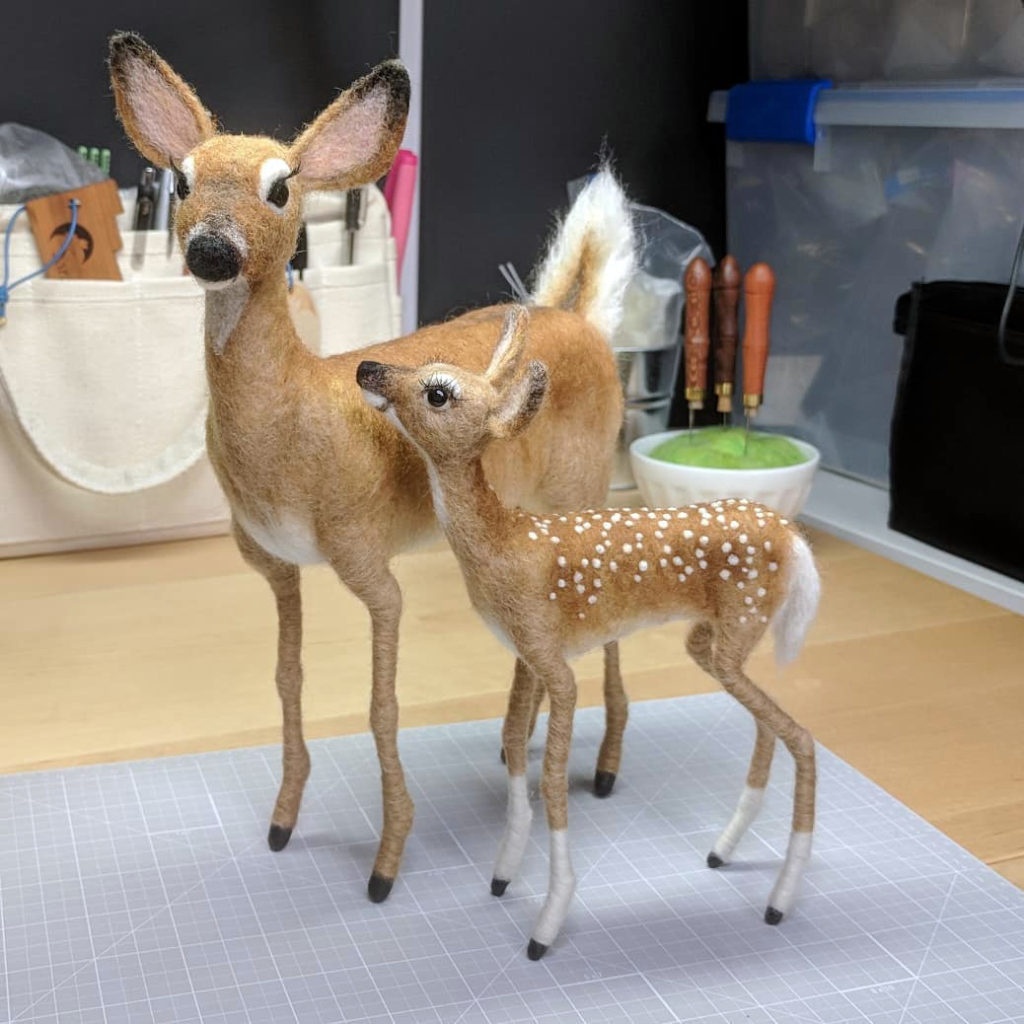
Needle felting takes a little time but I think that’s part of what makes it so relaxing. I shared a few pieces I’ve created: my Fennec Fox, Barn Owl Ornament, fluffy yellow Chick, and Rabbit Portrait. The rabbit is a piece I made following a tutorial in Dani Ives’ Painting with Wool Course. As you can see in the photo above, needle felting allows you to make almost anything. From realistic wildlife portraits to whimsical decorative ornaments, the possibilities are almost limitless!
Do you have any questions about needle felting? Is there another question that you want answered? Open the video on YouTube and leave a comment there. I’ll be answering your questions in upcoming videos!
Don’t forget to subscribe to my YouTube channel and bookmark this website so you don’t miss future tutorials and content!
The photos in the video are from the following photographers
- Video thumbnail photo of a handful of washed wool is by CSIRO, CC BY 3.0, via Wikimedia Commons. I edited and cropped the photo to only use the washed wool.
- Felt Yurt is by Alexandr frolov, CC BY-SA 4.0, via Wikimedia Commons. I cropped the photo.
- Women’s wool felt hat circa 1940’s is by Auckland Museum, CC BY 4.0, via Wikimedia Commons. I cropped the photo.
- Wool felt slippers is by Naturpuur, CC BY 4.0, via Wikimedia Commons. I cropped the photo.
- Illustration of 19th century English Powerloom Weaving is by the Illustrator T. Allom, Engraver J. Tingle, Public domain, via Wikimedia Commons.
- Carpet with felt base is from the Internet Archive Book Images, No restrictions, via Wikimedia Commons. I cropped the photo.
- 1898 Handbook for Architects and Builders is from Internet Archive Book Images, No restrictions, via Wikimedia Commons. I cropped the photo.
- Merino wool fiber and human hair is by CSIRO, CC BY 3.0, via Wikimedia Commons.


.jpg)
.jpg)
_(14762021385).jpg)
_(14776424041).jpg)