Anchor before you add detail – needle felting tip
It’s tempting to jump straight into the most interesting or emotional parts of a sculpture—the ears, markings, eyes, whiskers, or other distinctive features that bring an animal to life. Plus, those tend to be the most fun to work on! But if those details aren’t securely attached to a solid foundation, they can shift, distort, or even disappear as you continue working on the piece.
Save time and reduce frustration
I still struggle with rushing my pieces. An eye that looked fantastic would slowly sink too far into the head. Yes, you can add more wool over it and create another one. Or you can cut a body part out and try to reposition it. Sometimes that works. Other times it creates new problems. And let’s face it, it hurts to cover up work you are pleased with.
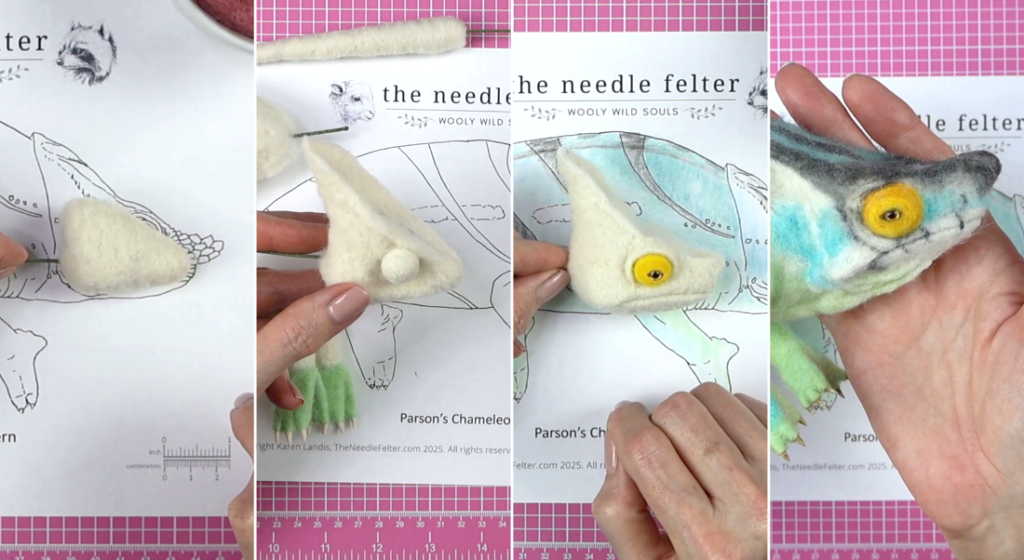
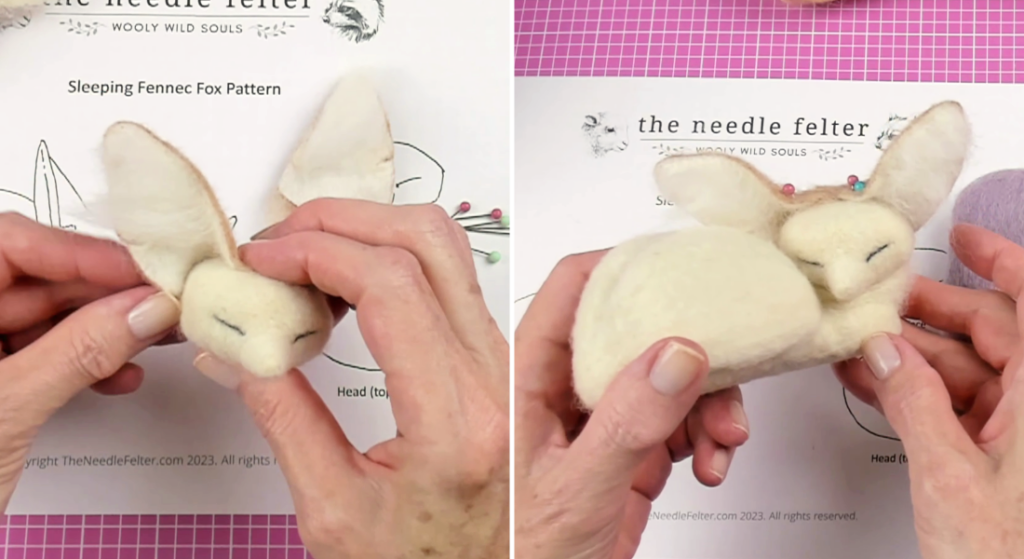
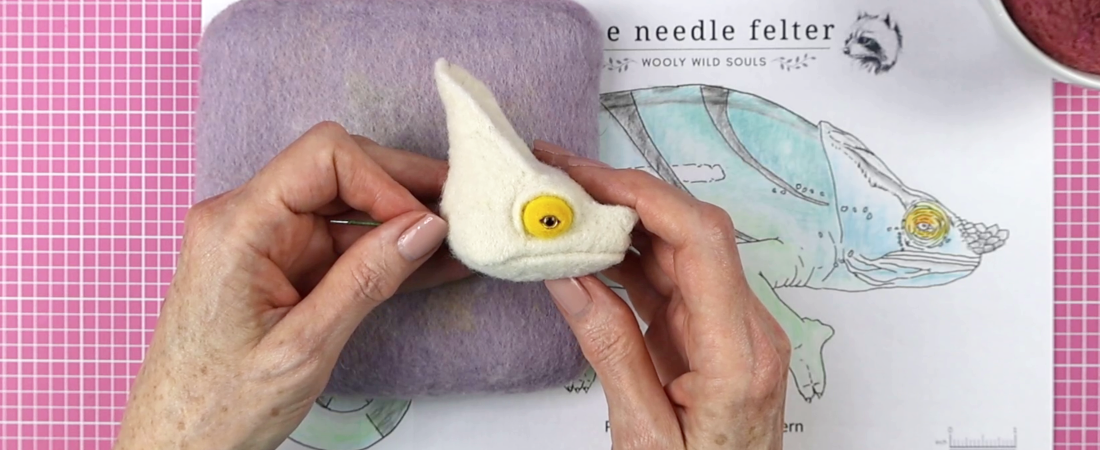
A firm foundation allows you to pin pieces in place as I did with the Fennec Fox ears above. You can also test the position of wired glass eyes by poking a hole in the wool and temporarily “setting” them. In the photo below, I poked the glass eyes for my Parson’s chameleon in the firm core base. This lets me double check the direction of their gaze. Since they are supported by a firm base, they don’t move unless I choose to move them.
So before adding details, make sure the underlying wool is firmly felted and the area is properly prepared. Whether you’re attaching an ear, adding a patch of color, or defining form, take the time to fasten the feature securely into the structure beneath it. A well-anchored detail will stay where you put it. And it will be easier to blend it more naturally into the surrounding areas.
Give yourself grace as you adapt
This approach may feel slower at first, but it saves time and frustration later. When your details are built on a stable foundation, they become easier to refine, easier to position accurately, and much more likely to hold their shape as the sculpture develops.
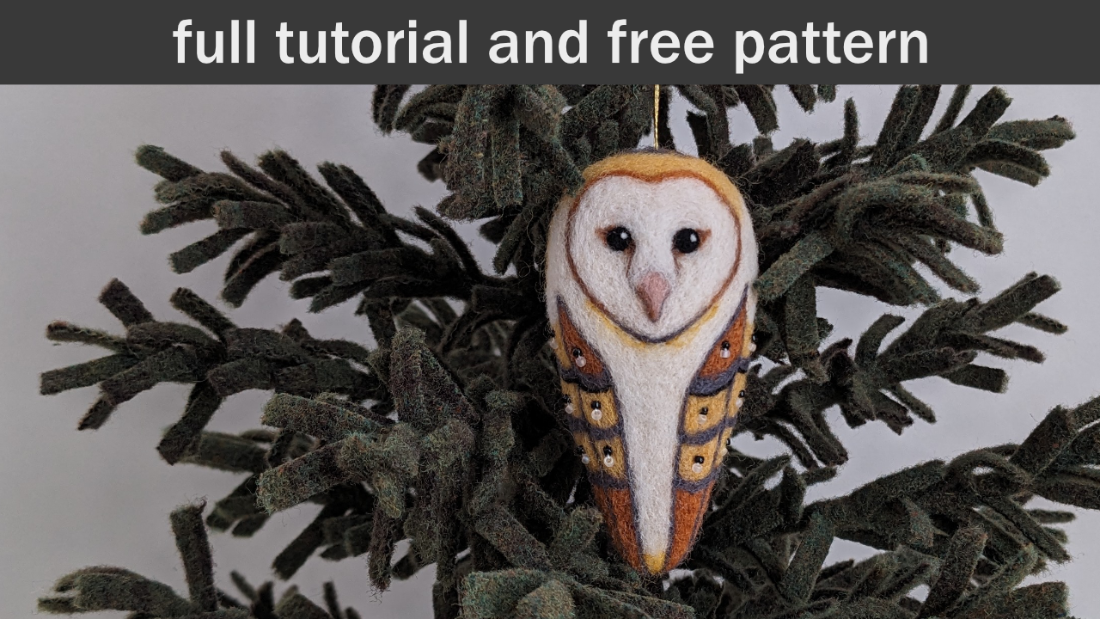
Watch my barn owl ornament video if you’d like to see this in action. I created a firm structure for a stylized owl before adding the detailed patterns and sewing seed beads on the body.