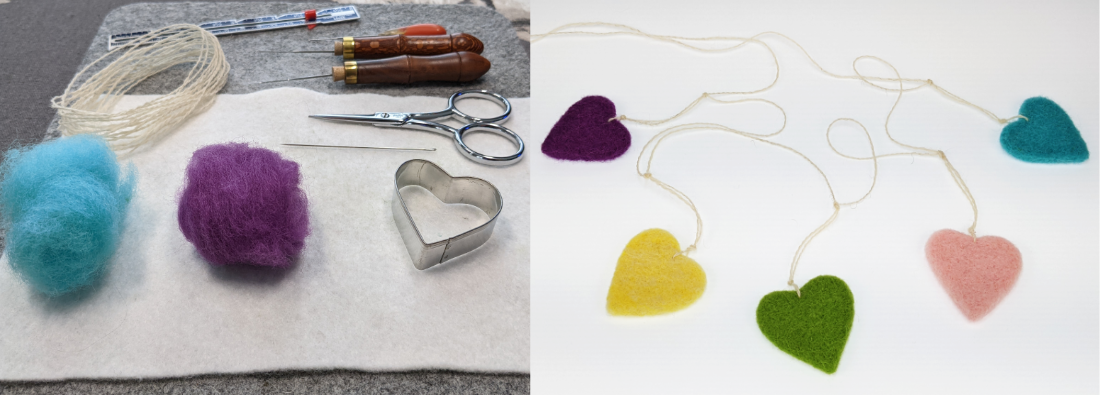
You’ve completed a few projects and now you have small amounts of leftover wool. What do you do with it? If you have a cookie cutter and some yarn, you can make a garland!
Using cookie cutters with wool can be challenging, but don’t worry. I’ll show you how to prepare and load both carded and combed wool into your cutter. Use my techniques to create consistently thick, even-edged pieces with a delightfully smooth surface.
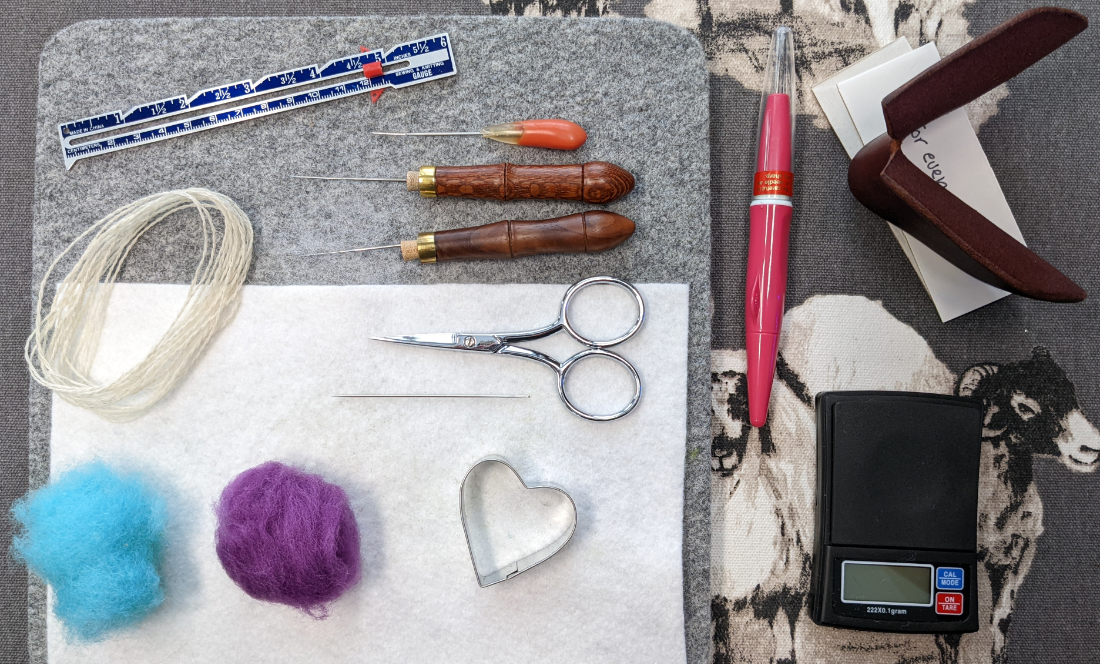
Here are the supplies I used to make the Heart Garland
I have included Amazon affiliate links for some of the items below. This means I may earn a small commission (at no extra cost to you) if you click through and make a purchase. Thank you in advance if you decide to support my work using these links. Doing so helps me continue to create content for you!
- Leftover wool in a variety of colors.
- It can be carded or combed top. How much you’ll need for each heart will depend on the size of your cookie cutter and how thick you’d like to make your hearts. I used 1.1 grams (.04 oz) of wool per heart. I figured this out by making one heart and weighing it. Then I just looked for colors I had at least that amount of.
- A small heart shaped cookie cutter – mine is 1 3/4 “ by 1 3/4 “ by about 1/2″ thick
- Flat stabbing surface
- Felted sheet at least double the size of your cookie cutter
- Felting needles – I used a 36 star and 40 star
- Thin yarn – I used DK weight Lonk wool yarn from Project Lonk
- Embroidery needle big enough to thread your yarn through
- Sewing Gauge or Clear Ruler
- Embroidery scissors
- Small scale (optional)
- Clover Pen Tool with fine needles (optional)
- Sarafina Fiber Art Grab and Stab Finger Protector or 2 rectangles cut out of cardboard (optional)
How to make the Heart Garland
- Lay your felted sheet over your stabbing surface and place the cookie cutter on top.
- Pull or tear your wool apart. Carded wool can be used as is. If you use combed top tear it up (I show you how in the video). You could also card it using hand carders or dog brushes. Layer the wool into your cookie cutter.
- Place the fibers into the cookie cutter in different directions to create a disorganized layer. Pay attention to edges so they aren’t too thin. Let the edges hang slightly over the edge of the cookie cutter.
- Start felting with 36 or coarse needle. Don’t stab deep. Go around the cutter, then into center and spend a little time on the edges.
- Keeping a finger or two on the cookie cutter, slowly lift the felted sheet away from the mat. Flip the cookie cutter and felted sheet over. Slowly peel the sheet away from the wool inside the cookie cutter.
- Repeat needle felting the heart again using a 36 needle. This time pay a little more attention to the edges. Lift the sheet and cookie cutter, flip them and peel the sheet off the wool. It should be easier to peel away now.
- Felt the heart again with the 36 needle. Flip and felt with the 36 needle one more time. You should have felted each side twice now.
- Flip the cookie cutter again. This time felt the wool with a finer needle. I used a 40 star. Try not to stab into your mat at all. Focus on the heart. Felt as close to the edges as you can. Lift, flip and peel. Felt once more with the 38 or 40 and pay extra attention to the edges.
- Remove you heart from the cookie cutter.
- Hold your heart in the Grab and Stab or between two cardboard rectangles. Lightly felt the edges of the heart with the 40 star needle to give them a cleaner finish. Felt all the way around the heart.
- Trim any stray fibers with a small pair of scissors. Your heart is complete!
- If this was your first heart, weigh it if possible. That will tell you how much wool to use for each additional heart. Using the same amount of wool for each heart will make it super easy to create consistently sized pieces that are the same thickness.
- Lay out your finished hearts to figure out the order you’d like to place them in.
- Determine the distance you want between each heart and how far you want them to drop down from the garland.
- Cut a length of yarn about twice the length that you’d like your garland to be. Thread the yarn into your needle, poke the needle through the heart and and tie your knots. (I tied a knot about a half inch from my needle hole and then a second knot two inches from the first one. I placed six inches of yarn between each heart drop.)
- Repeat until you’ve strung all your hearts on your garland. Knot each end of the garland and it’s ready to use!
You could add ribbon bows or buttons to the hearts. You could also layer two hearts and make a reversible garland or include other cookie cutter shapes to mix things up.
I hope this was helpful. If you have any questions or comments, leave them below! And I’d love to see your garland if you make one. Post yours on Instagram or Pinterest and let me know!
Last Updated on April 2, 2024


 Unlock the Secret to Stable Needle Felted Animals! (FAQ #11)
  How to design realistic needle felted animals (FAQ #10)
 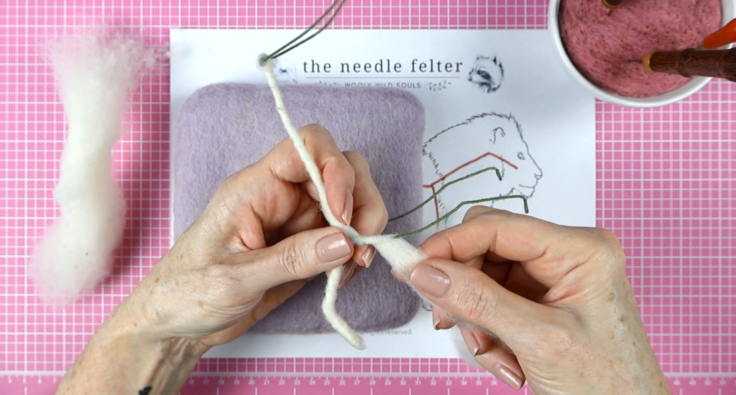 Ditch the chenille stems! The BEST way to wrap your armatures (FAQ #9)
 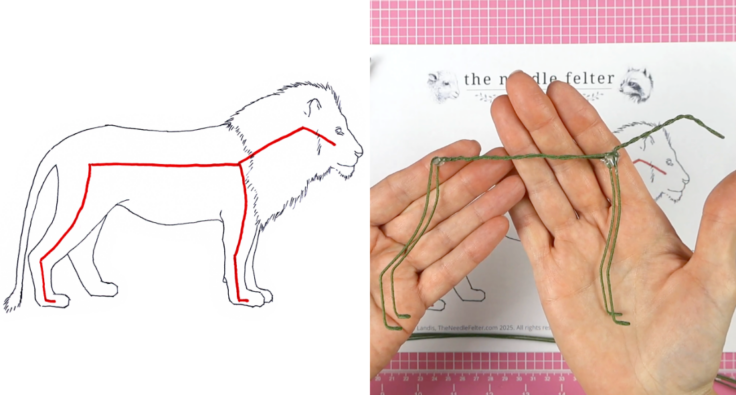 Armatures for felted animals + Lion Project kickoff! (FAQ #8)