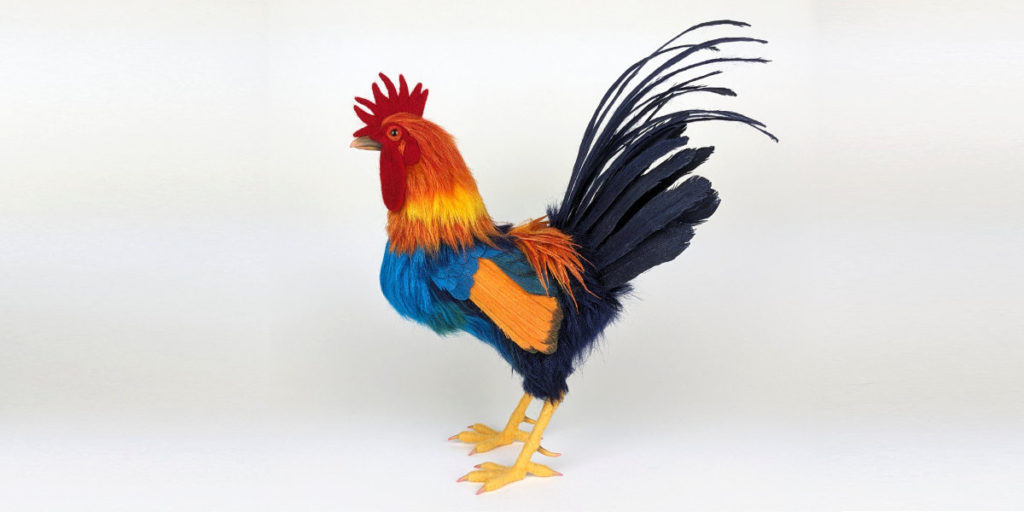
I recently finished the Rise and Shine Felted Rooster tutorial by Irina Hughes. It is available at FeltingTutorials.com.
Why I chose this tutorial
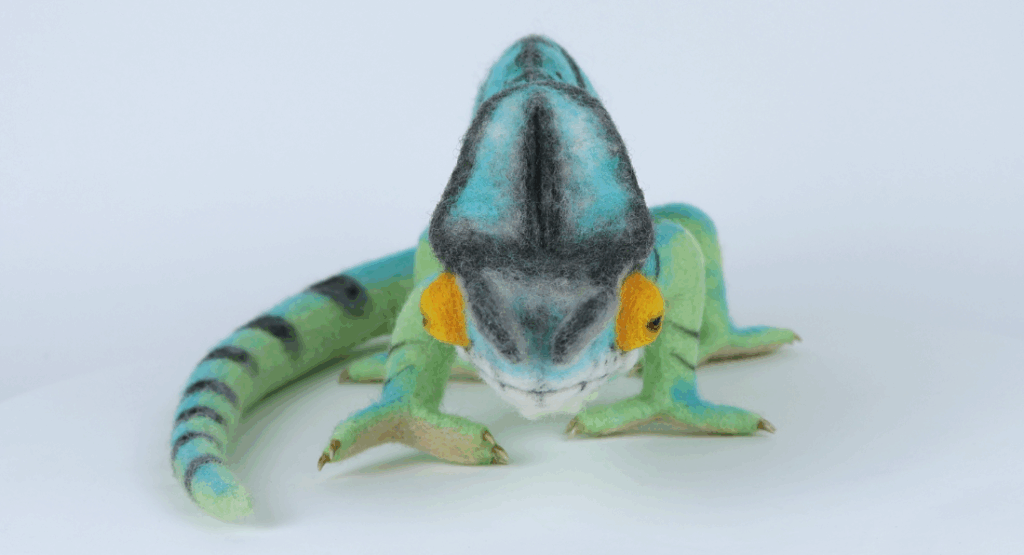
I’ve admired Irina’s work for a long time, especially her pelican and elephants. Creating lifelike animals in dynamic poses is not easy. Irina is a master at it. I also chose this rooster tutorial because I’m interested in exploring different approaches to making feathers out of fiber. It is a project for intermediate to advanced felters.
I created a video recapping my experience and sharing how I solved a few problems I ran into.
The price of this course is $175. You can purchase a companion supply kit from Living Felt for $49.95. While I enjoyed this project, I think the tutorial is overpriced for what you receive. I would expect a course with multiple projects, not just one. That said, Felting Tutorials does have sales. The Rise and Shine Rooster tutorial was recently on sale for $39 dollars. You might consider waiting for a sale to grab it when it is more affordable.
Getting started on the armature and core
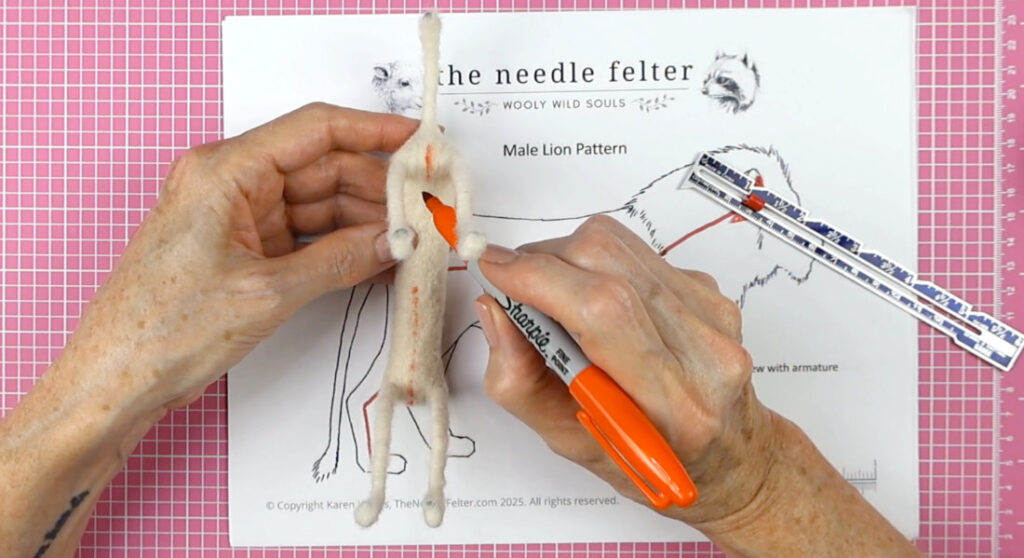
If you’ve made wire armatures before, the armature is fairly easy to make. I like a strong armature and this one is sturdy. I looked at reference photos of roosters and decided to slightly extend the length of the leg section above the foot. I think it will make the rooster look a little more regal. We’ll see.
You bake the claws on a scrap piece of wire, pull them off, and then glue them to the armature. I was worried that they might crack or break during the pulling off process. So I made four extra claws but I didn’t need them. I also decided to add clay spurs (the claws on the back of a rooster’s leg).
Irina uses batting to wrap the toes. I’ve never done that before. I guess since I learned to use combed top because it gives you a smooth toe, I thought that was best. But, combed top also gives you that striated or obviously wrapped look. The batting looks more seamless and is actually not that hard to use. For a beginner, it may be harder because with batting, you have to pay close attention to your drafting and tension. But I’d recommend trying the batting for toes. I’m a convert to it now!
I almost always enjoy building up core wool to create a sculpture. Irina included a very useful anatomical pattern of a rooster’s muscles. It helped with both proportion and structure. And of course, I looked at reference photos of real roosters. My rooster might be a little on the thin side. But he’s nice and tall.
Adding details and making 170 feathers!
I had so much fun making the rooster’s comb that I couldn’t stop myself from making it a little taller than shown. I debated going even larger but restrained myself.
The glass eyes in the kit are good quality but one pupil was noticeably larger than the other. They would have given the rooster a wonky expression. Luckily, I found some glass eyes about the same size in my stash. I painted the back of a reddish brown pair with gold metallic nail polish to give them some sparkle.
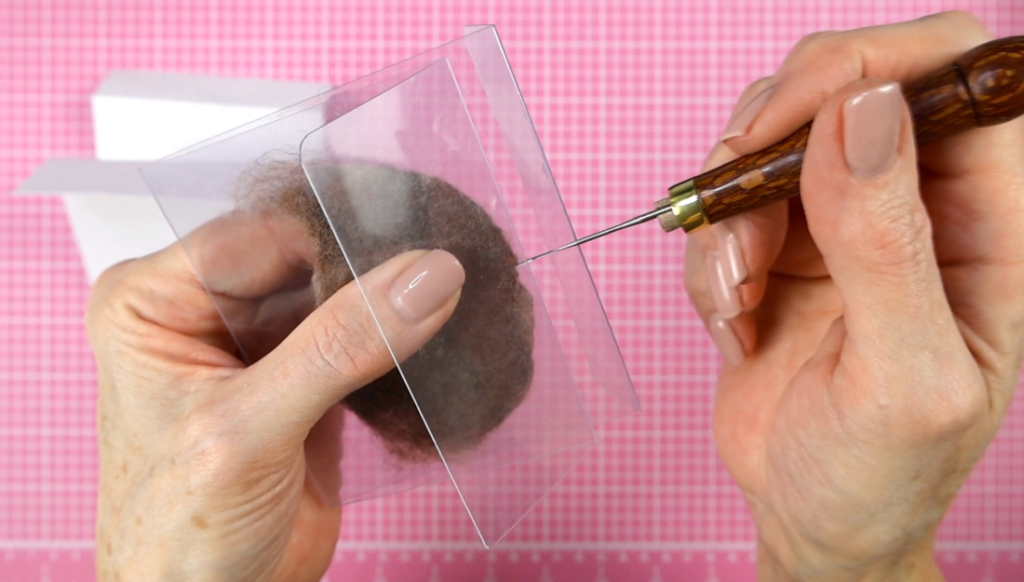
Making the feathers is fairly easy but it does take a while to get the hang of. And it’s a messy process. I’m not going to reveal how they are made because that is an important part of the tutorial and quite frankly, why I was willing to pay for it. While it took me a while to get comfortable using this new technique, I love it. I’d recommend making a few sacrificial feathers to learn on.
I started by making the dark blue tail feathers. I ran out of the fiber included in the kit. Maybe I made the feathers too thick? I’m not sure. But I definitely needed more of that color. Luckily it is a DHG fiber and I had some of the same color in my stash.
I ended up making 170 total feathers in a variety of sizes and shapes. Some of the feathers have a wire shaft to help them hold their final position.
Attaching the feathers and finishing
When gluing in the tail feathers, Irina used Super Glue. I’m just not a huge fan of that glue for something like the tail feathers. I don’t like the smell and it’s difficult to remove if you get it on your skin. I substituted E6000 glue. The downside with that is you should let cure for 24 hours. It added some extra time to the project. Here are photos of the rooster balanced on the edge of my craft tails so the glue on his tail feathers could dry.
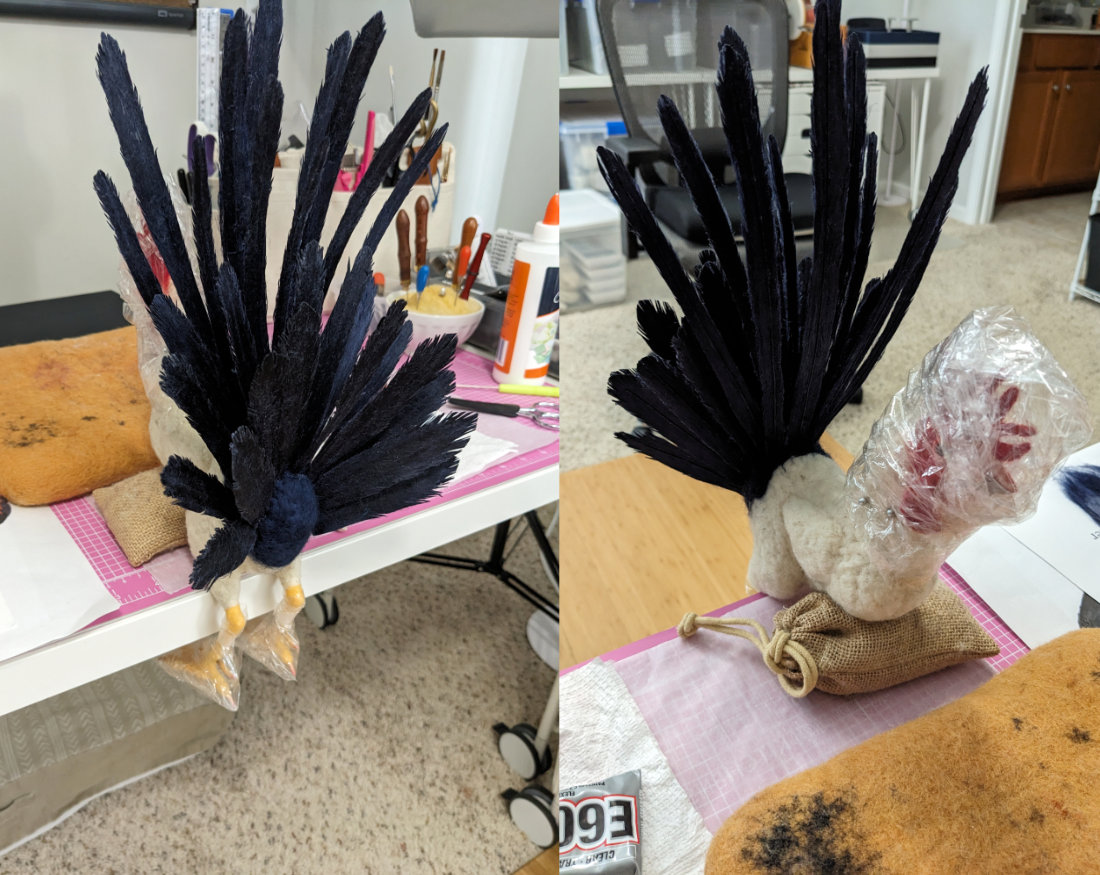
I had added a few extra feathers to the tail. I think it made it too heavy for the rooster to stand safely. He was out of balance. I decided his chest needed a weight inserted. I made a small pouch out of muslin and filled it with about 1 1/2 teaspoons of steel shot. I cut the chest open, added the pouch and filled the slice in with core wool. That did the trick!
Out of the 170 feathers I made, I used 149. The 21 leftovers were mostly the small ones.
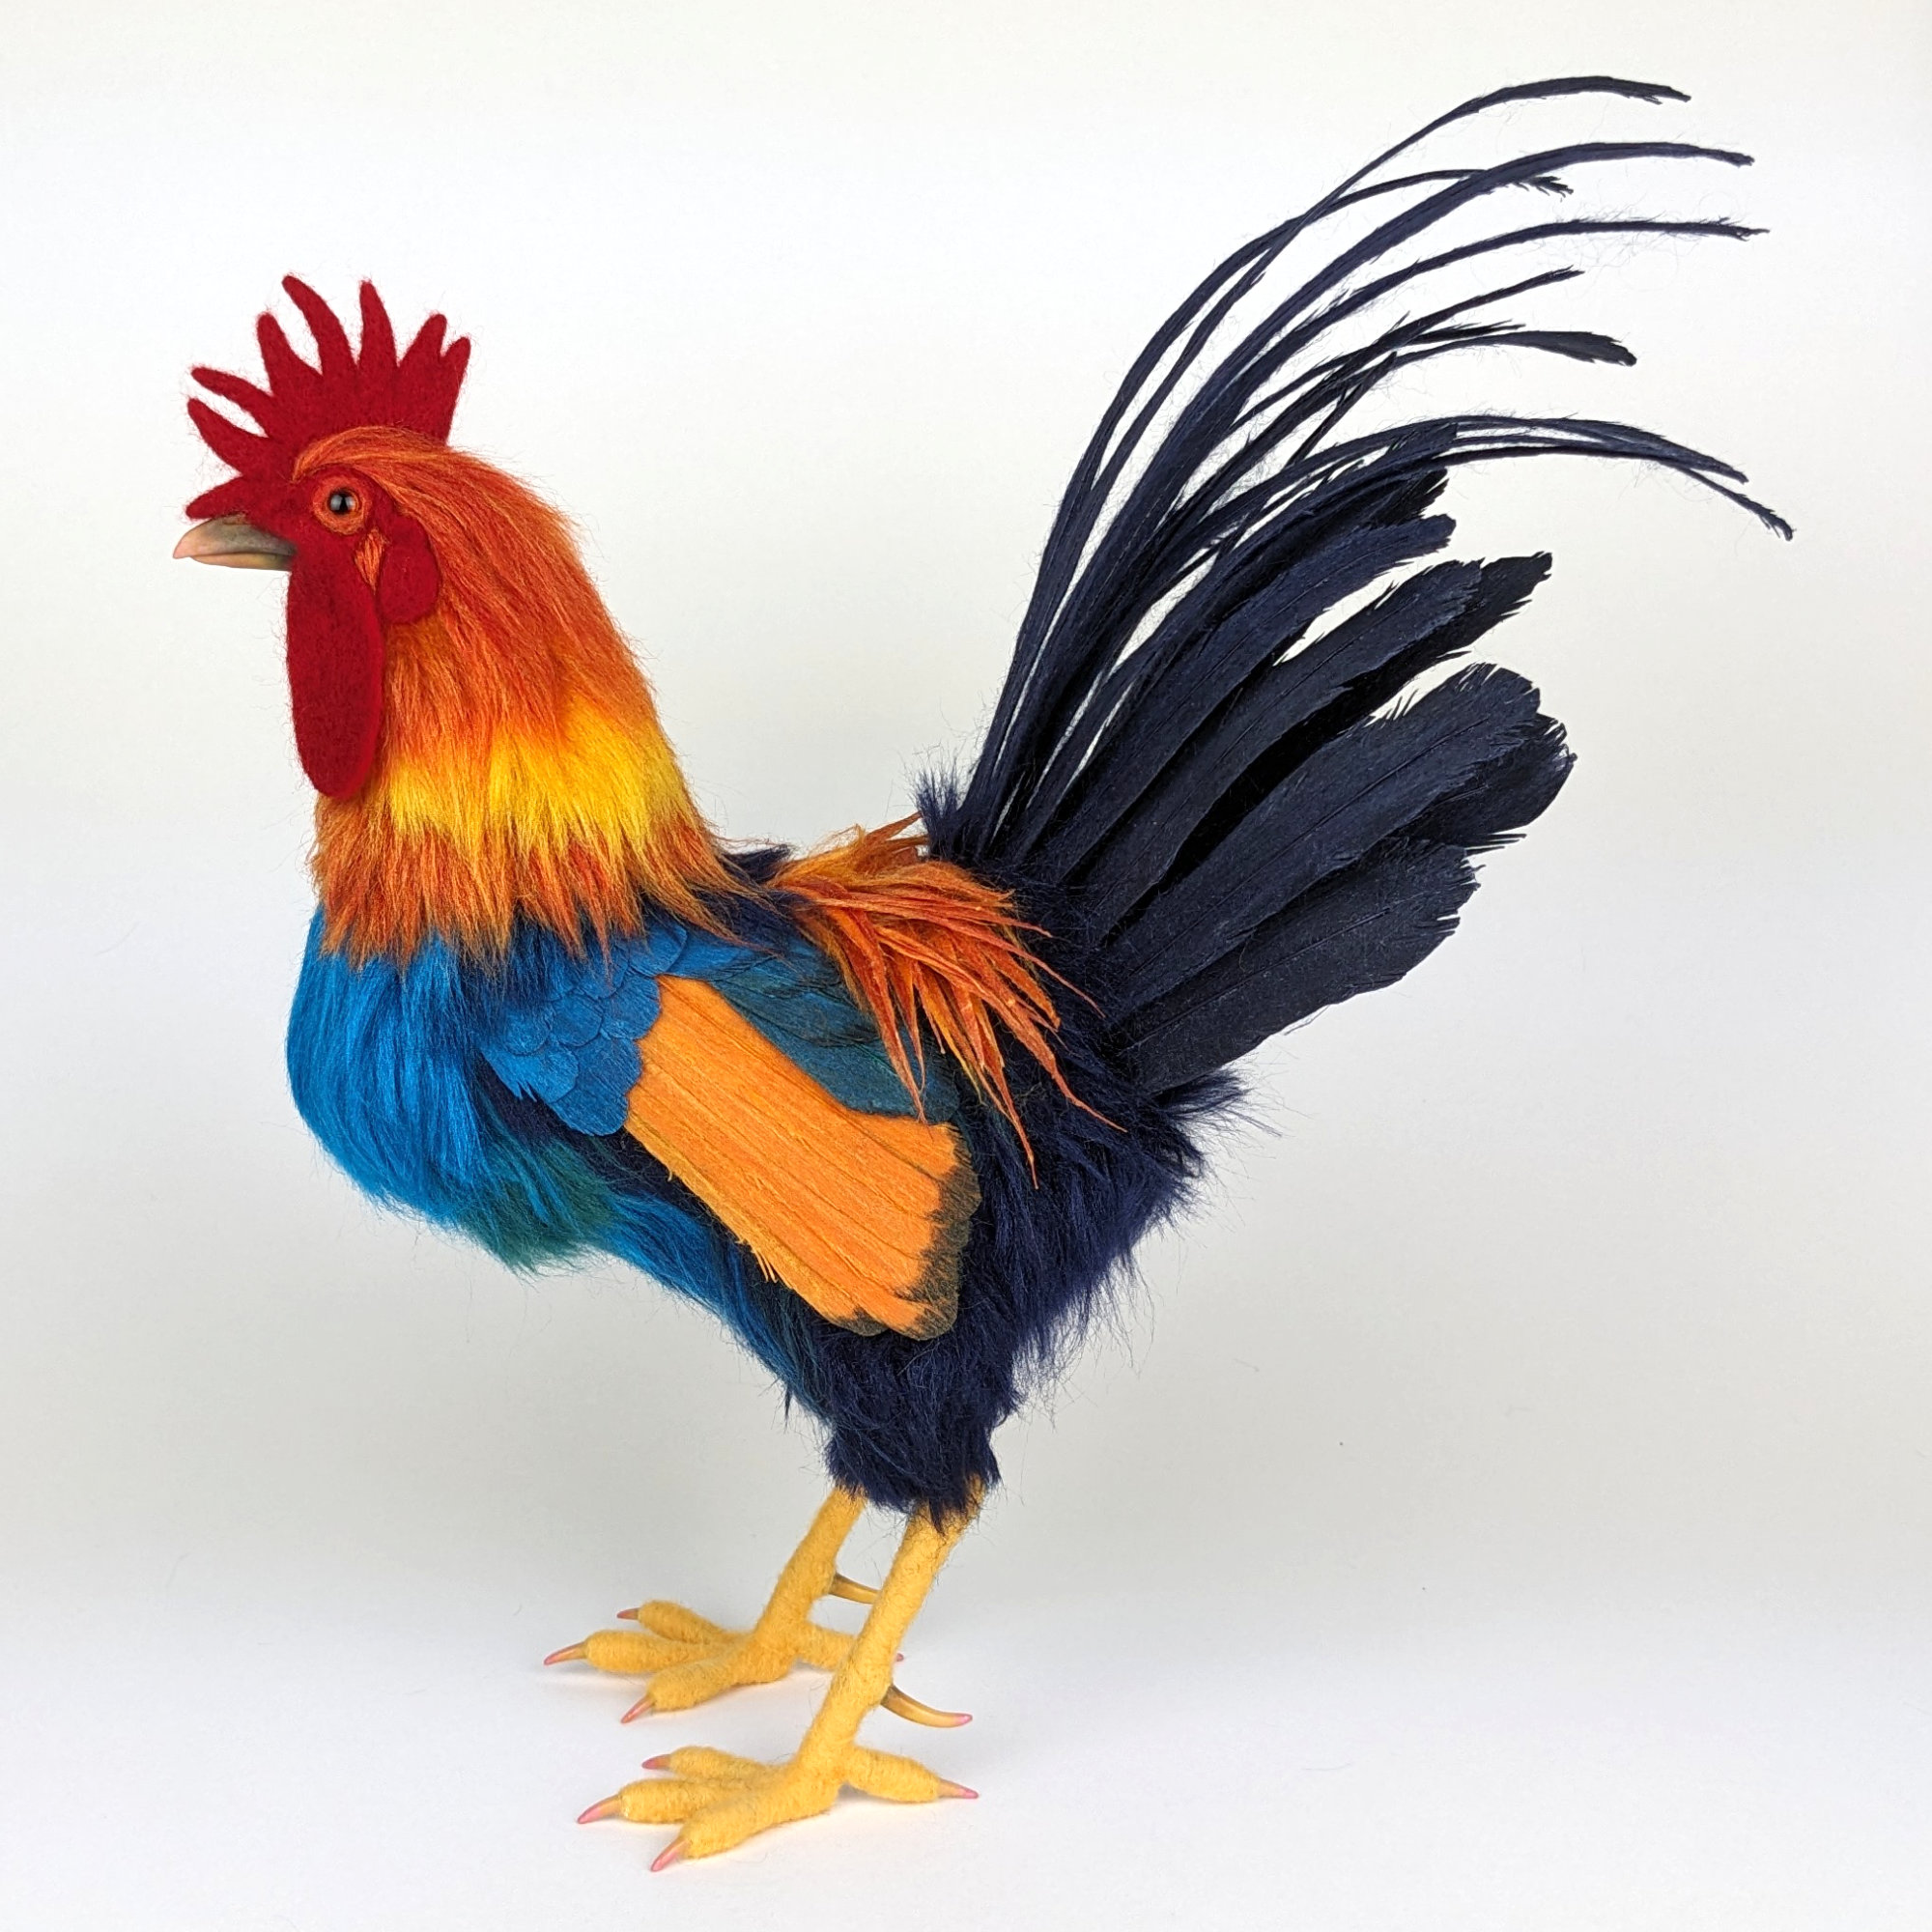
My finished rooster
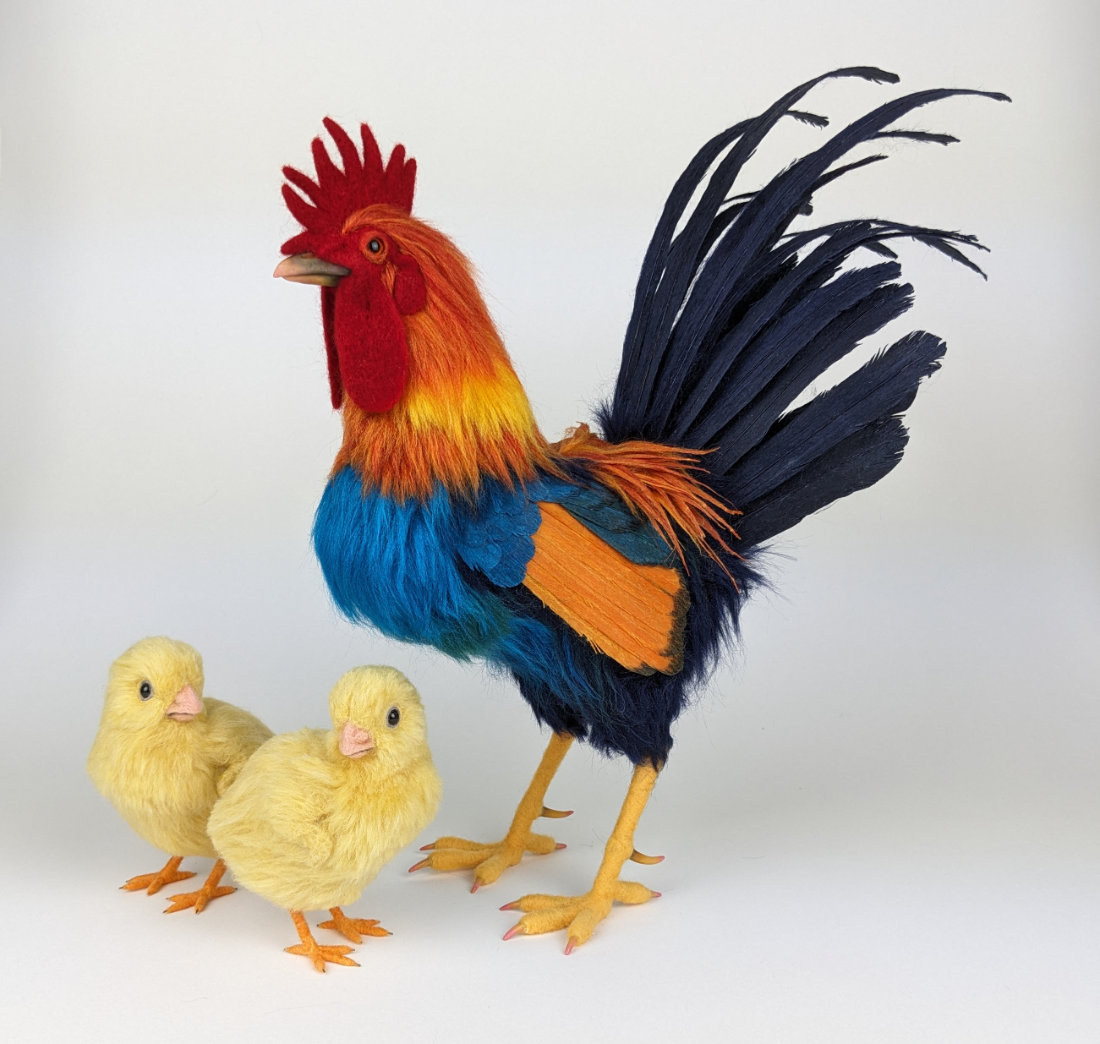
Here he is! He’s a big boy and I’m thrilled with how well he turned out.
And here he is with the two chicks I designed for my Realistic Baby Chick Tutorial.