I’ve wanted to make a Kiwi bird for a long time but I wasn’t sure how to make an armature that would hold the weight of the bird without being tippy. After making the Irina Hughes Rooster, I feel confident about giving a Kiwi a try. A while back, I used an old dryer ball that was falling apart to make an adorable bunny. This seems like another perfect dryer ball project!
I started by creating a pattern. I included where I’m placing the dryer ball and the armature wires on the second page and decided to share this free PDF pattern if you’d like to try making your own Kiwi.
There’s a supply list at the bottom of this post.
I created a video of my process demonstrating how I made the armature, attached it to the dryer ball, approached the core wool and added the top coat with highlights.
If you’d prefer to purchase the completed needle felted Kiwi bird, visit my Etsy shop. This charming sculpture is available for adoption.
Step by step instructions to make a needle felted Kiwi bird
- Look at photos of Kiwi birds and bookmark a few as references.
- Cut three 15″ pieces of 14g aluminum wire for the legs and feet. Mine ended up being a little long. If you’re making this, you could go with 13 1/2” wires.
- Place the three wires together and fold them in half. Separate the two sides so you have two bunches of three wires. Twist the first bunch about 3¼” down to create a leg. Repeat with the second bunch for the second leg.
- Bend the untwisted wire at the end of each leg forward to create a foot. Separate the 3 toes and trim the middle toe to 1½“ and the outer toes to 1¼“.
- Cut one 7″ piece of 14g wire for the neck and head. Fold it in half and twist it all the way down.
- Cut one 4″ piece of 18g galvanized steel wire or another thin, stiff wire for the beak.
- Cut two 3-4″ pieces of 24g craft wire for the fourth toe on the back of each foot.
- Use Cosclay Doll (or another polymer clay) to sculpt claws and a beak. Bake them according to the directions on the package.
- Glue the claws and beak to the wires to reinforce them.
- Place a glass eye on either side of the head and glue it in place.
- Paint the claws and beak with acrylic paint and seal them with two coats of acrylic varnish.
- Cut a slit in the dryer ball a little to the left of the middle. Glue the legs inside using E6000 glue or another strong all-purpose glue.
- Position and wrap a fourth toe on the back of each foot and up the back of the leg.
- Felt a rough head shape our of core wool at the end of the neck wire. Cut a hole in the dryer ball and glue the neck in place.
- Use core wool to build up the head, neck body and thighs.
- Wrap the legs and toes with brown wool batting and felt in place.
- Tear apart and restack a small amount of beige merino to create a mini batt. Divide it into two sections and make two eyelids. Attach them to the Kiwi bird’s face. Refine the eyelids with a fine needle.
- Add top coat the the head and neck using either a fur or shingling technique.
- Do the same for the rest of the body.
- Pull small tufts of the DHG Sarafina Fur fiber and needle felt them randomly along the back and upper side of the Kiwi bird to create feathery highlights.
- Fluff and do any final trimming. Your Kiwi bird is complete!
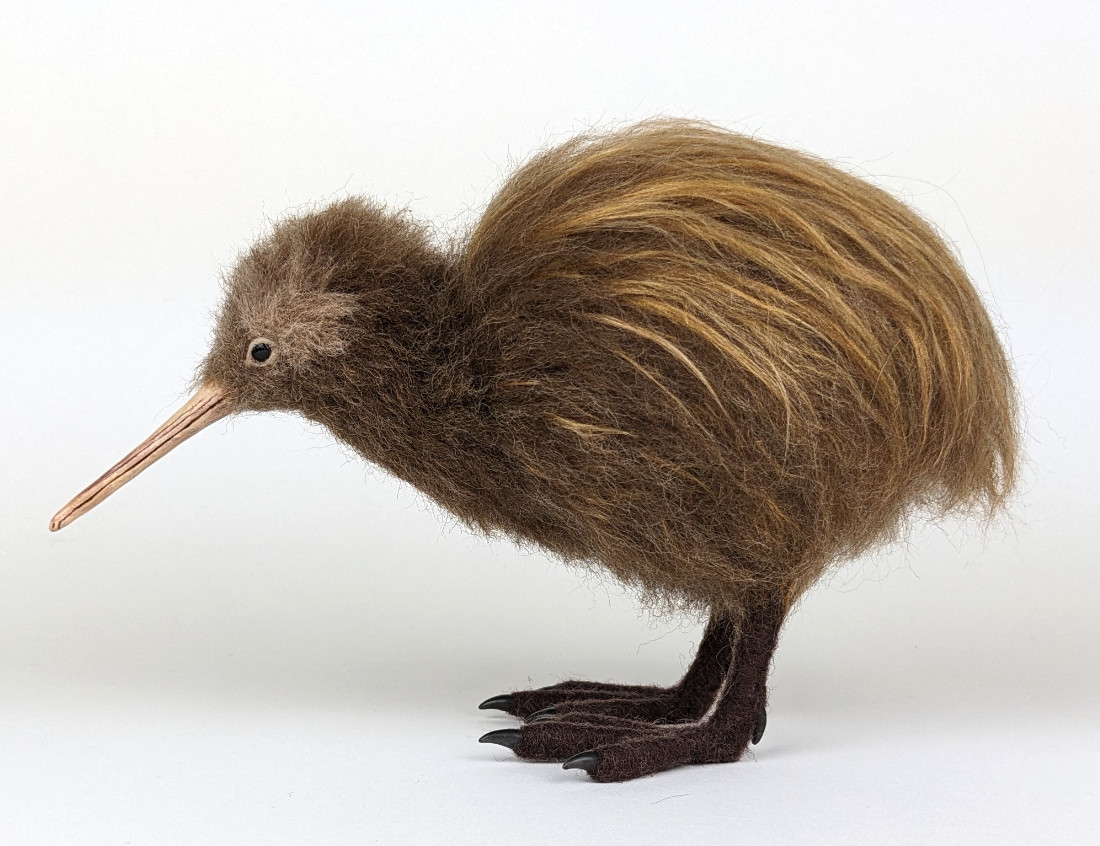
Supplies I used for this project
I have included Amazon affiliate links for some of the items below. This means I may earn a small commission (at no extra cost to you) if you click through and make a purchase. Thank you in advance if you decide to support my work using these links. Doing so helps me continue to create content for you!
- 3” Dryer ball from Mitten State Wool
- 14g aluminum wire
- 18 gauge aluminum wire
- Wire cutters
- Chain Nose Pliers
- Clear Ruler or Sewing Gauge
- Pink Double-Sided Self-Healing Cutting Mat 18″X24″
- Thin Awl (included in a beginner needle felting supply kit)
- Awl Larger with Wood Handle
- Cosclay Doll Soft
- Cool Tools Clayboard Non-stick work surface 6x 9”
- Steel clay scraper/slicer
- Metal Needle Tool
- Embossing Stylus Tool Set
- Sculpting Tools Set Double Ended
- Tiny clay shaper
- Aluminum Foil
- Large Woolbuddy
- Felting Needles Set of 36 Star, 38 Star, and 40 Spiral (5 of each) in a metal tin
- Sarafina core wool
- Elmer’s Glue-All Multipurpose Glue
- E6000 glue
- Glass Eye Test Set
- 5mm Black Glass eyes on wire pins
- Acrylic paint in Umber, Beige, White and Pink
- Soft small paint brushes
- Water container and water
- Liquitex Acrylic Varnish Satin
- Felter’s Palette Brown Bear batting
- Shetland Moorit combed top
- Cafe au Lait Merino Combed Top (purchased from Sarafina but not currently available)
- Fiskars Micro Tip Snip Scissors
- Hair Trimming Scissors
- Embroidery scissors
- Scotch All Purpose 8″ Scissors
- Metal Pet Comb
- DHG Camel Fur Blend
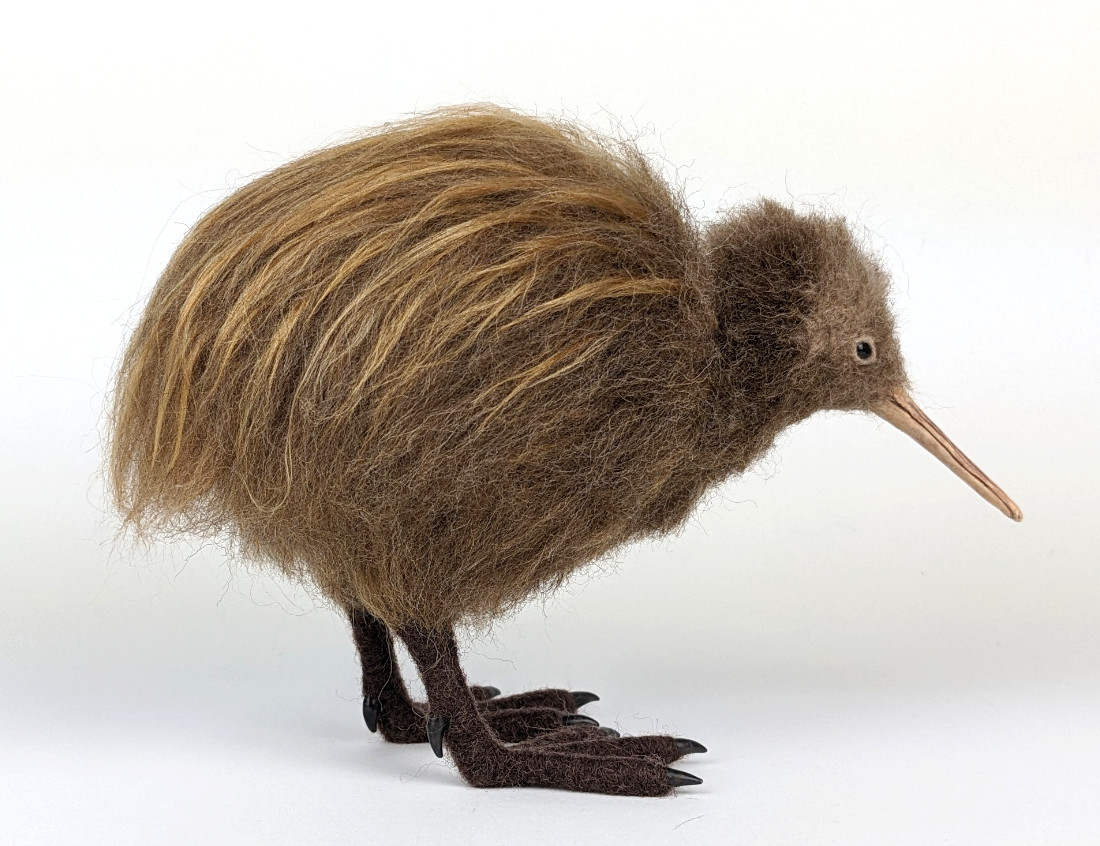
The illustration and photo of a real Kiwi bird in the video were from the following:
- Illustration of Kiwi Bird by John Gerrard Keulemans, Public domain, via Wikimedia Commons
- Little-spotted Kiwi by Kimberley Collins, CC BY-SA 4.0, via Wikimedia Commons
Last Updated on July 23, 2024

 Unlock the Secret to Stable Needle Felted Animals! (FAQ #11)
  How to design realistic needle felted animals (FAQ #10)
  Ditch the chenille stems! The BEST way to wrap your armatures (FAQ #9)
  Armatures for felted animals + Lion Project kickoff! (FAQ #8)