Are you ever unsure how much core wool to use in your needle felting project? You’re not alone! In today’s video and blog post, I’m answering one of a common question I get:
“When do I stop adding core wool?”
This is FAQ #13 in my video series for needle felters, and it’s all about knowing when to stop building your sculpture and start layering on top coat wool.
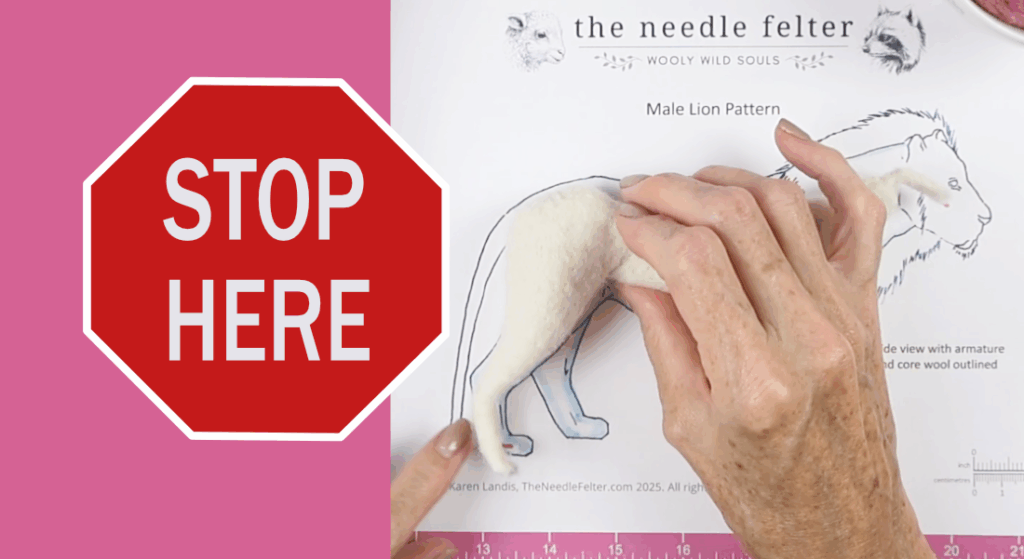
Download the free lion pattern with top coat outlines
The PDF includes multiple views of the lion sculpture we’re making in the video. It will help you put the techniques I show you into practice!
Watch the full video here
What Is Core Wool — and Why Does It Matter?
Core wool is the foundation layer of most needle felted sculptures. For more a little more detail, read Should You Buy Core Wool? https://theneedlefelter.com/should-you-buy-core-wool/
It gives your animal or object structure, volume, and shape before you add detail or a top coat of finishing fibers.
But if you keep adding core wool indefinitely, you’ll run into problems like:
- Bulky or uneven shapes
- Overworked areas that are hard to felt further
- Trouble applying fine surface details
- Wasting time and materials
And since top coat wools are usually more expensive because they are beautifully dyed, I try to use them efficiently.
The 3 Signs It’s Time to Stop Adding Core Wool
Here’s how I decide when a sculpture is ready for the next stage:
1. It Holds Its Shape
Give it a gentle squeeze. If it feels relatively firm and doesn’t spring back too much, the core structure is done. Soft = still building. Firming Up = time to move on.
2. The Form Is Correct
Look at the overall silhouette and general proportions. Do this using your sketch, a pattern or reference photos. If the body part (leg, head, shoulder, etc.) looks accurate from all angles, you’re ready to add detail. Don’t keep layering just to “fix” the finer elements — use surface wool for that level of refinement.
3. You’re Ready to Add the Top Coat
If you can lay a thin layer of finishing wool over the surface without it sinking in or changing shape, you’re ready for the top coat and detail work.
Real Example: The Lion Sculpture
In the video, I demonstrate these moments using our lion project. I build it up with core wool until it is relatively firm and smooth, then stop. I like my sculptures to loosely follow the silhouette of the pattern. But they don’t need to have a perfectly smooth surface.
Why? Because smoothing comes later, with surface layers and careful detailing.

You also need to consider how your core wool will be covered. I show my Fennec Fox Sculpture (link to blog post Make an adorable sleeping Fennec Fox) as an example. Since it has a smooth body and long fluffy tail, it helps us compare where we need the core wool to be smoother and where it doesn’t because it will be covered up with long fur.
Watch the Process in Action
In the video, I walk you through:
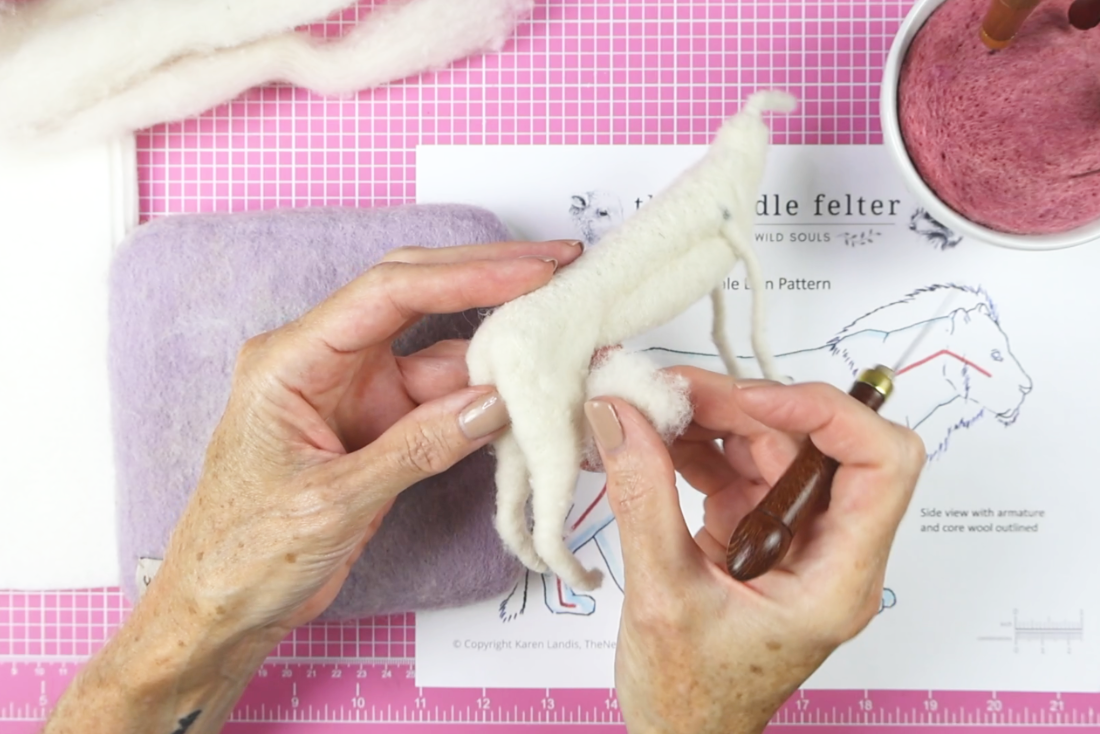
- Adding core wool to the lion’s legs, belly, shoulders, and chest
- Creating fluffy edges wool pads to build up width
- Using my pattern views (front, side, top) to check symmetry
- Leaving space for the top coat
Pro Tips from the Worktable
- When refining the shape of your animal with core wool, think of the wool like clay. Add small amounts and sculpt the wool in layers.
- Try prefelting small pieces of wool and attaching them like soft bits of clay. I find it helps give me more control as I shape.
- Use reference photos of real animals to guide proportions and muscle shapes.
- Stop often: Step back and check proportions before you add more wool.
- Don’t be afraid to adjust pieces with your awl or remove small amounts to avoid overbuilding.
Tools and supplies used in this project
I have included Amazon affiliate links for some of the items below. This means I may earn a small commission (at no extra cost to you) if you click through and make a purchase. Thank you in advance if you decide to support my work using these links. Doing so helps me continue to create content for you!
Check out the tools, supplies, and needle felting related books I recommend in My Amazon Shop.
Tools
- Woolbuddy Felting Mat Small
- 38 Star Felting Needles
- Dritz Sewing Gauge
- Pink Double-Sided Self-Healing Cutting Mat 18″X24″
- Awl With Wood Handle
- Small Awl. This came with an inexpensive needle felting starter kit like this one
Supplies
- Off-White Chunky Core Wool
- Orange Sharpie marker or any marker that will write on wool
- Felted sheet scraps (to make mini felting pad to place between the lion’s legs – does not need to be 100% wool, I use a wool blend) or Foam Wrap Sheets for packing dishes
Links & Resources
Download my FREE PDF lion needle felting pattern
More Helpful Tutorials
- Armatures for felted animals + Lion Project kickoff! (FAQ #8)
- Basic shapes in needle felting: your foundation for fluffy creations (FAQ #5)
- Needle felting needles: a comprehensive guide (FAQ #3)
Want More Needle Felting Tips Like This?
I’m building a community of felters who love learning, experimenting, and improving their skills. If that sounds like you, I’d love to have you join my email list!
Subscribe to get:
- My free monthly newsletter
- A full recap of everything I’ve worked on the previous month
- A sneak peek at my new T-shirt shop for makers
- Etsy Shop updates & information on upcoming video courses!
Join the list now! You can unsubscribe any time.
Final Thoughts
You don’t have to keep piling on core wool forever. Learning when to stop is a skill — and it gets easier with practice.
Are there any questions I didn’t address? Did you find my advice helpful? Leave a comment at YouTube for me! I read every comment and am happy to try to help. Also, please check out the playlist for my FAQ series on needle felting if you missed any of the previous videos.
Don’t forget to subscribe to my YouTube channel and bookmark this website so you don’t miss any of my tutorials or other content.
I hope this helped take some guesswork out of your process. Happy felting!