If you’ve been following my needle felting tutorials, you know I’m all about sharing the tips and tricks I’ve learned over the years to help you create stunning and professional-looking felted sculptures. Today, we’re tackling a super common question: Should you use chenille stems (AKA pipe cleaners) to wrap your wire armatures before needle felting?
The short answer? Probably not. In fact, I think there’s a much better way!
I’ve just released a new video on my YouTube channel all about this, and I’m spilling the beans on why I ditched the pipe cleaners and never looked back. Plus, I’m showing you the technique I use instead, which results in smoother, more professional results every time.
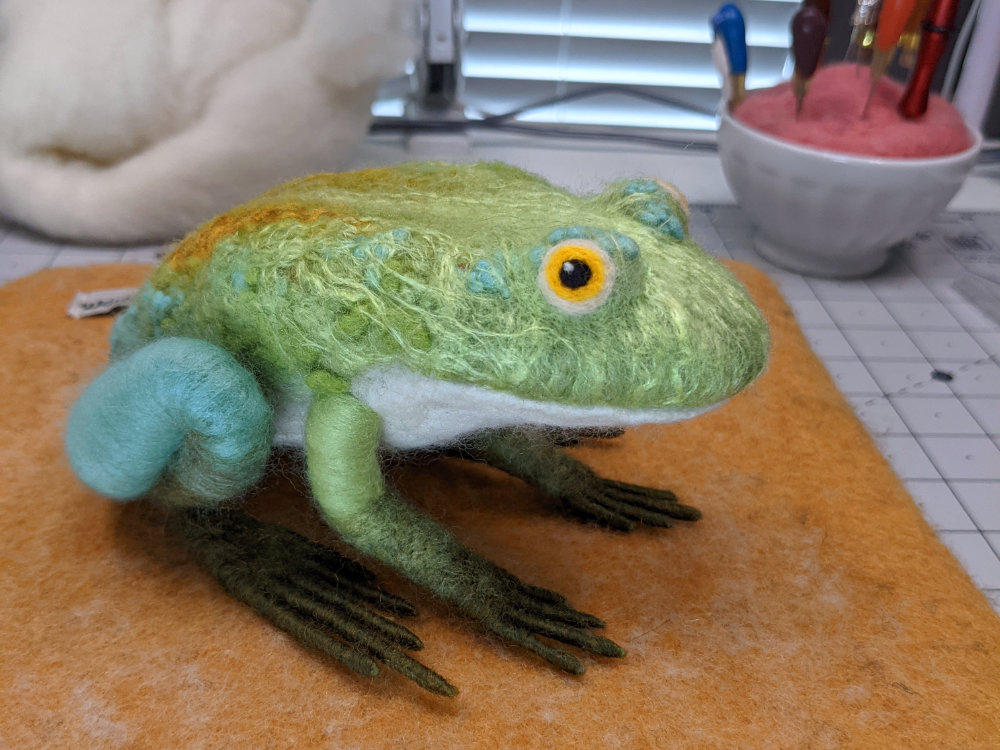
Note: I’m building a male lion bit-by-bit during this video series. Download my FREE PDF Male Lion Pattern if you’d like to felt along!
Why chenille stems aren’t the best choice
For years, many needle felters have used chenille stems (pipe cleaners) to add bulk and provide a base for their wool on wire armatures. But I’ve found that they often cause more problems than they solve. Here’s why I steer clear:
- Sharp Ends = Ouch! Nobody wants to get poked while they’re creating!
- Color Bleed: Trying to cover a bright orange or a black pipe cleaner with a thin layer of wool? Good luck! The colored fluff often peeks through.
- Uneven Surfaces: Armatures wrapped with chenille stems are inherently bumpy, leading to a lumpy final product.
- Added Expense: They add cost, for a solution that’s not really ideal.
- Unwanted Thickness: Trimming the chenille stem fluff to reduce added thickness ends up costing you time and makes a mess.
My secret weapon: wool ribbon!
So, what’s the alternative? I use a simple technique that’s readily available to all needle felters: wrapping with a wool ribbon!
In my latest YouTube video, I’ll show you exactly how to:
- Create a smooth and even wool ribbon.
- Wrap your wire armature for a flawless base.
- Wrap bare wire (using a simple and cheap glue trick!).
- Apply this technique to our ongoing lion project!
Lion project update & FREE pattern!
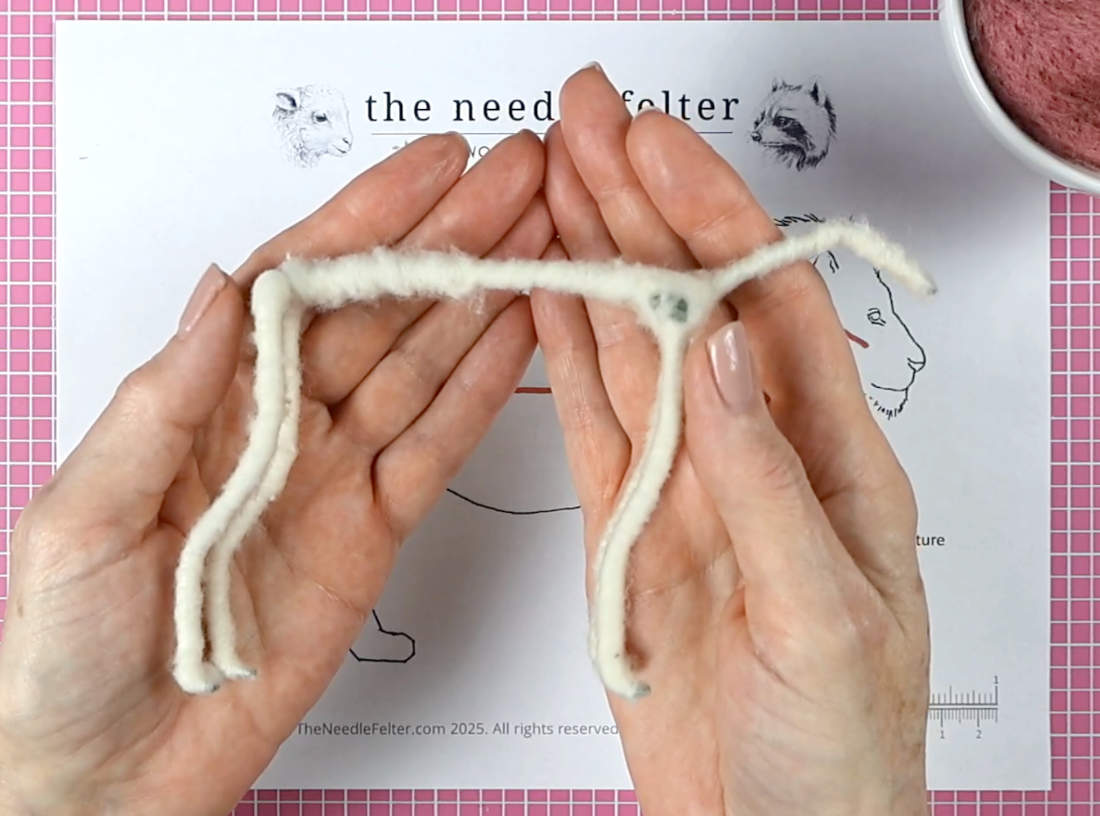
If you’ve been following along with my lion needle felting project, you know we’re slowly but surely bringing this little guy to life! This week’s video demonstrates how to wrap the lion’s wire armature using the wool ribbon technique. This is a crucial step in creating a strong and stable base for your lion sculpture.
And if you haven’t started yet, don’t worry! You can download the FREE male lion PDF pattern to felt along! If you missed the start of the lion project, check out the Armatures for felted animals + Lion Project kickoff! (FAQ #8) post and video.
Tools and supplies used in this project
I have included Amazon affiliate links for some of the items below. This means I may earn a small commission (at no extra cost to you) if you click through and make a purchase. Thank you in advance if you decide to support my work using these links. Doing so helps me continue to create content for you!
Check out the tools, supplies, and needle felting related books I recommend in My Amazon Shop.
Tools
- Woolbuddy Felting Mat Small
- 38g star felting needle
- Pink Double-Sided Self-Healing Cutting Mat 18″X24″
Supplies
The lion armature wrapped with wool
Here is what your lion armature should look like at this point in the project. We’ll be adding wool to build up the body in the next FAQ video. Stay tuned!
Are there any questions I didn’t address? Did you find my advice helpful? Leave a comment at YouTube for me! I will be planning my future videos based on your questions.
Also, please check out the playlist for my FAQ series on needle felting if you missed any of the previous videos.
Don’t forget to subscribe to my YouTube channel and bookmark this website so you don’t miss any of my tutorials or other content.