Are you ready to dive deeper into the world of needle felting? If you are, then you know you need a good felting mat. But, with so many options on the market, how do you choose the right one? Knowing the right mat for your needs can make or break your felting experience. That’s why I’ve created this new video and detailed blog post, to help you navigate the often-confusing world of felting mats.
In this fourth installment of my FAQ series, (which you can watch below), I’m tackling the question: “What are needle felting mats, and what kind should I use?” This isn’t just a quick overview; it’s a deep dive into the purpose of felting mats, their different types, and how to choose the best one for you.
In this video, you’ll discover:
- Why a mat is essential: The crucial role of a felting mat in protecting your work surface, your needles, and your projects.
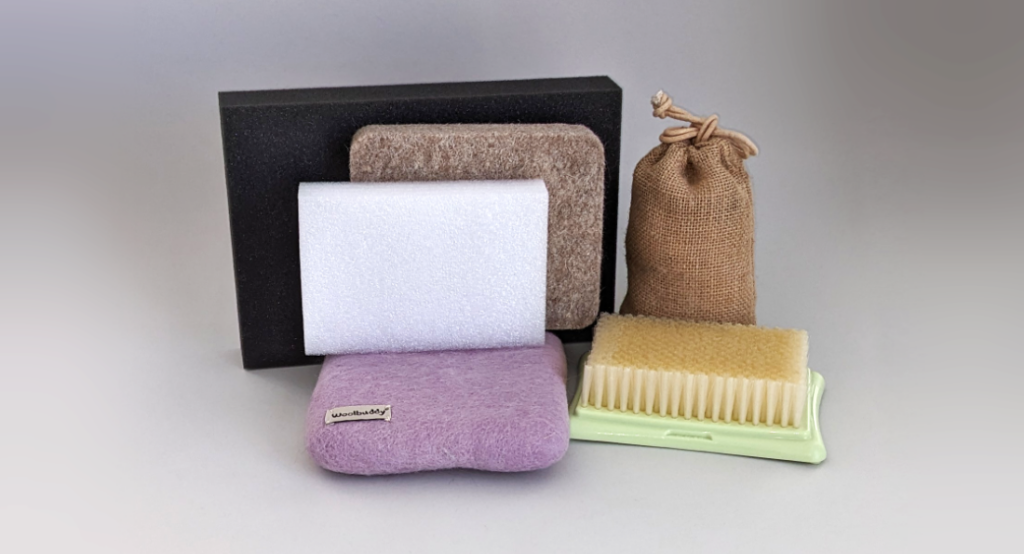
- 7 types of felting mats: A comprehensive review of the different types of mats, including plastic foam, high-density foam, soy foam, burlap, wool, brush, and wool pressing mats.
- Pros and cons of each: An unbiased look at the benefits and drawbacks of each mat type, to help you make an informed choice.
- Expert recommendations: I’ll share my personal favorite mats for different projects. I’ll give you examples for both wool painting and animal sculpture work.
- A pro tip for clean felting: Learn my secret for keeping your work clean by preventing wool fibers from your mat from sticking to your pieces.
Whether you’re just starting your needle felting adventure, or you’re an experienced felter looking to upgrade your tools, this guide will equip you with the knowledge you need to make confident decisions about your felting mat. I will help you understand the different types of mats so that you can make the best choice for your current projects.
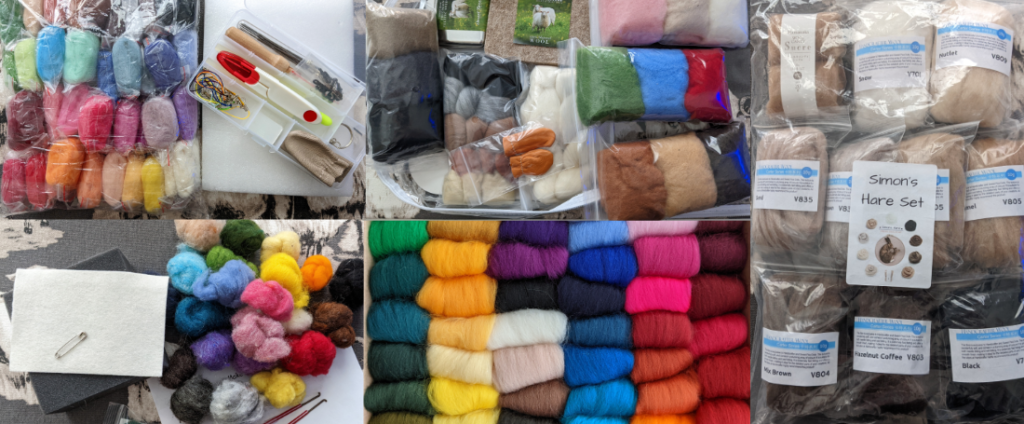
Tools and supplies used in this project
I have included Amazon affiliate links for some of the items below. This means I may earn a small commission (at no extra cost to you) if you click through and make a purchase. Thank you in advance if you decide to support my work using these links. Doing so helps me continue to create content for you!
- Pink Double-Sided Self-Healing Cutting Mat 18″X24″
- 38 Star Felting Needles
- Woolbuddy Felting Mat Small
- Woolbuddy Felting Mat Large
- High-Density Foam Felting Mat
- Wool Blend Felt Sheets (35% Wool/65% Rayon)
- Wool Felting Pad Small (thicker and softer than wool pressing pad)
- Wool Felting Pad Large (thicker and softer than wool pressing pad)
- Burlap Felting Mat (Note that this does not include filling. You will need to purchase rice or another filler before using this mat.)
- Brush Felting Mat
- Wool Pressing Pad (thinner and harder than wool felting pad)
- Soy Foam Felting Mat
- Plastic Felting Mat included in Beginner Felting Kits like this one
Are there any questions I didn’t address? Did you find my advice helpful? Leave a comment at YouTube for me! I will be planning my future videos based on your questions. Also, please check out the playlist for my FAQ series on needle felting if you missed any of the previous videos.
Don’t forget to subscribe to my YouTube channel and bookmark this website so you don’t miss any of my tutorials or other content.
If you prefer to read rather than watch, here’s what I covered
Purpose of a felting mat
A felting mat serves several essential purposes. First, it protects your table, your work surface, or your lap from being scratched or damaged by the needles. The mat absorbs the impact of the needles as you felt.
Second, it protects your needle tips from becoming dull or breaking. The mat absorbs the impact preventing your needles from hitting a hard surface like a tabletop.
Third, it provides support for your work, so you are felting into something, rather than “air felting.” All of these elements work together so you are more successful at felting!
Seven types of needle felting mats
Now, let’s explore the different types of felting mats, and their pros and cons:
- Plastic mats: These are often included in beginner felting kits and are generally made from a sponge-like or more compressed poly foam, basically plastic packing material.
- Pros: They’re inexpensive and can be cut to any size.
- Cons: They’re often noisy, they wear out quickly after just a few projects, and can be hard to find.
- High-density foam mats: These are thick, usually black, and are made from a solid type of foam. Note: Avoid upholstery foam, it often contains chemicals that are released during felting.
- Pros: They are available in a variety of sizes, easy to find, inexpensive, and lightweight.
- Cons: They are a little noisy, tend to soften after a few uses, and pieces can break off, sticking to your work.
- Soy foam mats: These mats are made from soybean oil and are considered more environmentally friendly.
- Pros: More environmentally friendly and claim to last longer than black foam mats.
- Cons: They can be thinner, more expensive, and you may need to stack two for sufficient padding.
- Burlap or hessian mats: These are often homemade mats made from burlap filled with rice or buckwheat husks.
- Pros: They are inexpensive and available in a variety of sizes. You can even make your own.
- Cons: They are heavy, can leak their filler, and burlap fibers can break off and attach to your work.
- Wool felting mats: These are 100% felted wool mats.
- Pros: They’re easy to find, quieter, lightweight, long lasting, and can be made by you.
- Cons: They’re more expensive than some of the other options. Wool fibers from the mat can break off, and they’re difficult to clean. I’ll share a tip to avoid this later!
- Brush mats: These are flat-backed brushes with bristles.
- Pros: They’re easy to find and long lasting, especially if covered with a piece of felt.
- Cons: The bristles move as you work, which can be tricky. Also, the hard base can bend or break needles. They can be expensive, difficult to clean, and you are limited to a relatively small working area compared with other types of mats.
- Wool pressing mats: These dense wool mats are usually used for ironing fabric.
- Pros: Easy to clean and tend not to transfer fibers to your work.
- Cons: They are dense and hard, so can cause hand fatigue, and they do not protect your table surface well, so they are better when used with another mat under them.
My personal favorites
Now that we’ve explored different mats, let’s talk about what I use most often.
- For wool paintings: I use black foam mats. They support the piece well, but I don’t leave my painting on them until the project is finished as this can damage the mat.
- For everything else: I mostly use Woolbuddy’s large and small mats.
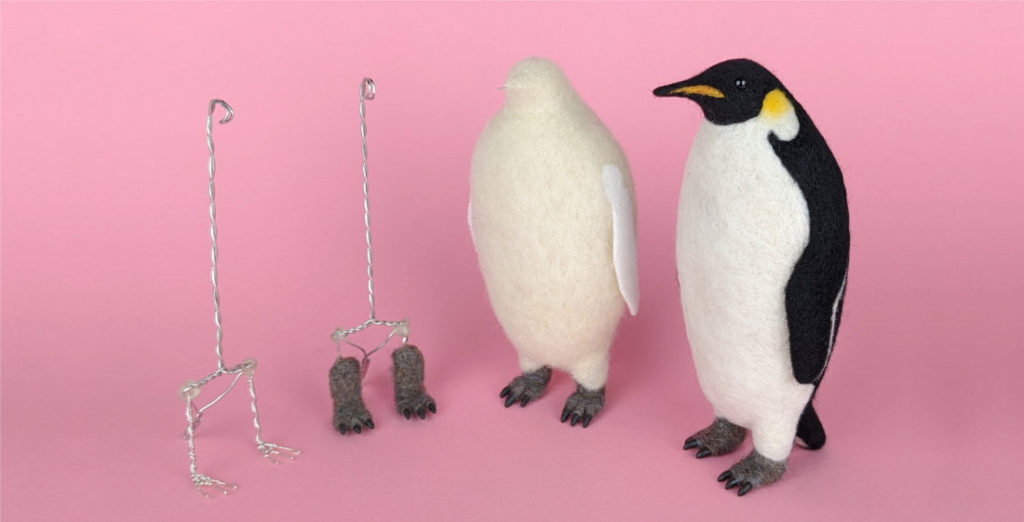
- For shaping animals: I rely on Sarafina Fiber Art’s Mini Stabbits. They help support legs and necks. I’m not sure if Sarafina still offers them, but you could make your own!
How to avoid wool transfer from wool mats
I promised a tip to avoid color transfer when using wool mats! The easiest way to keep your work clean is to cover your mat with a felt sheet. This simple barrier minimizes the transfer of fibers from the mat to your work.
I believe it also makes my mats last longer and helps prevent my work from sticking to the mat.
The felt I use is a wool blend. It’s more affordable than 100% wool and it does the job beautifully.
I also try to felt light colors on one side of my mat and dark colors on the other to minimize color transfer. I do the same when choosing my felt sheets. I use a white felt sheet for lighter color animals and a dark felt sheet for darker animals.
Try it. You might be surprised by how well these simple techniques work!