So, you’re ready to start making adorable creatures with wool? You’ve come to the right place! Before you can create complex designs, you need to learn how to create the building blocks. I get many questions about where to start, so I created a video series to answer all of your questions. Today, I’m tackling the basic shapes used in most animals: balls and eggs.
In this fifth installment of my FAQ series, I’m answering the question: “How do I create simple ball and egg shapes?” I know that the world of needle felting can be a little overwhelming, so my goal is to provide clear and actionable instruction to help you feel confident about getting started. Mastering these basic shapes will set you up for success, so let’s dive in and get felting!
In this video, you’ll learn:
- Why basic shapes matter: Discover how balls and eggs are essential to create all kinds of needle felted projects.
- How to begin a basic shape: I’ll show you how to roll your wool to save you time when felting shapes
- Needle felting tips & safety recommendations: The key to creating a ball without causing your joints pain.
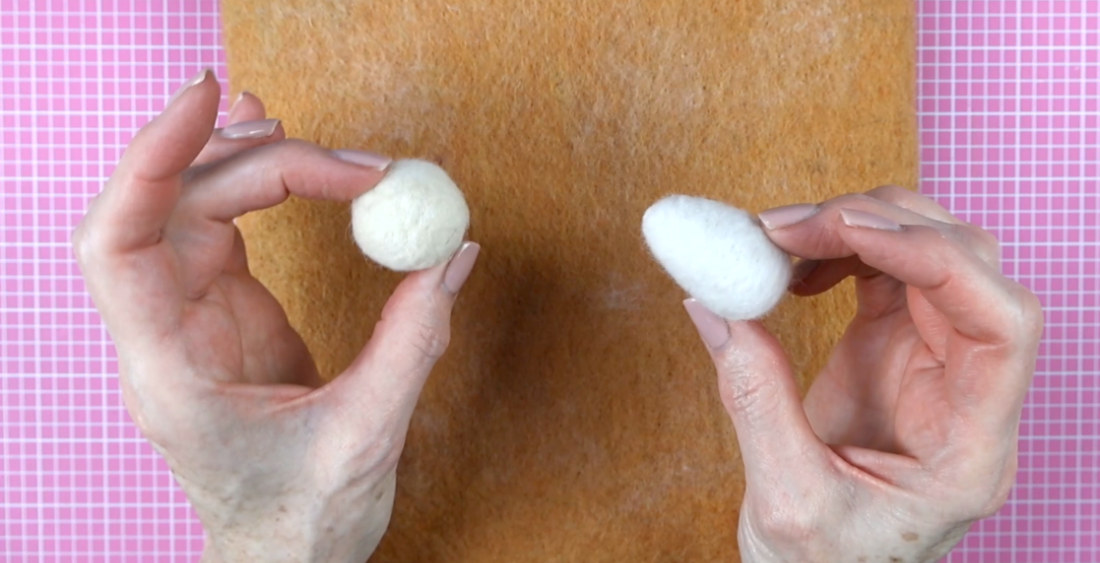
- Creating a ball: Step-by-step guidance on shaping the wool and refining it to felt it evenly.
- How to felt an egg: Tips on making an egg using the same process as the ball.
Whether you’re brand new to needle felting, or you want to hone your skills, this step-by-step tutorial will provide you with the foundation you need to start bringing your woolly visions to life.
Needle felted animals and birds show in this video
- My Needle Felted Bunny PDF Tutorial & Pattern (available in my Etsy shop)
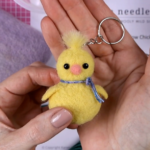
- My Kiwi Bird (made from a dryer ball)
- My Barn Owl Ornament
- Fortune Cat Kit (unfortunately no longer available)
Tools and supplies used or mentioned
I have included Amazon affiliate links for some of the items below. This means I may earn a small commission (at no extra cost to you) if you click through and make a purchase. Thank you in advance if you decide to support my work using these links. Doing so helps me continue to create content for you!
Tools
- Woolbuddy Felting Mat Large
- 36 Star Felting Needles
- 38 Star Felting Needles
- Felt Alive’s Orange Beginner Short Blade Felting Needles Combo Pack
- Pink Double-Sided Self-Healing Cutting Mat 18″X24″
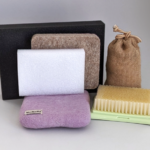
Supplies
I truly hope you enjoy learning more about creating basic shapes in needle felting! Are there any questions I didn’t address? Did you find my advice helpful? Leave a comment at YouTube for me!
Also, please check out the playlist for my FAQ series on needle felting if you missed any of the previous videos.
Don’t forget to subscribe to my YouTube channel and bookmark this website so you don’t miss any of my tutorials or other content.
If you prefer to read rather than watch, here’s what I covered
When needle felting animals, you almost always start with a simple shape. Most projects begin with different size ball or egg shapes. I shared the following finished felted animals as examples: bunny, barn owl ornament, Fortune cat, and my Kiwi bird.
Why would I felt a ball or an egg?
The level of difficulty varies, the style and details vary, and the wool used varies. But the underlying technique remains the same. Balls and eggs are the most common shapes you start with so that’s why I’m beginning with these two shapes.
The shapes themselves can even be a base of your sculpture. I used a dryer ball as as the core for my Kiwi bird’s body!
Demonstrations in the video
I demonstrate how to roll a tight ball with core wool and an egg with combed merino top. If you roll a tight shape, you save time felting and it’s easier to coax the wool into the shape you’re looking for.
As you felt, there are a few things to keep in mind:
- Always stab straight in and straight out at the same angle. Otherwise, you risk breaking your needle.
- The wool moves in the direction of the needle. If you want to push the wool to the left, you need to angle your needle to the left.
- Rotate your shape as you felt to keep your felting even, using a very firm surface.
- Try to keep your fingers and hand relaxed as you work. You don’t need to grip the needle tightly. You want to keep control of it, but you don’t want to hurt your joints.
- I also try to keep my wrist relatively straight when I’m needle felting.
- Don’t pick up your piece and needle felt it in the air. Without any support for your piece, it’s more difficult to felt it. You risk missing your target and hitting your fingers or hand with the needle.
- Avoid poking your finger by never looking away when you’re stabbing the wool. If you are interrupted or need to look away, put your needle down.
- If you bend your needle, replace it with a fresh, straight one.
- If you break a needle, remove any broken pieces immediately. Just get the broken piece out while you have a good idea of where it is.
Last Updated on March 14, 2025
 Unlock the Secret to Stable Needle Felted Animals! (FAQ #11)
  How to design realistic needle felted animals (FAQ #10)
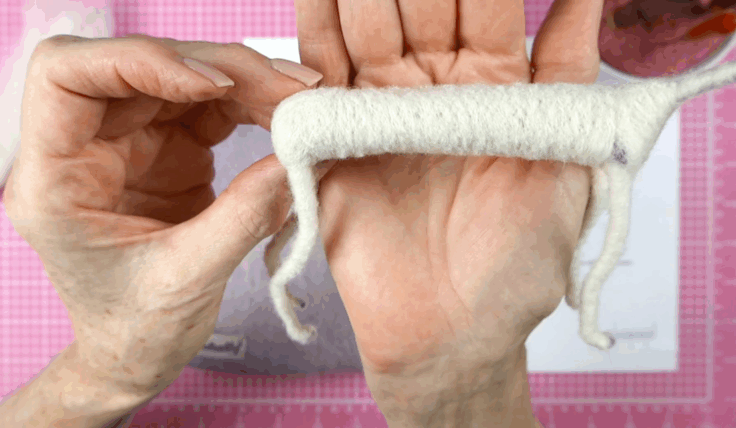
 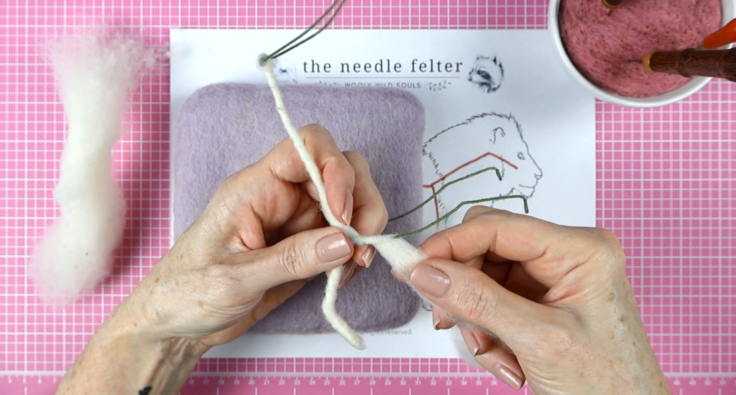 Ditch the chenille stems! The BEST way to wrap your armatures (FAQ #9)
 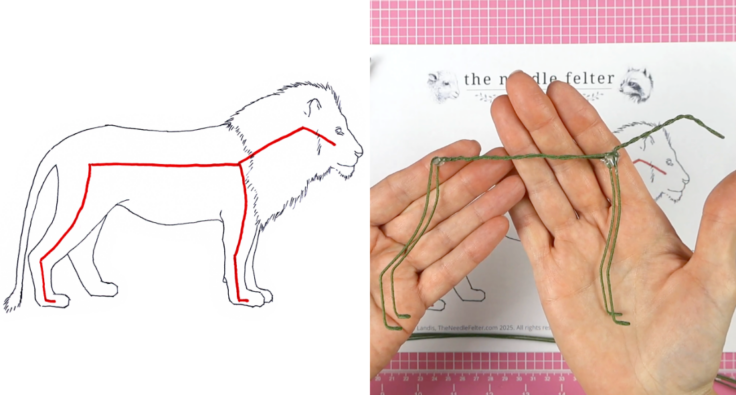 Armatures for felted animals + Lion Project kickoff! (FAQ #8)