Designing the animal project for my breed study
Before I jump into the first breed of my breed study for needle felters, I have to design the animal project. My plan is to make the same animal with each breed’s wool. Then, I can compare how each wool performed.
Let’s take a look at the needle felting techniques I plan to include in the project. I’ll also share how I picked the animal, designed it, and created a repeatable base for it.
The needle felting techniques
There are nine different techniques I need to design into this animal. Including these will help me put each wool through a variety of tests to learn which effects work well with the wool and which might not. Here’s my list:
- Wrapping tiny toes – wrapping wool around a wire to create tiny fingers and toes
- Tearing short fibers – I tear the wool into shorter lengths and sort of disorganize it by hand to make a mini batt
- Felting a smooth surface
- Making a thin felted sheet
- Creating thin lines
- Implanting short fur – I think of planting as laying combed top on a surface and felting it right down the middle to attach it
- Shingling long fur – this involves partially felting combed top in place, folding it back like a shingle and felting the folded edge
- Reverse felting
- Curling or waving wool – this can be done using moisture or heat
Choosing the animal
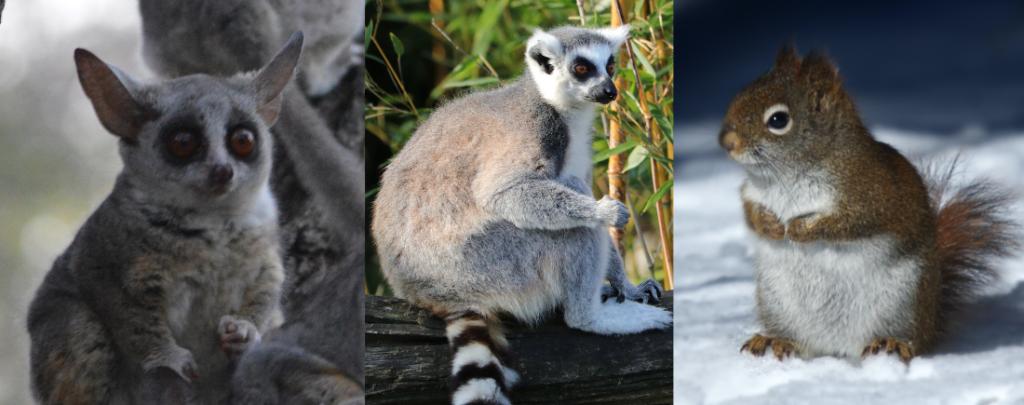
Trying to find an animal that would allow me to use all nine needle felting techniques was not easy! I considered so many but landed on three finalists. They are:
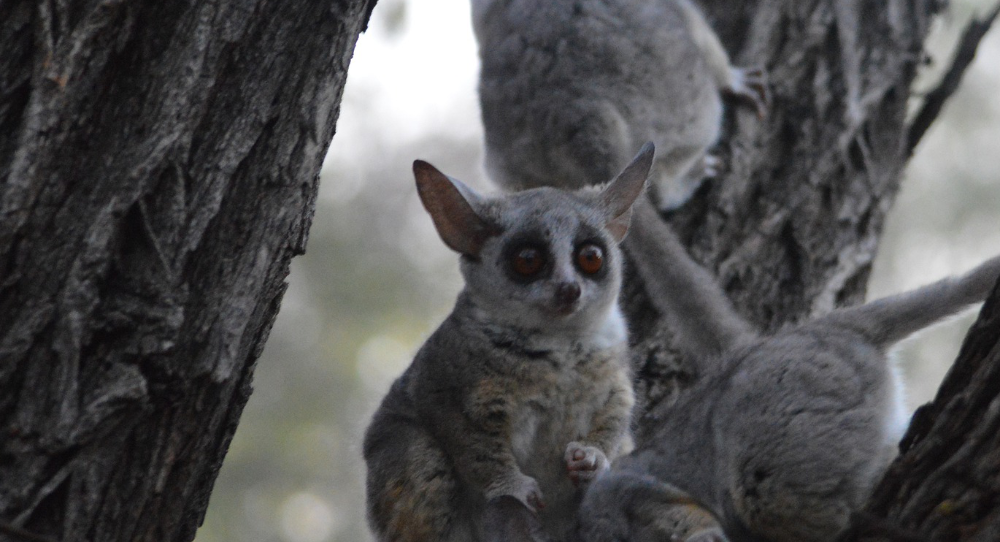
A Bush Baby or Galago
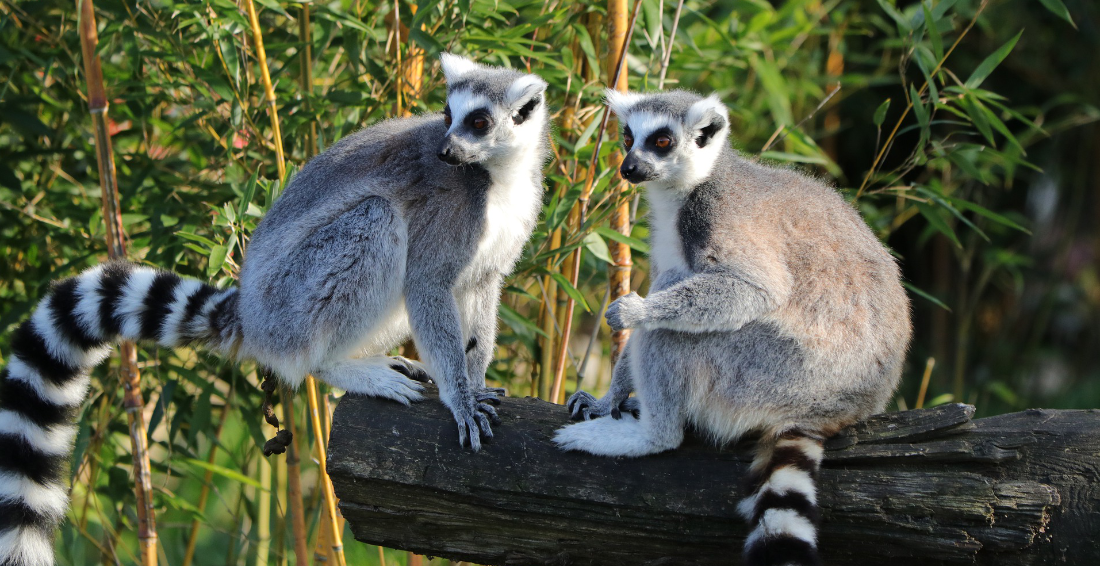
A Ring-tailed Lemur
and a Squirrel
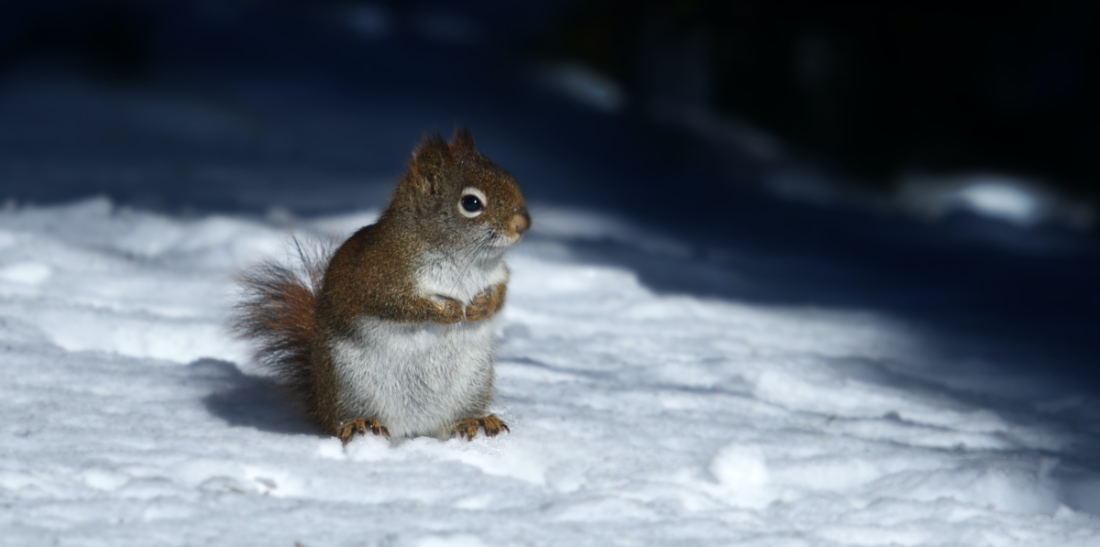
For my model, I chose the American Red Squirrel or Pine Squirrel because I grew up with them. I love their adorable faces and white eyeliner. To satisfy my desire for a cuteness factor, I decided to go with a baby squirrel instead of an adult.
The proportions for a baby squirrel are slightly different but I can use all the same needle felting techniques. The only problem with a squirrel was trying to include curls or waves. I’m going to just add a few to the tail.
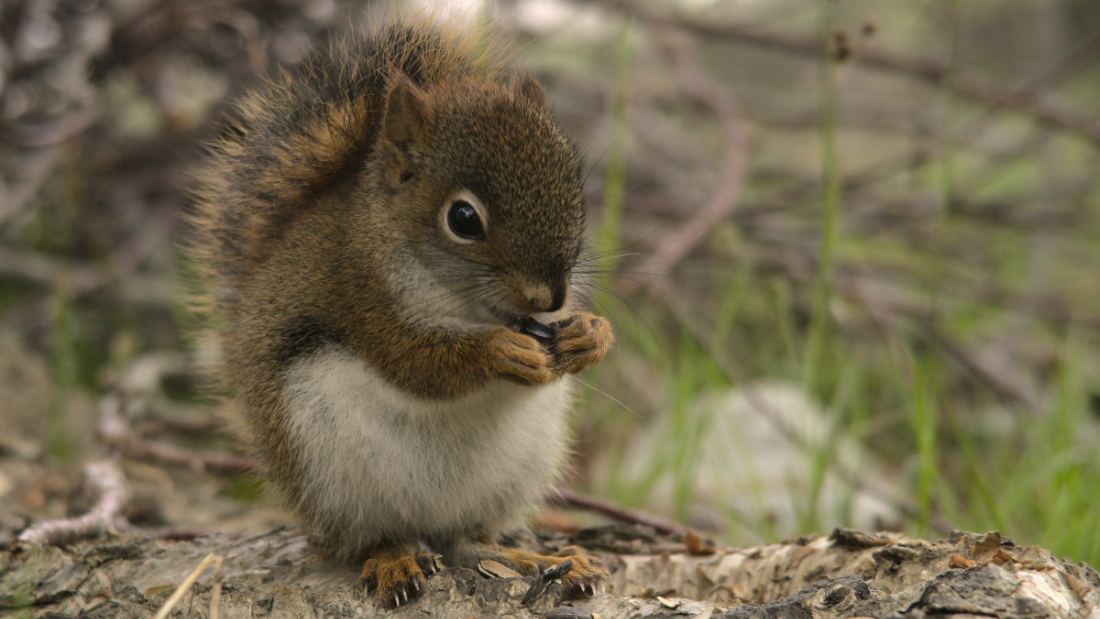
Picking a pose was the last task in this animal journey. The classic squirrel sitting up and holding a nut seemed like the best choice. I went with it and drew some sketches.
Figuring out the armature
I have included Amazon affiliate links for some of the items below. This means I may earn a small commission (at no extra cost to you) if you click through and make a purchase.
Using the sketches, I designed an armature using 14 gauge aluminum wire. The armature was based on Sara Renzulli’s Chipmunk tutorial (which I completed a few years ago). I added an 18 gauge aluminum wire tail. I left a loop at the end. That will allow me to thread some wool through it for the tuft at the end of the tail.
To create the fingers and toes, I used the Sarafina Fiber Art Digitwidget tool with 26 gauge half hard copper wire. If you try this, add the fingers before you shape your armature into its final pose. You’ll thank me. It’s so much easier!
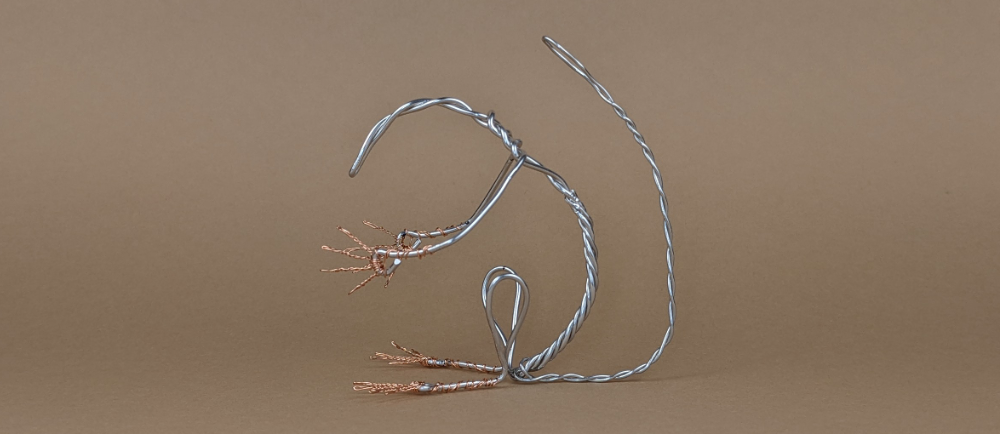
It turned out pretty well even though it looks more evil than baby-ish at this point.
Adding core wool and testing the fingers and tail
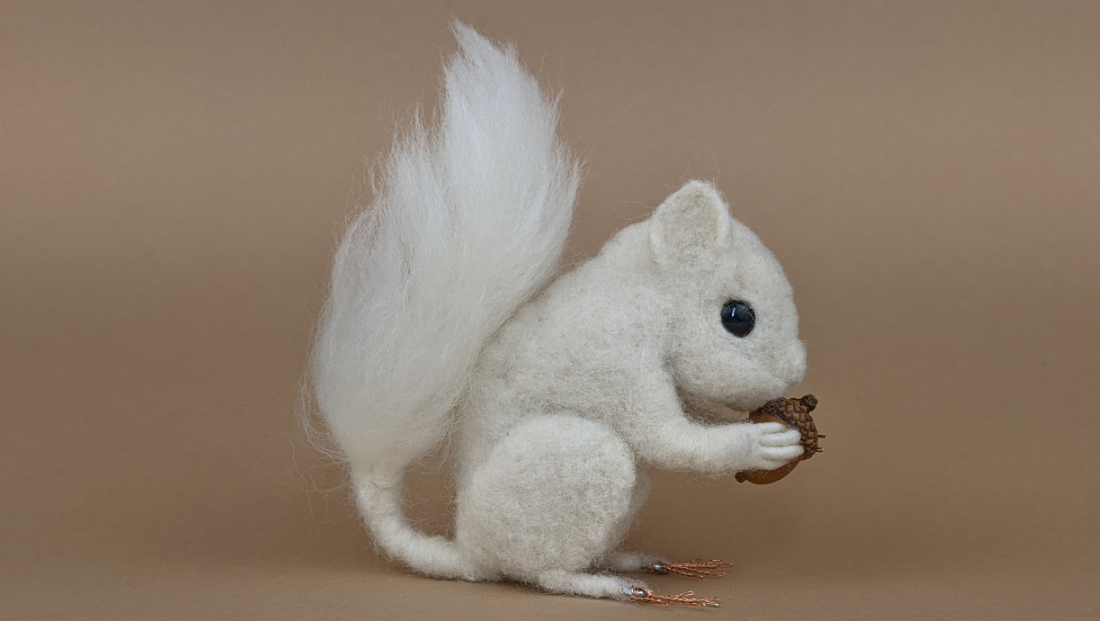
I started building up the body with core wool. Since I’ll be making more than one of these baby squirrels, I drew tiny patterns for a thighs, ears and cheeks. That will help me keep the sizes of those consistent.
Once I had a good base for the head, I glued in 8mm glass eyes. I used Falkland top coat to test wrapping a hand and creating a bushy tail.
Success! The prototype looks like a baby squirrel. I couldn’t resist buying some small acorns from Acorn World on Etsy (I chose the matched caps and bottoms). I gave my squirrel kit his acorn. He’s a happy boy!
Now I have my baby squirrel armature and a prototype of the finished object. I’m ready to start my first breed study!