Are you ready to take your needle felting skills to the next level? I’m thrilled to announce the release of FAQ #8 in my Needle Felting FAQ series! This time, we’re diving into the world of armatures: those essential structures that provide strength, stability, and sometimes add poseability to your felted creations.
As I continue this series of videos, I’ll be building a male lion bit-by-bit, answering more needle felting questions as we go! This week, we’ll build the lion’s armature. Download the FREE PDF Male Lion Pattern to follow and felt along.
In the video below, I answer the crucial questions: “What is a wire armature and how do I make one?”
Why use an armature in needle felting?
Armatures are game-changers for needle felters. They provide:
- Support: Essential for long legs, delicate features, heavy bodies, or complex poses.
- Poseability: Allows you to create dynamic and lifelike sculptures.
- Longevity: Prevents your creations from sagging or collapsing over time.
If you’re working on a piece with any of those characteristics, you should consider an armature.
FAQ #8: Your guide to wire armatures
In this video, I break down everything you need to know about armatures, from choosing the right wire to constructing a basic frame. Here’s what you’ll learn:
- Armature Basics: What they are and why they matter.
- Wire Gauges and Materials: A comprehensive guide to different types of wire (cloth covered, floral wire, aluminum, and more!). I’ll also share what I choose for my animal armatures.
- Step-by-Step Tutorial: I’ll walk you through creating a basic 4-legged wire armature.
Kickoff the lion project!
But that’s not all! To illustrate the power of armatures, I’m starting a brand new project: a needle felted male lion! This project will be included in my FAQ series of videos over the next few months, where I’ll be answering more of the questions on my list for needle felted animal sculptures. This video marks the beginning of the lion’s journey. You’ll learn how to build the initial wire armature that will form the foundation of our majestic creature.
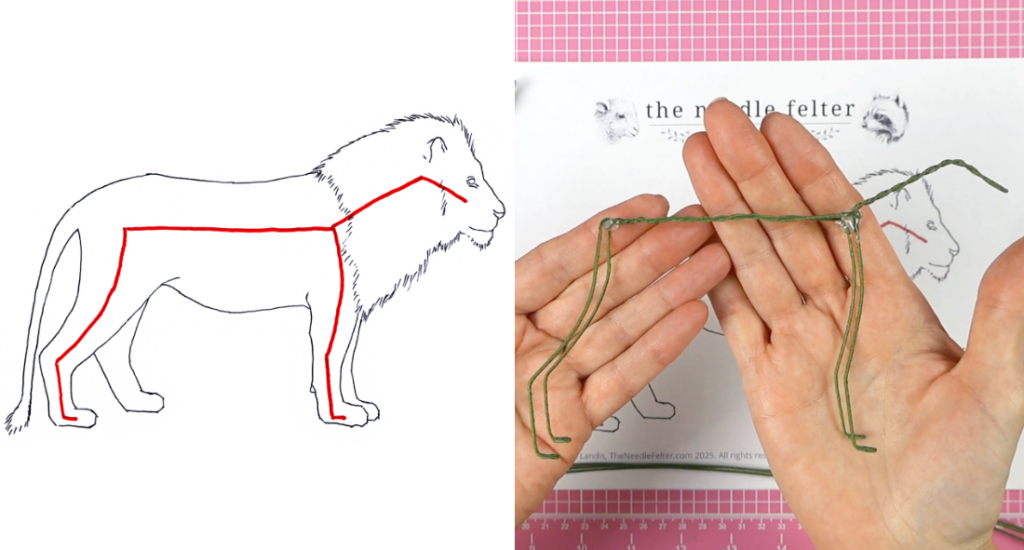
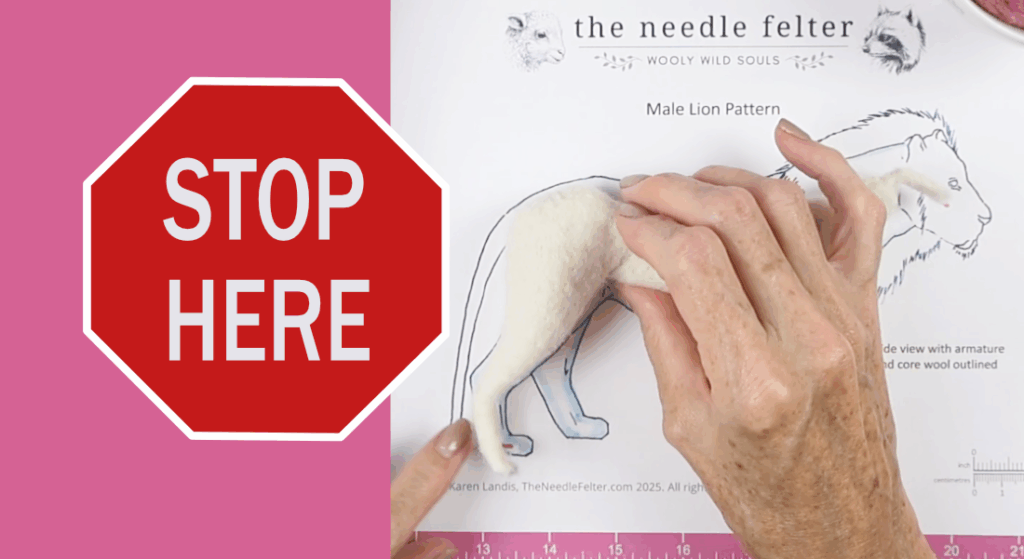
To help you follow and felt along, I’ve created a FREE PDF Pattern for the Male Lion! It includes a side view of the lion with the armature illustrated in red for you.
Other felted animals shown in this video
- My spiral horned Narwhal! I created a full Narwhal PDF Tutorial (available in my Etsy shop)
- Baby Chick Video Tutorial
- Kiwi Bird Video (made from a dryer ball)
Tools and supplies used in this project
I have included Amazon affiliate links for some of the items below. This means I may earn a small commission (at no extra cost to you) if you click through and make a purchase. Thank you in advance if you decide to support my work using these links. Doing so helps me continue to create content for you!
Check out the tools, supplies, and needle felting related books I recommend in My Amazon Shop.
Tools
- Wire Flush Cutters
- Chain Nose or Needle Nose Pliers
- Dritz Sewing Gauge or ruler
- Hot Glue Gun and Mini Glue Sticks (could also use E6000 glue or another strong, thick glue – you don’t want a thin, runny glue for this)
- Pink Double-Sided Self-Healing Cutting Mat 18″X24″
Supplies
Step-by-step instructions to make a male lion armature
- Fold your first 18″ long 22g cloth wrapped wire in half.
- Leave a small loop at the fold. Twist the wire down 2 ½” from the top of your loop. This twisted section of wire will become the lion’s head and neck.
- Separate the two remaining ends of the wire to form a V. These two wire ends will become the lion’s front legs.
- Fold a second piece of 18” wire in half. Place the V or middle of the fold over the end of your twist on the first wire (the base of the lion’s neck).
- Take the two wires on the right side (one shorter wire from the twist you made and one longer wire from the wire you placed over the twist). Twist these two wires on the right side twice. You don’t need to twist them tightly. The twist should measure a little less than ½”. Your shorter wire should be facing forward. The longer wire should be facing back.
- Repeat on the left side.
- Spread your right and left twists out so they are perpendicular to the the twisted neck wire.
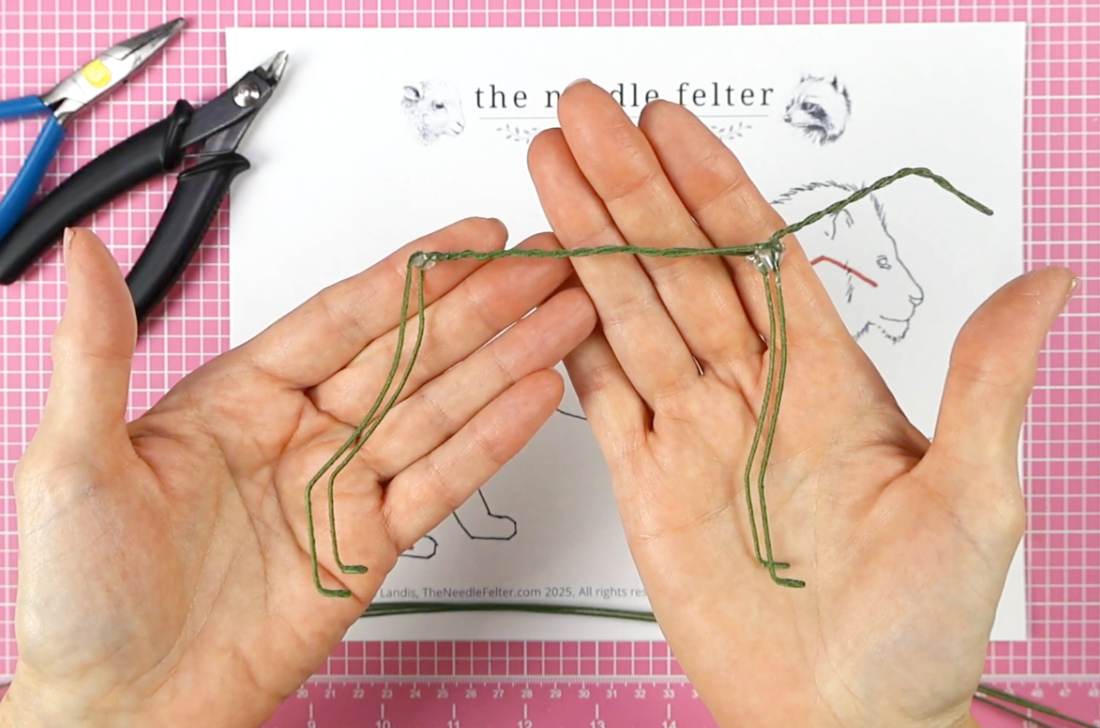
- You should have two shorter wires facing forward. These will be the front legs. The two longer wires will become the lion’s back and back legs. From above, the armature will look like a capital letter “H”.
- Cross the two longer wires over to make sort of a triangle shape. Loosely twist these two wires together. Continue twisting them until you are 3 ½” from the base of the neck. This will be the lion’s back.
- The base of this twist will become the lion’s hip. Bend the two back leg wires out perpendicular to the back or spine of the lion. Bend the wire on the right side of the hip down about ¼” from the spine.
- Repeat on the other side. This gives the lion hips.
- On the left back leg, make a bend slightly forward at 2 ½”.
- Make a second bend forward at just under 1”.
- Curve the 2 ½” wire gently back to make the lion’s knee following the curve on the back leg in the pattern.
- Cut the foot wire at ⅝”.
- Bend that wire into a loop to make a foot. I like to fold my loop in toward the center. So I fold it to the right on the left leg. You want the foot wire to sit just inside the foot in the pattern because we’re going to wrap the wire in wool.
- Repeat on the other back leg but fold the foot loop in toward the left.
- On the left front leg, make a slight bend forward at 2 ¼”.
- Gently curve 2 ¼” wire back following the shape in the pattern.
- Make a slight bend forward at 1”.
- Cut the foot wire ⅝” from the bend you just made. As with the back legs, make a loop inward for the foot.
- Repeat on the right front leg.
- Compare your armature with the pattern and make any adjustments
- Add hot glue or E6000 glue to the shoulder joint to stabilize.
- Add the same glue the hip joint. Before the glue cures, check the alignment of your armature with the pattern.
- Set the armature aside to allow the glue to harden.
- Bend the neck forward at the angle in the pattern.
- Make a bend 1” from the end of the loop on the neck wire. This will make the lion’s head.
- Adjust and align your armature it stands up and feels balanced.
- Cut a 6” wire for the tail. Set this aside as we’ll attach it near the end of this project. Your male lion armature is completed!
Additional resources
- Sarafina Fiber Art Wire Gauge Guidelines
- Sarafina Fiber Art Doe and Fawn Tutorial
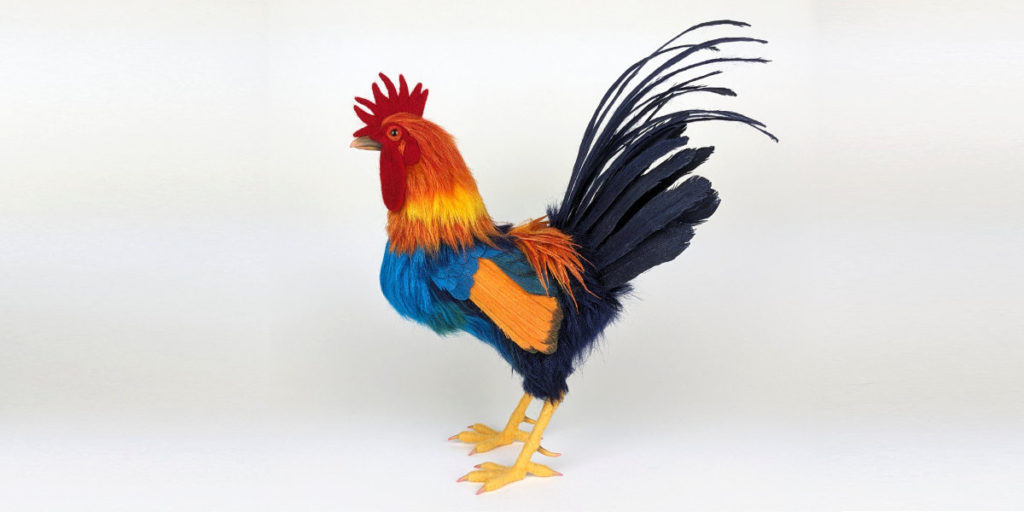
- Sarafina Fiber Art Rooster, Hen and Chick Tutorial
The illustration of wire gauges in this video is from Wikimedia Commons
- American Wire Gauge.jpg, https://shopdelta.eu/awg_l2_aid938.html, Public domain, via Wikimedia Commons
Are there any questions I didn’t address? Did you find my advice helpful? Leave a comment at YouTube for me! I will be planning my future videos based on your questions. Also, please check out the playlist for my FAQ series on needle felting if you missed any of the previous videos.
Don’t forget to subscribe to my YouTube channel and bookmark this website so you don’t miss any of my tutorials or other content.


