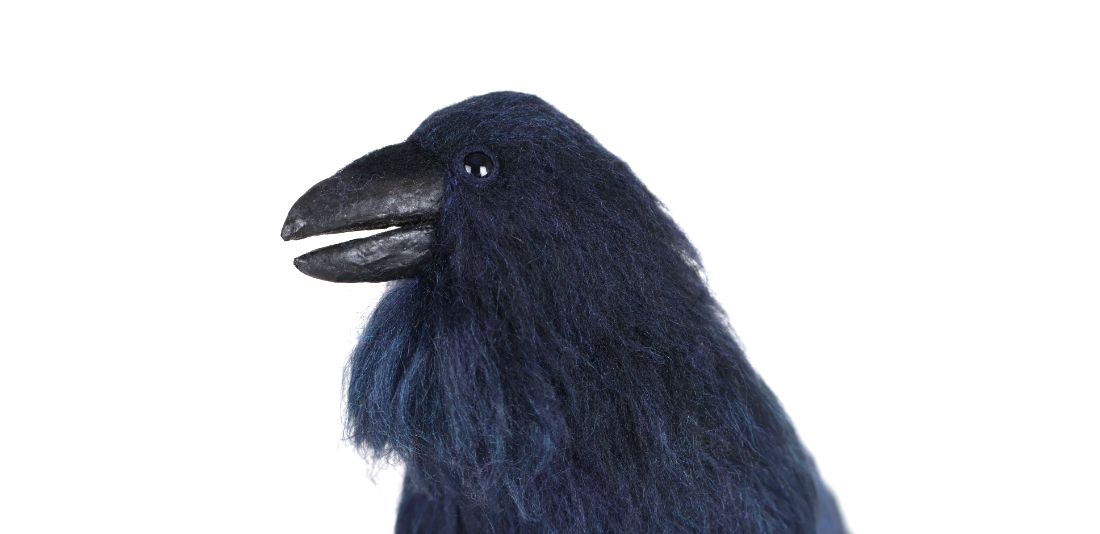
I recently embarked on a rewarding needle felting adventure, inspired by a free YouTube tutorial from Sara Renzulli of Sarafina Fiber Arts. The project? A stunningly lifelike standing raven with an articulated beak.
I knew this was a challenge I couldn’t resist! This project involved not only Sara’s usual techniques but also an upgrade to her standard bird armature and an interesting (relatively easy) hinged beak.
A level 4 challenge
This raven project is designated as a Level 4 tutorial, meaning it’s best tackled after you’ve mastered several of Sara’s armature-based projects. It assumes a solid grasp of essential techniques, such as:
- Wool wrapping
- Creating basic felted shapes
- Constructing tiny toes
- Using Swax
- Blending fibers for nuanced color
- Attaching wool using the shingling technique
- Attaching wool using the fur technique
While a supply pack is available, I was fortunate enough to take advantage of a Fiber Fairy Friday deal when the raven tutorial was released . This generous promotion meant that a significant portion of the required materials were complimentary with a $90 order. Here’s what I received:
- 3 ounces of Dark Gray Core Wool
- A partial sheet of DHG Merino Prefelt in Dark (Black)
- A length of Paynes Gray Core Wool
- A length of Peafowl (blue) Plumage
- A length of Victoria Crowned Pigeon (purple) Plumage
- A length of Wood (green) DHG Merino Combed Top
- 1 ounce of Raven (bluish-black) Plumage
- 12” of Chocolate Tussah Silk
- The printed raven template pattern
These Fiber Fairy Friday offers are an amazing way to try new fibers and expand your stash. The only items I needed to provide were wire, Swax, and I ended up utilizing a bit of my Sarafina Raven House Carded Batt, too.
Building the raven’s foundation: a robust armature
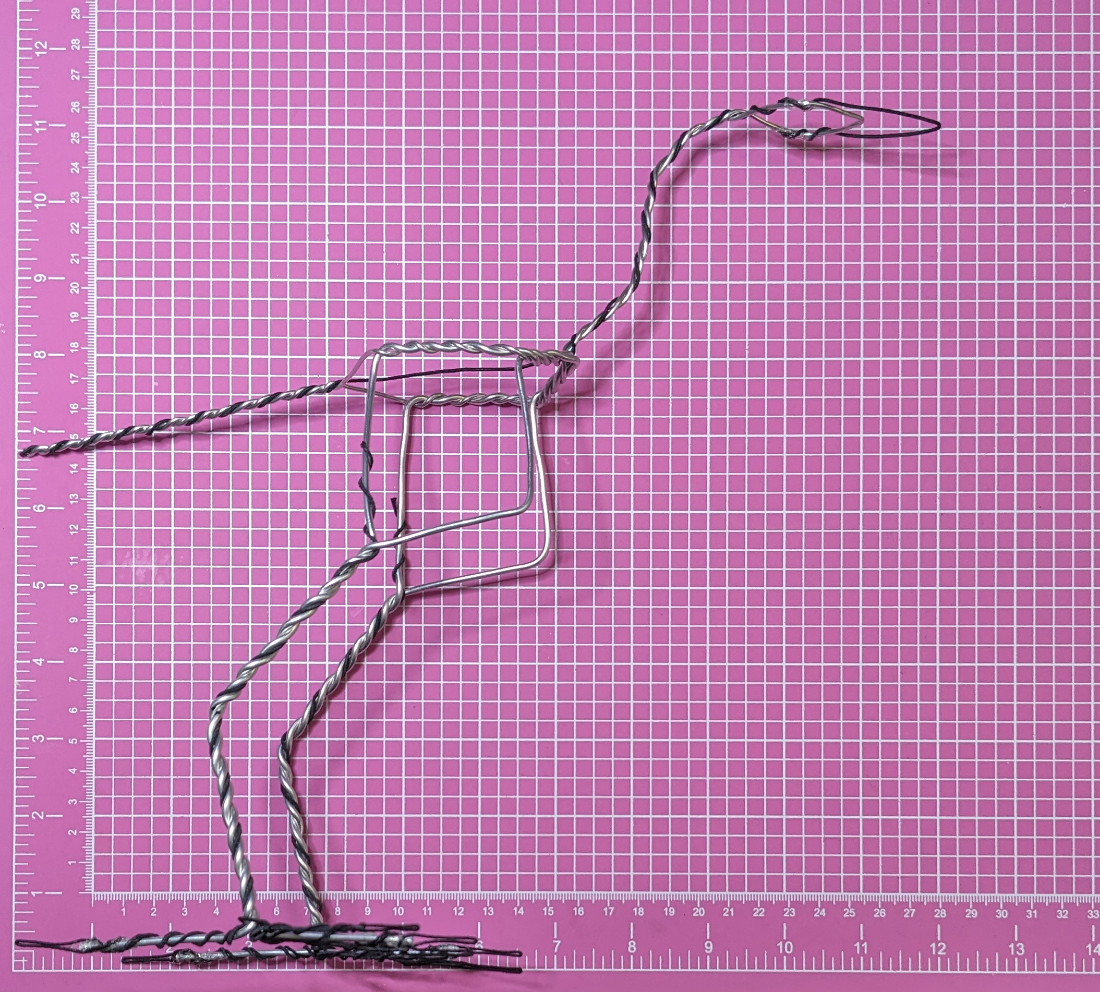
The tutorial begins with constructing the armature, which is a slight departure from Sarafina’s usual bird armatures. The design includes additional wire to create a box-like structure within the body, providing crucial stability for this larger sculpture. The claw and beak construction are also ingeniously designed to add strength and functionality to those areas of the raven. When working on a piece of this scale, every bit of reinforcement is invaluable.
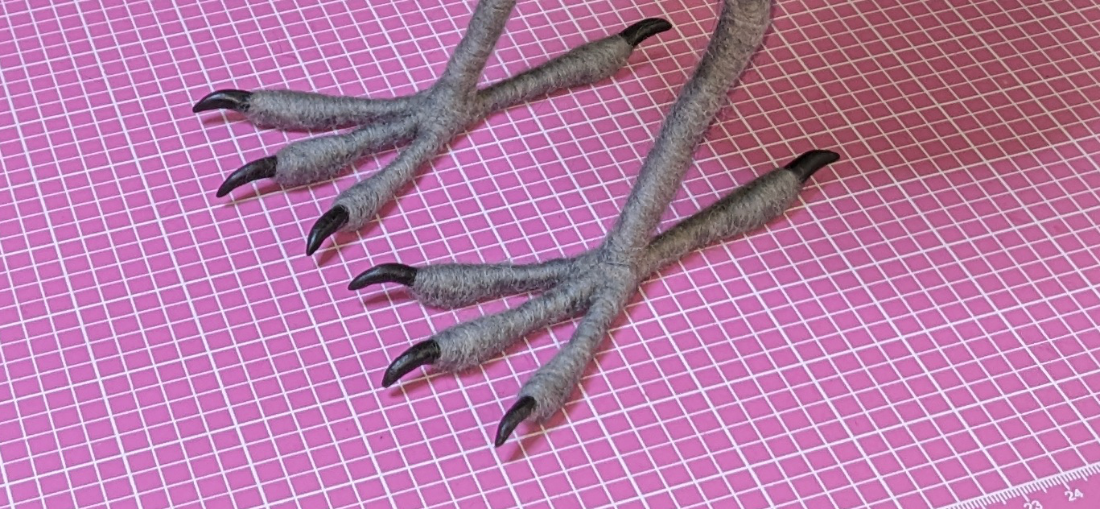
Once the armature is complete, the next step is forming the talons and coating them in Swax. While the tutorial didn’t mention adding pigment, I had some black powdered pigment on hand and decided to mix it with the Swax to create a dark base color. Looking back, I might have made his feet a bit too thick. I admire the more delicate, slightly unruly look of Sara’s feet in the tutorial. It’s something I’ll aim for next time.
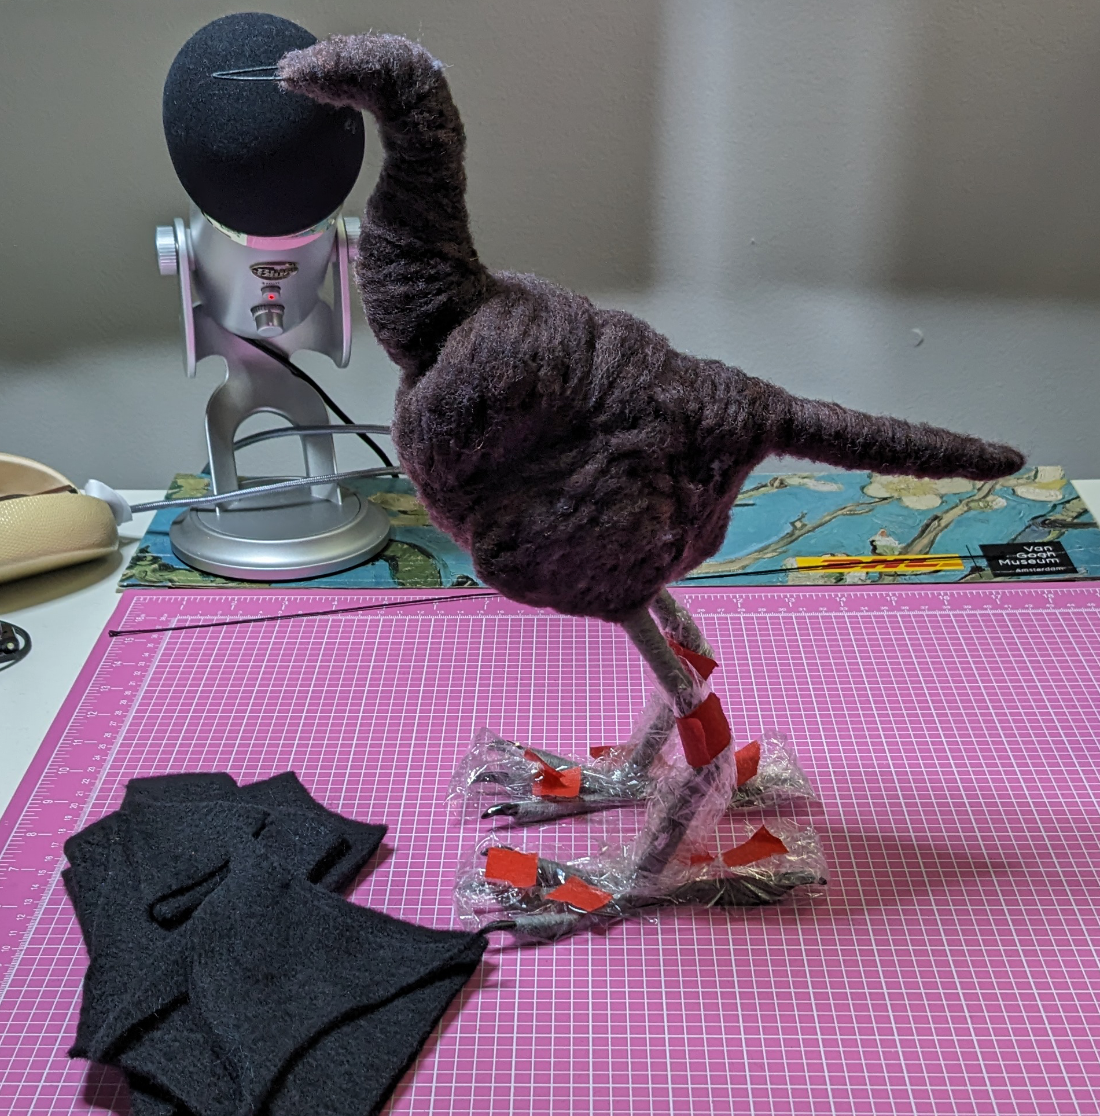
To protect the newly formed talons, I wrapped them in kitchen plastic wrap and tape while I continued building the core.
The core wool process was similar to other Sarafina advanced bird and animal projects, but on a larger scale. It was an excellent refresher on paying attention to the underlying shapes and forms of a bird’s anatomy. I thoroughly enjoyed this stage, meticulously building up the raven’s body following Sara’s guidance.
From prefelt to plumage: blending color layers
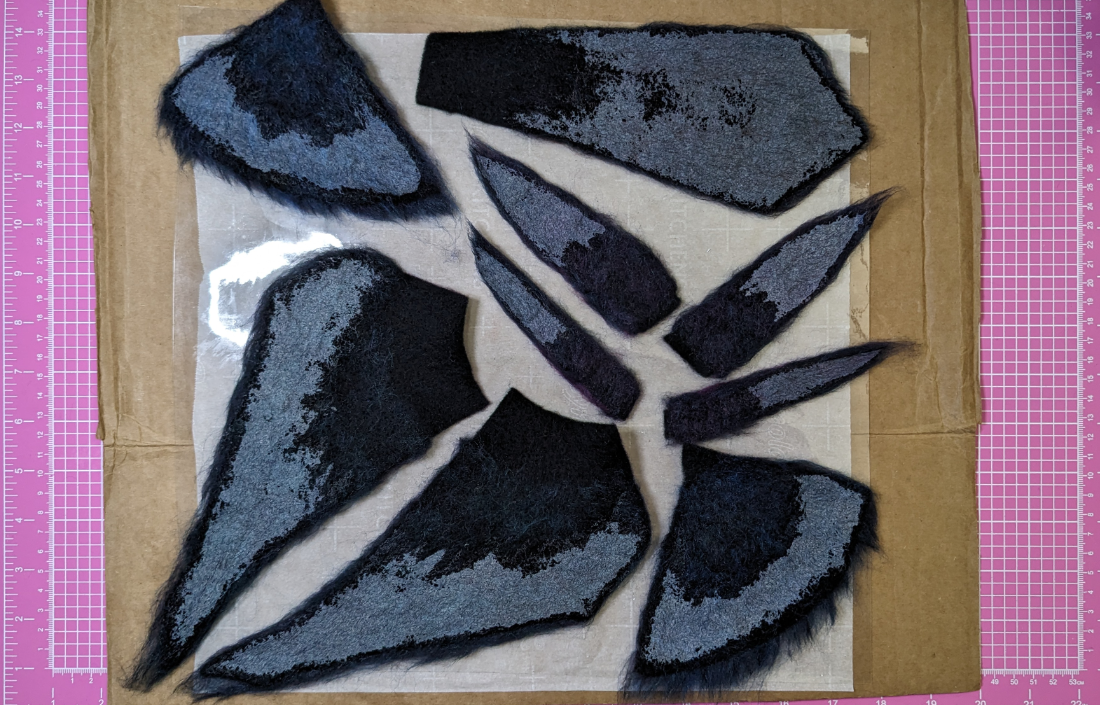
The printed pattern guides you in cutting the prefelt into the tail, wing, and beak shapes. The prefelt pieces become the foundation for the plumage. This is where the project truly comes alive, as you begin working with the stunning colors of the plumage. Following Sara’s color palette, I blended browns into his tail, greens into the long wing feathers, purples into the shorter wings, and blues into the feathers that drape his shoulder.
Sara recommends coating the front of these pieces in a mix of Powertex Medium and water to provide stability. However, I preferred to coat only the back of each piece, preserving the natural texture and sheen of the plumage. So I opted for a water and Paverpol mix (which I believe is a predecessor to Powertex). This approach worked well and retained the fluffy texture and shine of the fibers.
The next step is using the Face Ace Tool to quickly create the upper beak form. Though not essential, it’s incredibly useful for sculpting this type of shape. I definitely need to use mine more often!
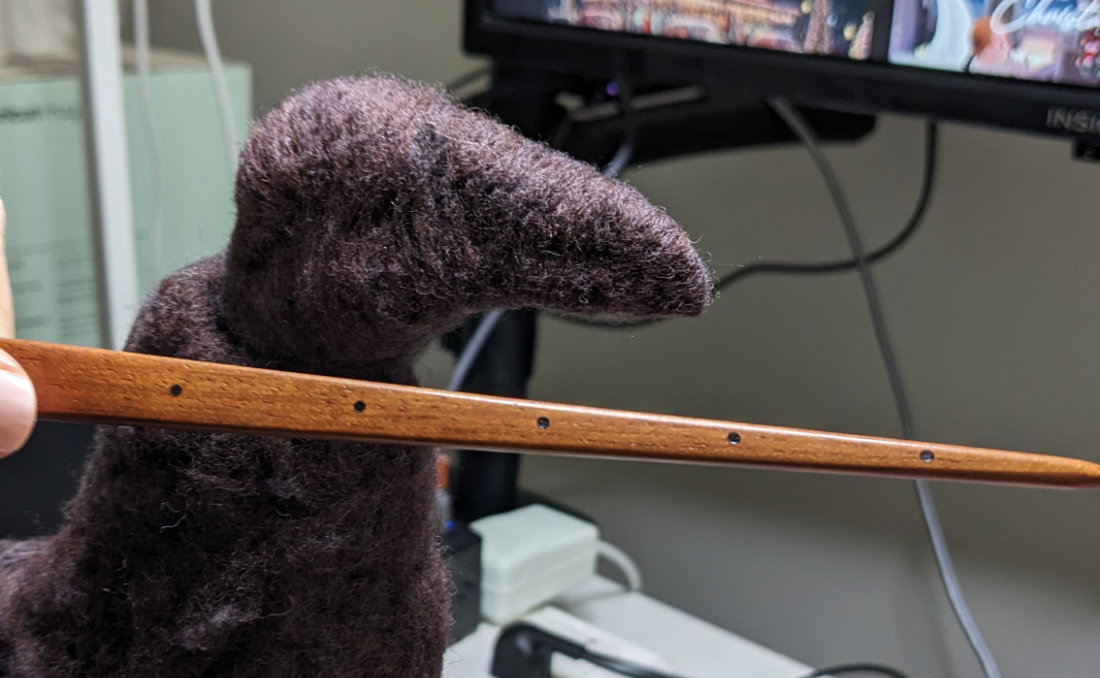
Then, the bottom beak is constructed and both beak pieces are coated in Swax. His beak turned out a bit chunkier than Sara’s, but I still quite like it.
Bringing the raven to life: details and finishing
Instead of using felted wool eyes as demonstrated in the tutorial, I opted for black glass eyes. I love how light reflects off them, giving the raven a touch of realism. After placing his eyes and cheeks, I covered his head in topcoat.
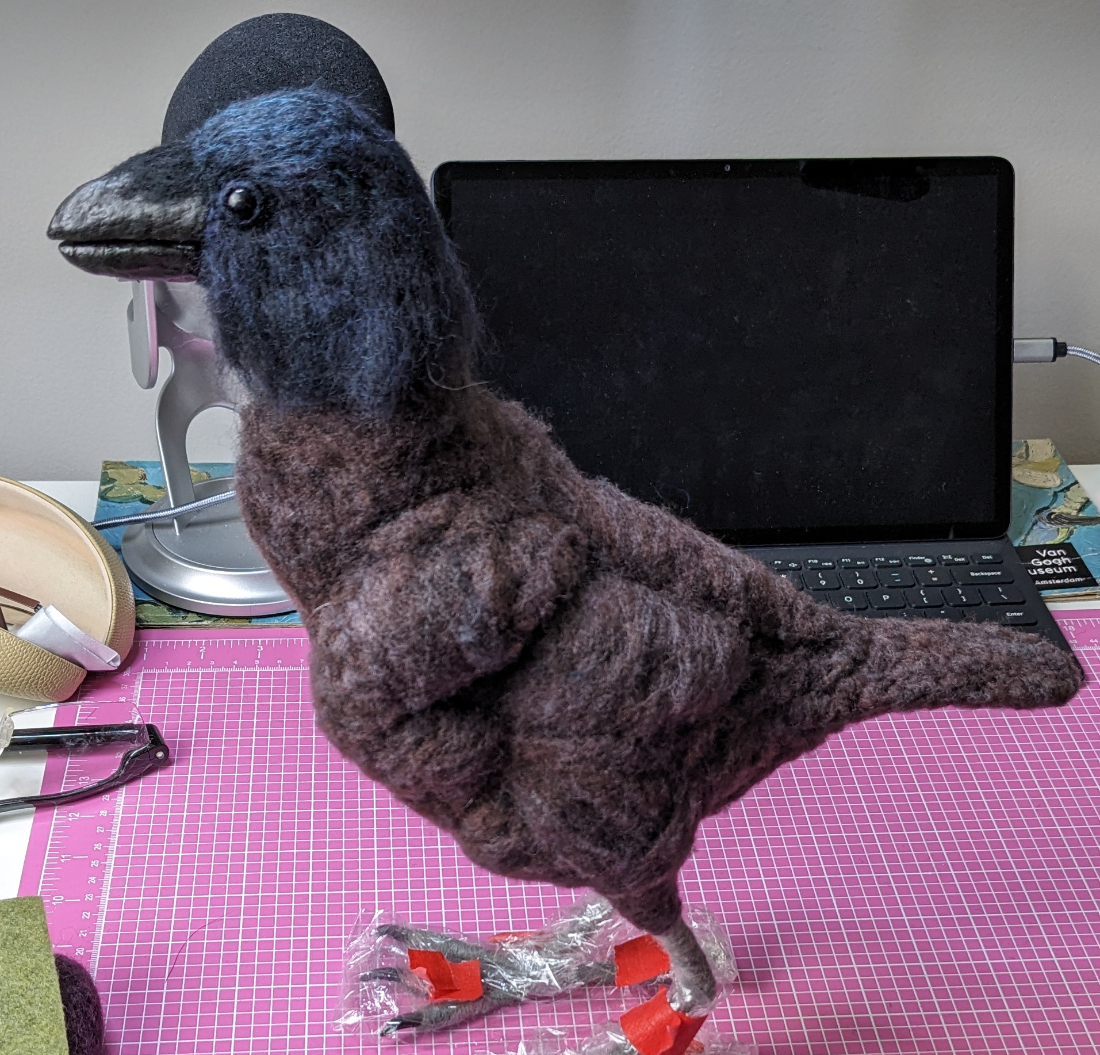
Next, I began the process of covering his body in color. Since I was concerned about running out of the Raven Plumage, I blended it with the Raven House Carded batt from my stash. (This batt seems to be discontinued as it is no longer on the Sarafina website).
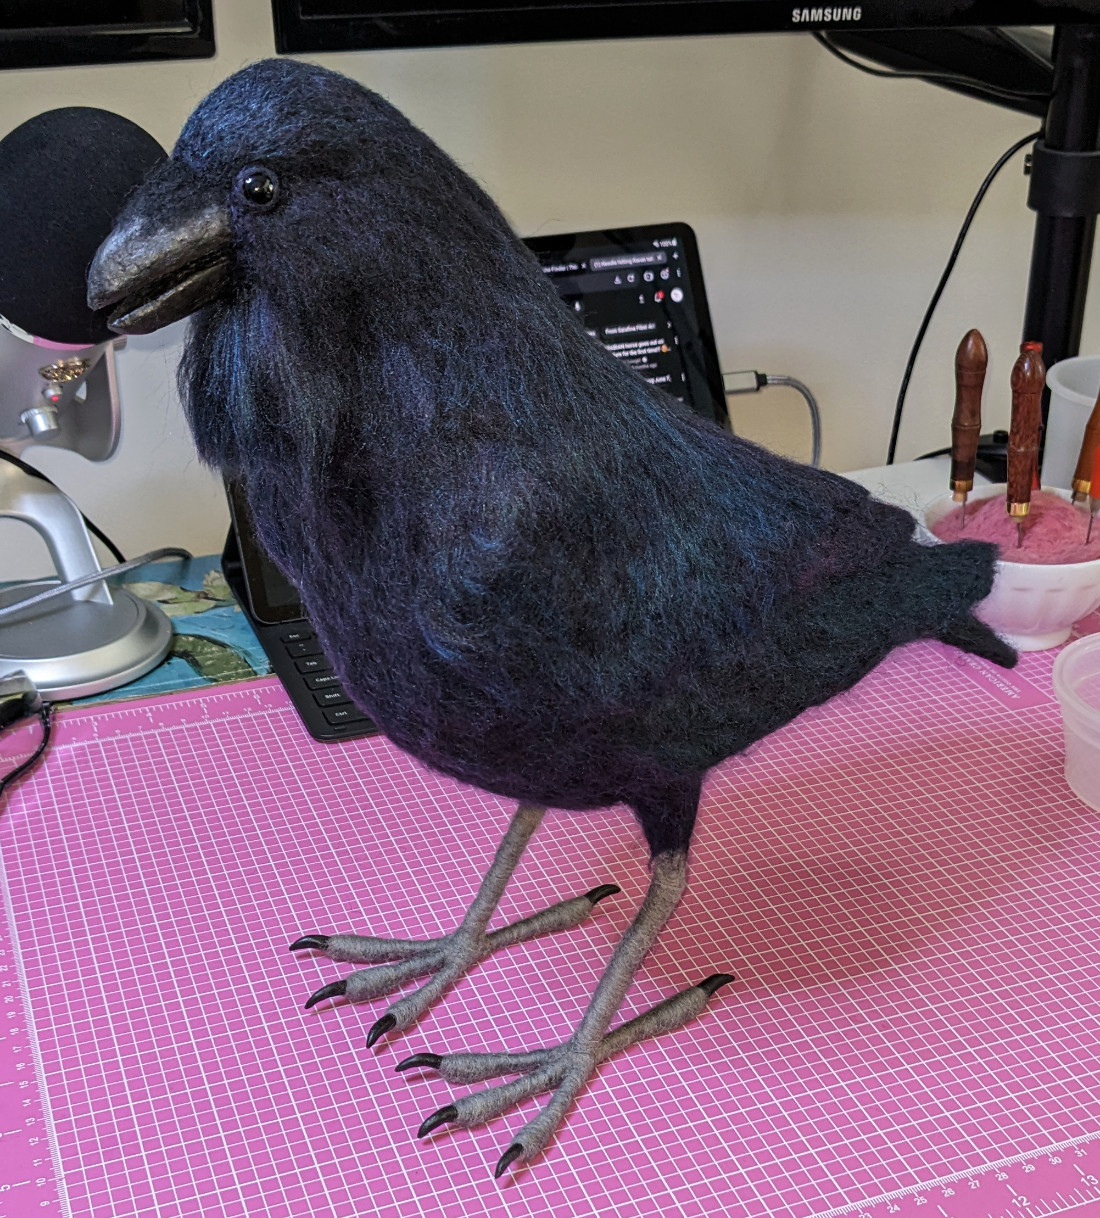
Finally, I placed the wings and tail, positioning them carefully. After a few minor adjustments and finishing touches, my raven was complete!
A project I’m very proud of
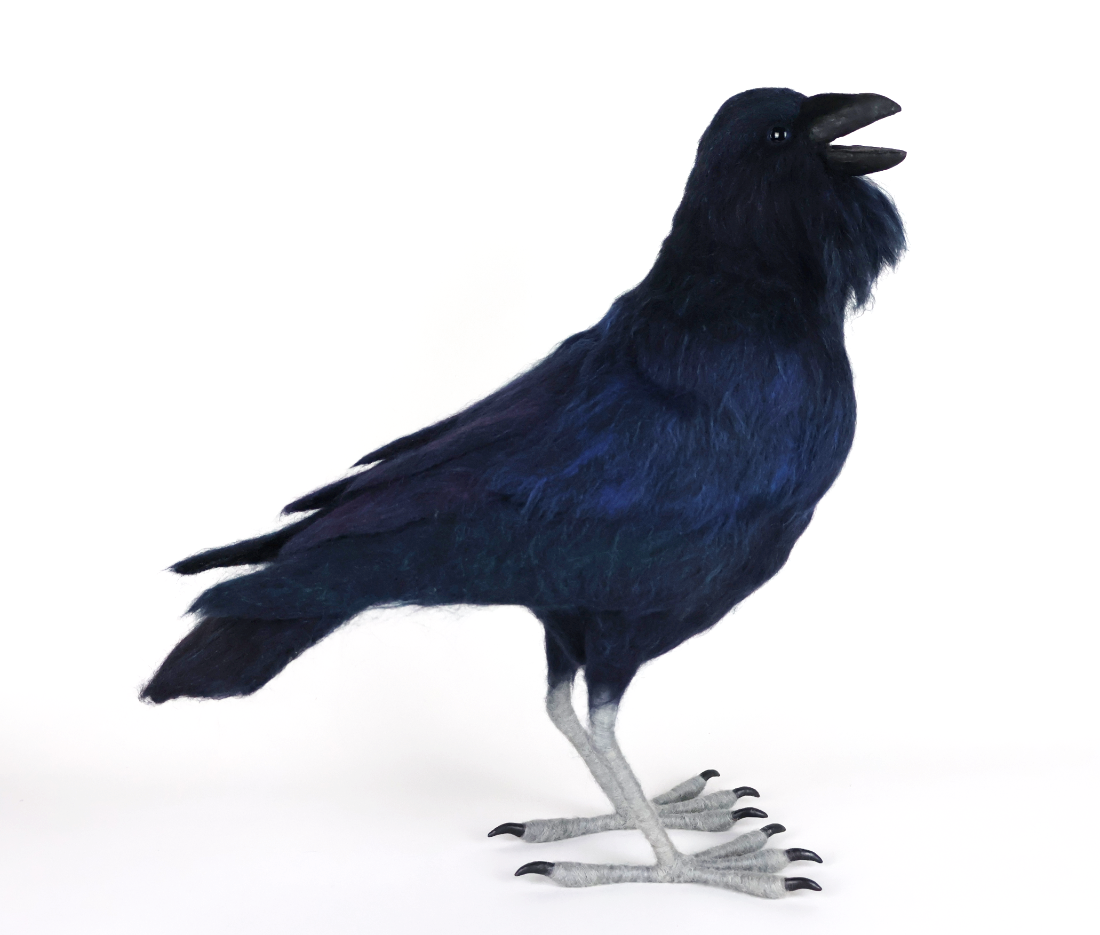
I am particularly pleased with the articulated beak, which adds a whole new level of realism to the piece. Although his beak doesn’t quite stay fully closed due to the wire position, the ingenious design is effective and very easy to execute. This raven was an outstanding way to kick off the new year. I’ve added new techniques to my skillset, worked with luxurious Plumage fibers for the first time, and created a big, beautiful standing bird that I’m very proud of! This project has been a fantastic learning experience and a joy to complete. It’s wonderful to see him standing so proudly (and likely looking to cause a little bit of trouble).
Last Updated on March 14, 2025


 How to design realistic needle felted animals (FAQ #10)
 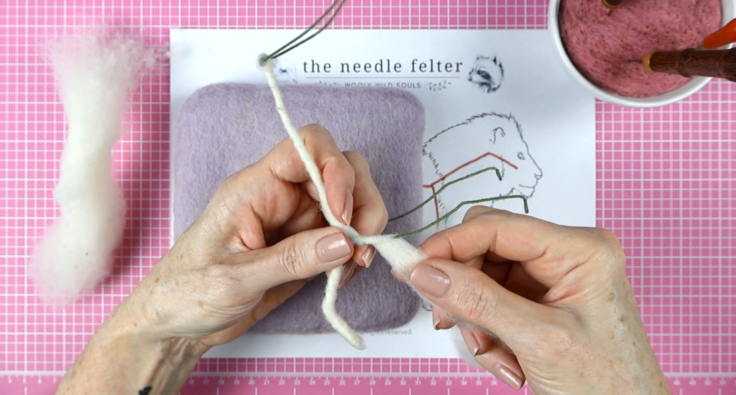 Ditch the chenille stems! The BEST way to wrap your armatures (FAQ #9)
 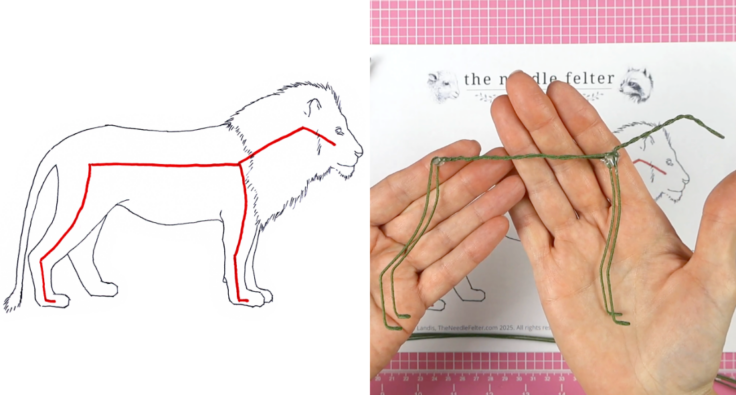 Armatures for felted animals + Lion Project kickoff! (FAQ #8)
 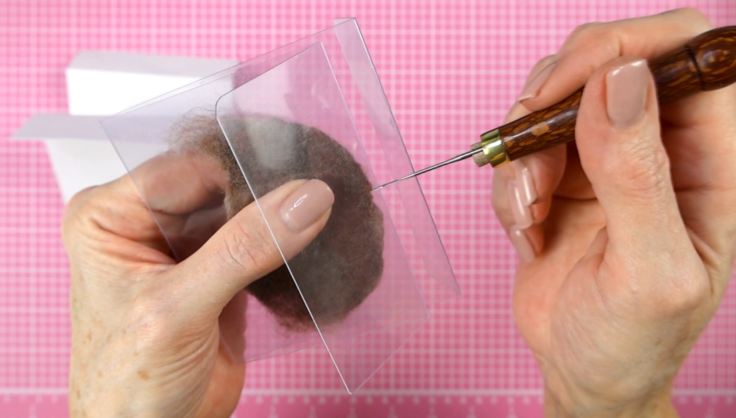 Felting edge perfection: tips, solutions, & a clever DIY tool (FAQ #7 video)