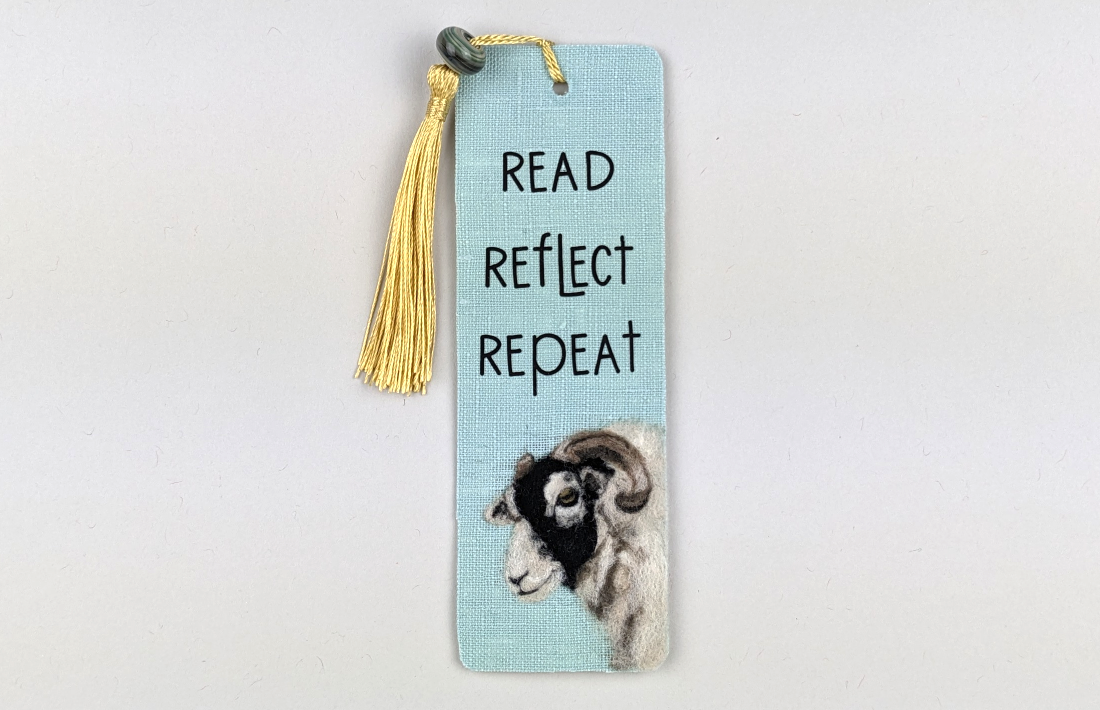
Ever since I bought my Cricut Joy Xtra, I’ve wanted to make something that includes my two favorite hobbies. A custom bookmark is my first try at combining needle felting and Cricut crafting. The size and flexibility of the design make this a relatively quick and easy project. And they make fantastic gifts!
I started by creating a pattern (it’s a free PDF file). And I made a video to share my approach and the inspire you to create your own version.
Try making a custom bookmark for your favorite bookworm or for yourself! The possibilities to personalize them are endless.
Tools and supplies used in this project
I have included Amazon affiliate links for some of the items below. This means I may earn a small commission (at no extra cost to you) if you click through and make a purchase. Thank you in advance if you decide to support my work using these links. Doing so helps me continue to create content for you!
Tools
- Pink American Crafts Self Healing Cutting Mat, 18 x 24-Inch
- Cricut Joy Extra
- Cricut Joy Extra Cutting Mat
- Epson EcoTank ET-2800 Wireless Color All-in-One Cartridge-Free Supertank Printer
- Scotch 8″ Precision Ultra Edge Bent Titanium Non-Stick Scissors
- Amazon Basics Compact Tabletop Ironing Board with Folding Legs or Cricut EasyPress Mat (12″ x 12″), Protective Resistant Mat
- Small, Fine Mist, Refillable Spray Bottle, 2.7oz/80ml (for water)
- Sunbeam Classic Steam Clothing Iron
- Felter’s Foam Mat/Pad
- 38 Star Needle Felting Needle
- 40 Twist or Spiral Needle Felting Needle
- Handmade Wooden Needle Felting Needle Holders – Mine were made by a gentleman who passed away. They are no longer available.
- Cricut Weeding Tool
- Galvanized Metal Ridged Oval Container
- Embroidery Scissors
- Cotton Pressing Cloth
- Sewing Gauge
- Cricut Easy Press Mini
- Beadsmith Wire Semi-Flush Cutters
Supplies
- 25 Unfinished Blank Craft Cardstock Bookmarks with 25 Colorful Silky Tassels
- Black Cricut Everyday Iron-on Vinyl
- Hammermill Premium Inkjet & Laser Printer Paper 24 Lb, 97 Bright, 8.5 x 11”, 500 sheets
- Linen scrap IL019 All-purpose Meadow Softened – 100% Linen Fabric – Medium (5.3 oz/yd2), from Fabrics-Store.com Doggie Bag section for All purpose linen (IL019)
- Sublime Stitching Fine Tip Iron-on Transfer Pen
- Scrap cardboard (to cover work surface)
- Cricut Heat Tape
- Ball Head Straight Pins
- Beeswax Felter’s Palette Carded Wool
- Dark (Black) DHG Carded Extra Fine Merino
- Sand DHG Carded Extra Fine Merino
- Sunshine Felter’s Palette Carded Wool
- Natural White DHG Carded Extra Fine Merino
- Beaver DHG Carded Extra Fine Merino
- Mocha Felter’s Palette Carded Wool
- Powdered Sugar Felter’s Palette Carded Wool
- Stitch Witchery by the yard sadly seems unavailable. I just started using Pellon 807 Wonder Web by the yard or in 20” wide 1 yard package (Pellon 807 works exactly the same as the Stitch Witchery – 807 is the only one I tested)
- Drafting Tape (or another low tack tape)
- Dritz Fray Check
- Handmade Glass Lampwork Bead by Kimberly Branch
- 24 Gauge Beadsmith Silver Color Craft Wire
Step-by-step instructions
Pick the fabric and words to include
- The first thing you need to do is pick out your fabric. Since I’m making a black and white Swaledale sheep, I choose a color that would help the sheep to stand out from the background. I used a green linen called Meadow. It is a medium weight, all-purpose 100% linen from Fabrics-Store.com. Try to select a fabric that will help the image you use be a focus.
- I choose to use short words since I am making a vertical bookmark. But you could also rotate it and make a horizontal design if your words or image fit better in that format. If you don’t have a Cricut machine, you could embroider the words, paint them on or not include words at all and just needle felt a design.
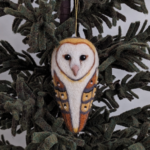
- If you haven’t tried 2D needle felting or wool painting before, take a look at my post on Dani Ives’ Painting with Wool: Essentials to Mastery course. It is a great place to start. Dani includes a variety of subjects so there’s something for everyone. If you prefer a single project with a kit, Dani has collaborated with Felted Sky on a few. Here’s a post and video I made about the Barn Owl project. It’s a little pricey but worth every penny.
Transferring the image to the fabric
- Print your image on printer paper at the appropriate size for your bookmark. Before you print it, make sure you flip the image horizontally. Otherwise, your transfer will be backwards.
- Use a fine line fabric transfer pen to outline the image. I’ll use my sheep example going forward. I draw the outline just inside the edge of each shape that I’m capturing. Since I’ll cover the outline with wool, it will be the right size. If I draw my outline outside the snout, adding the wool to cover the line will make the snout too wide.
- I used Cricut Heat Tape to adhere my linen to the paper. You must use heat tape, not regular tape.
- I flipped the transfer image over so the ink is facing my bookmark and added a piece of heat tape to the bottom.
- Place your fabric and transfer on a heat safe surface to iron it. I place a piece of printer paper over the transfer to absorb any ink that might seep through. This keeps the ink off my iron.
- I heated my clothing iron to the wool setting, and then ironed the transfer for 15 seconds, giving it a little pressure.
- I lift the iron without moving the paper or fabric. I let it cool a little, and carefully lift off the first piece of paper. I hold the transfer paper down so it doesn’t shift out of place and peel back an edge. If it looks good, you’re done. If it needs more heat, you can carefully replace the paper and iron it for another 5-10 secs. Let the transfer cool and check it again.
Needle felting the sheep
- I pinned my bookmark to a foam pad.
- I used a tiny amount of yellow wool as a base for the iris. I try to tear the wool and compress it a little by rolling it between my fingers. That helps me estimate how much I need. You can just lay it on top of your piece to see how it looks before you felt it.
- I felted this entire sheep portrait using 38 Star and 40 Twist needles.
- I also tried to use as little wool as possible because I don’t want this piece to get too thick.
- I rolled a tiny line of black to create the pupil and outline the eye.
- I started filling in the area around the eye with beige wool and more of the black.
- I felted black across the forehead and down the cheek. I also added thin bits of black in the beige area around the eye to give it some detail. On something this small, it’s hard to add a ton of detail. So I’m just adding enough to give it a realistic look.
- I rolled thin ropes of black to indicate the nose and mouth.
- I continued filling in the light areas of the sheep with beige, the dark areas with black, and added some brown to the body in the shadow areas.
- I used a light brown as the base color on the horns with a little darker brown in the areas where the horn turns. Now I’ve got the eyes filled in and all my base colors in.
- To give the horns more depth, I mixed some darker brown and black and added that to the shadow areas.
- I also added some thin layers of beige over the lighter brown to give the horns highlights.
- I created a thin line on the top of the horn with beige mixed with natural white to capture that strong highlight there. I’m not worrying about the striated lines or ridges in the horn. The sheep portrait is so small that I think it will work fine without that degree of detail.
- Since the snout and the top of the white over the eye are the brightest areas, I add bits of bright white to those areas.
- I used the natural white to add highlights to the sheep’s fleece.
- I did a little touching up by darkening or lightening a few areas. Then I removed the piece from the foam pad.
Cut out and weed the words
- I created a template in Cricut Design Space the size of my bookmark. I added the words and mirrored them so they are flipped horizontally (just like the outline of the sheep transfer).
- I cut the words out of a scrap of Black Cricut Everyday Iron-on heat transfer vinyl using my Cricut Joy Xtra.
- I weeded the vinyl using a Cricut Weeding Tool. Weeding is just removing any vinyl you don’t want to iron-on to your piece. The pieces you do want to iron-on stay attached to the transfer sheet.
- Once all the words are weeded, I flip them over to see how they will look on the bookmark.
Fusing the fabric to the cardstock bookmark
- I cut out a piece of Stitch Witchery (or Pellon 807 Wonder Web) the size of the bookmark.
- Since I had a few extra long bits of fiber on the back of my sheep portrait, I trimmed those down.
- Then I made a sandwich of the cardstock bookmark, the Stitch Witchery, and my linen fabric. I checked the alignment by holding the sandwich up in front of a strong light.
- I flipped the piece over and used Cricut heat tape to gently tape the cardstock to the fabric.
- I placed the bookmark on my ironing/pressing mat. You need to iron on a heat safe surface.
- I covered the mat with some scrap cotton fabric and a piece of printer paper. I placed the bookmark on the printer paper. Then I covered the bookmark with a cotton pressing cloth.
- Following the Stitch Witchery instructions, I sprayed a water the pressing cloth. But I sprayed too much. The cloth should be damp. Mine was wet. This was a mistake and it made my cardstock curl a little. I was able to flatten it back out. So just lightly mist the pressing cloth before putting it over your piece.
- I ironed the bookmark for 10 seconds on the Wool setting. After checking it, I decided to heat it for another 5 seconds to be sure.
- I slowly removed the heat tape, being careful not to tear the cardstock.
- I carefully trimmed the excess fabric away with a pair of sharp scissors.
- Cutting the hold for the tassel out was a bit of a struggle. I didn’t do a great job but it’s ok. I was worried that the fabric there might fray so I put a little Fray Check around the edge of the hole.
Pressing the letters
- I lined up the letters on my bookmark (sticky side down). I smoothed the top of the letters to lightly tack them in place.
- I used my EasyPress Mini to adhere the letters to the linen. You need to iron on a heat safe surface so I’m using my ironing/pressing mat. I covered the mat with some scrap cotton fabric and a piece of printer paper. I placed the bookmark on the printer paper.
- I put a scrap of printer paper over the wool sheep portrait just so I don’t accidentally do anything to it.
- I pressed the vinyl letters on using the EasyPress Mini on low for 25 seconds.
- The Mini is designed to be moved around as you press your vinyl. You shouldn’t leave it in one place. Keep gliding it over the transfer sheet as you count down the time.
- I let the vinyl cool. Then I carefully peeled up the edge of the transfer sheet and checked the letters to make sure that they are stuck down. If the letters are not sticking, you want to stop removing the sheet, lay it back down, and press for an additional 5-10 seconds. Let it cool and recheck.
Finishing touches
- I found a glass lampwork bead in my stash that I thought would look beautiful with the color palette I have going with this bookmark. Adding the gold tassel to the bookmark will set that bead off nicely.
- I used a piece of 24g craft wire to bend a temporary needle to help me attach the bead to the tassel. I just cut a piece of wire, bent it in half, pinched in the bend, and threaded the tassel through the hole in the bead.
- Then I used my temporary needle to thread the tassel through the hole in the bookmark. I pulled the tassel and bead through the cord. And my bookmark is complete!
The completed bookmark and sheep portrait
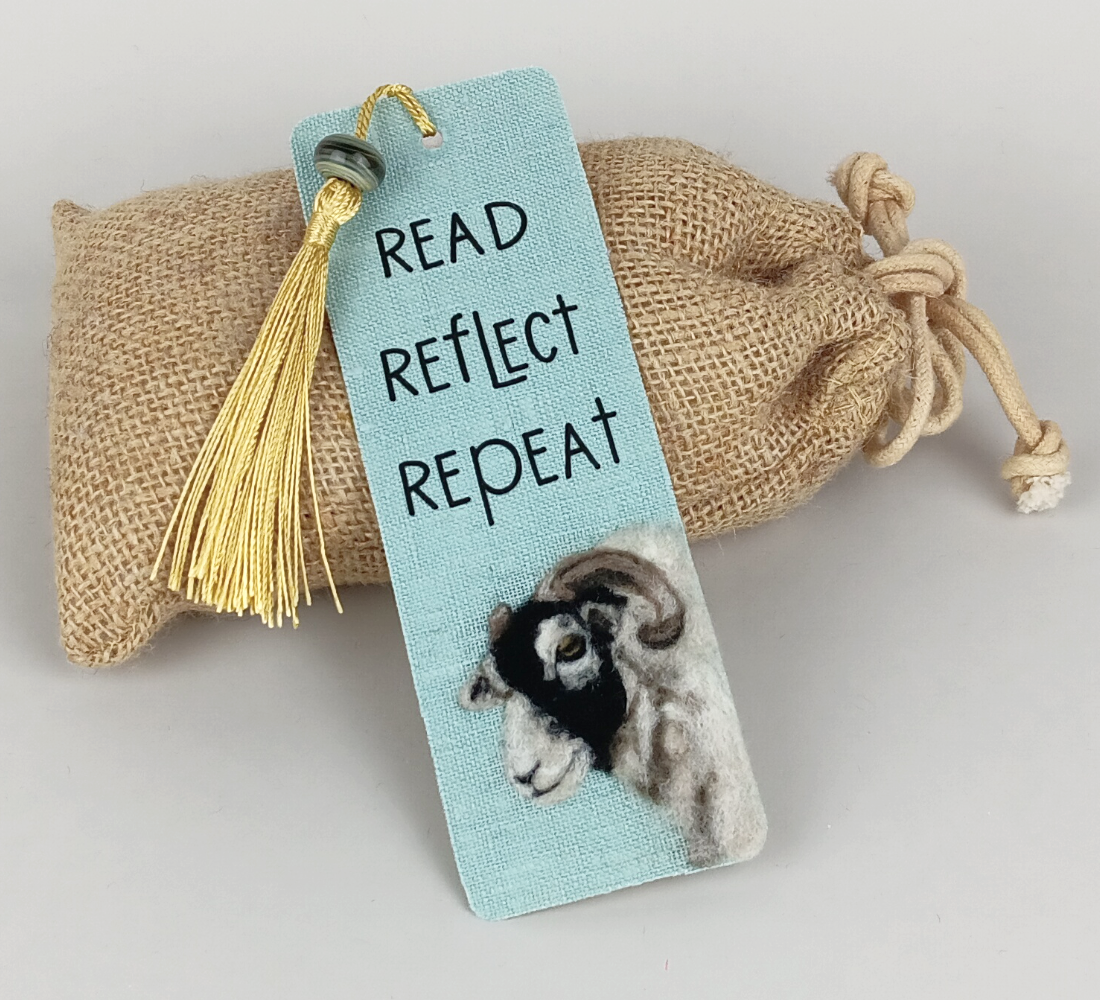
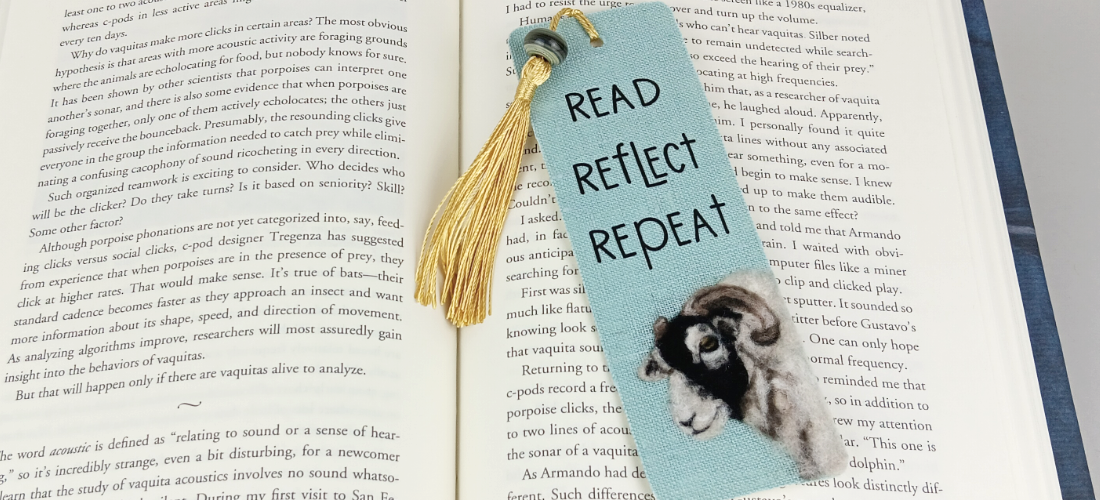
And here is what I ended up with! Anyone can go to Target or Amazon or somewhere else and buy a bookmark. I love the way it turned out and plan to make more!
The photo of the Swaledale sheep in the video and used as a reference is from:
- Cute Swaledale Sheep (special breed of sheep known for its wool and symbol of the Yorkshire Dales National Park, England.) Free photo 2676488 © Ai-lan Lee – Dreamstime.com
Last Updated on January 24, 2025


 How to design realistic needle felted animals (FAQ #10)
  Ditch the chenille stems! The BEST way to wrap your armatures (FAQ #9)
  Armatures for felted animals + Lion Project kickoff! (FAQ #8)
  Felting edge perfection: tips, solutions, & a clever DIY tool (FAQ #7 video)