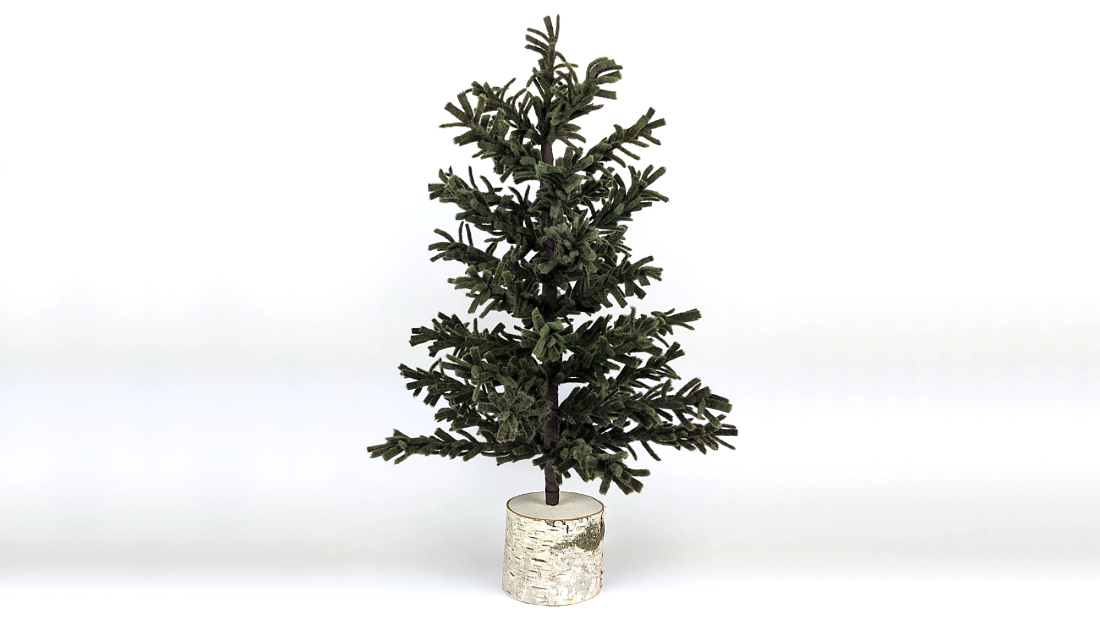
I watched the Wooly Pine Tree tutorial on Sarafina Fiber Art’s YouTube channel several years ago. While I wanted to make one, you need the kit for the full instructions. I looked for the kits for a couple of years, but they seem to no longer be available. I decided this was the year I’d figure out how to make this stunning tree. Here’s what I did.
In this video, I share how I made my tree. But you’ll also need to watch the original tutorial video to complete a tree of your own. It’s worth it because it’s a clever and beautiful project!
My finished tree is 21″ tall (including the base) and 14″ wide. Once I figured what to do, I was able to complete the tree in about 4 hours. I made the branches while watching old episodes of Project Runway one evening and put the tree together the next.
Here are the rows and measurements I ended up using:
10 rows plus the tree top for a total of 38 branches
Tree top = 1 wire @ 4 1/4”
Row 1 = 3 wires @ 3 3/4”
Rows 2 & 3 = 3 wires @ 4 1/4” (6 total wires)
Row 4 & 5 = 3 wires @ 4 3/4” (6 total wires)
Row 6 & 7 = 4 wires @ 5 1/4” (8 total wires)
Row 8 = 4 wires @ 5 3/4”
Row 9 = 5 wires @ 6 1/4”
Row 10 = 5 wires @ 6 3/4”
Supplies I used for this project
I have included Amazon affiliate links for some of the items below. This means I may earn a small commission (at no extra cost to you) if you click through and make a purchase. Thank you in advance if you decide to support my work using these links. Doing so helps me continue to create content for you!
- Wool Fabric 1 Fat Quarter of mill dyed wool in “Evergreen”
Note: I only had about a three inch strip of fringe leftover. I wrapped my longest branches first so I knew I had them covered. That also allowed me to use the leftover bits from those on the shorter branches. - Wood Dowel ⅜” wide, I cut mine down to 14 ½” long
- 18g green cloth wrapped wire, 18” long
- Brown Florist Tape
- Brown fabric scrap
- 3” Birch Pillar for base
- Alene’s Tacky Glue
- 12″ Ruler
- Wire Cutters
- Painter’s Tape
- Plastic Fabric Clips
- Fiskars Micro Tip Snip Scissors
- Sharpie marker
- Scotch All Purpose 8″ Scissors
- Small handsaw to cut dowel
- Stanley Classic Utility Knife to carve point at one end of dowel
- Sandpaper scrap to smooth out the carved point and the end of the dowel
- ⅜” Drill Bit (I used several smaller sizes to slowly widen the hole so I didn’t accidentally split my base.)
- Cordless Drill
Last Updated on June 25, 2024


 Unlock the Secret to Stable Needle Felted Animals! (FAQ #11)
  How to design realistic needle felted animals (FAQ #10)
  Ditch the chenille stems! The BEST way to wrap your armatures (FAQ #9)
  Armatures for felted animals + Lion Project kickoff! (FAQ #8)