I often see Emperor Penguin chicks. But ever since I watched the “Face to Face with Emperor Penguins” video from Chris Long of WildKiwiAdventurer, I am completely charmed by the adults.
This video is what inspired me to needle felt an adult Emperor Penguin.
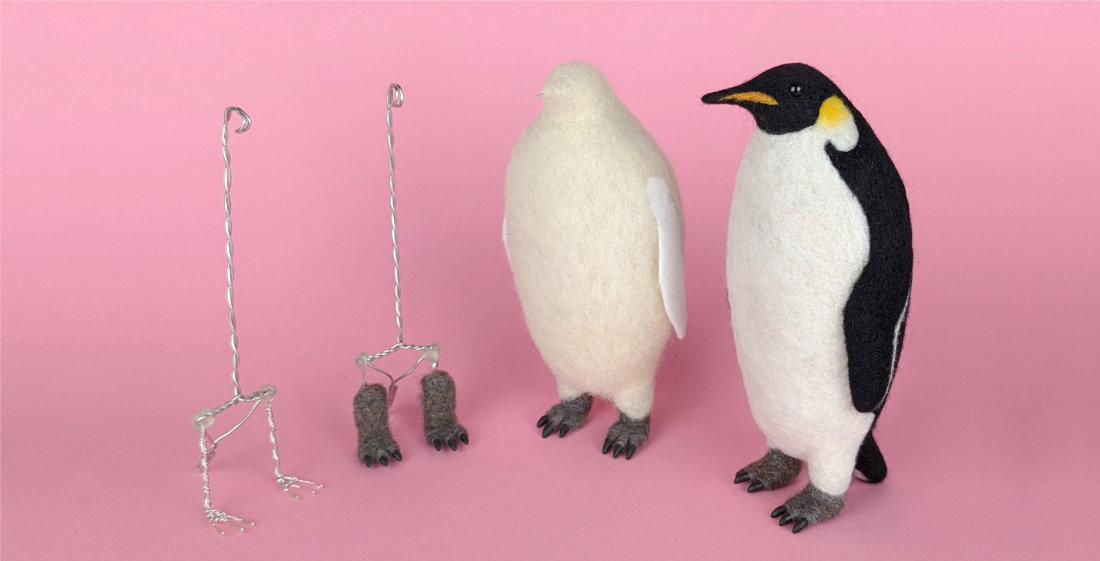
I created a video mostly focused on explaining how I approached making the penguin’s feet.
If you’d prefer to purchase a completed needle felted Emperor Penguin, check out my Etsy shop. The one that I made while creating this video is available for adoption.
Step by step instructions
- Create an armature using 18 gauge aluminum wire for the body and 24 gauge craft wire for the toes.
- Wrap the toes with thin strips of black merino wool top.
- Warm Swax and tint it with black powdered pigment. Coat the tip of each toe with the wax mixture and shape the wax into a claw.
- Wrap each toe up to the claws with a thin strip of Elephant wool batt. Build up the foot and lower leg with the same color.
- Wrap the rest of the armature with core wool and felt it in place. Keep building up the core wool to the appropriate shape.
- Cut a short piece of 24 gauge wire for the beak. Bend the wire in half and glue it into the head. Wrap core wool around the base of the beak felt it in place.
- Glue in 5 mm glass eyes.
- Draw the pattern for the penguin’s black “coat” with an air erase marker.
- Wrap and felt the beak with black merino top. Fill in and felt the rest of the the penguin’s “coat” with black merino.
- Fill in and felt the rest of the penguin with white merino.
- Blend a little orange and yellow carded wool together. Felt a thin line of the mixture on either side of the penguin’s beak.
- Felt in thin layers of yellow carded wool to create a tiny gradient on each side of the penguin’s head.
- Draw a flipper pattern on a cardstock scrap and cut it out. Cut two flippers for each side (total of four). Gently felt the two layers together. Felt a thin line of white merino top the lower back edge of each flipper. Trim the edges of the flipper if necessary.
- Attach the flippers to the penguin’s body.
- Touch up the entire penguin with a fine needle and you’re done!
Supplies I used for this project
I have included Amazon affiliate links for some of the items below. This means I may earn a small commission (at no extra cost to you) if you click through and make a purchase. Thank you in advance if you decide to support my work using these links. Doing so helps me continue to create content for you!
- 18 gauge aluminum wire
- 24 gauge craft wire
- Sarafina Digitwidget
- Core Wool Roving
- Elephant Hand Carded Batt
- Dritz Air Erasable Marker
- Black (“Dark”) Extra Fine Merino Top
- White (“Milk”) Extra Fine Merino Top
- Orange Carded Merino
- Yellow Carded Merino
- Black (“Dark”) DHG Merino Prefelt
- Sarafina Swax
- Black Powdered Pigment
- Ranger Wax Melting Pot
- 5mm glass eyes on a wire
- Felting Needles Set of 36 Star, 38 Star, and 40 Spiral (5 of each) in a metal tin
- Small Wool Buddy Felting Mat
- Hot Glue Gun and Mini Glue Sticks
- Silicone Tipped Color Shaper
- Embroidery Scissors
Here’s my finished Emperor Penguin!
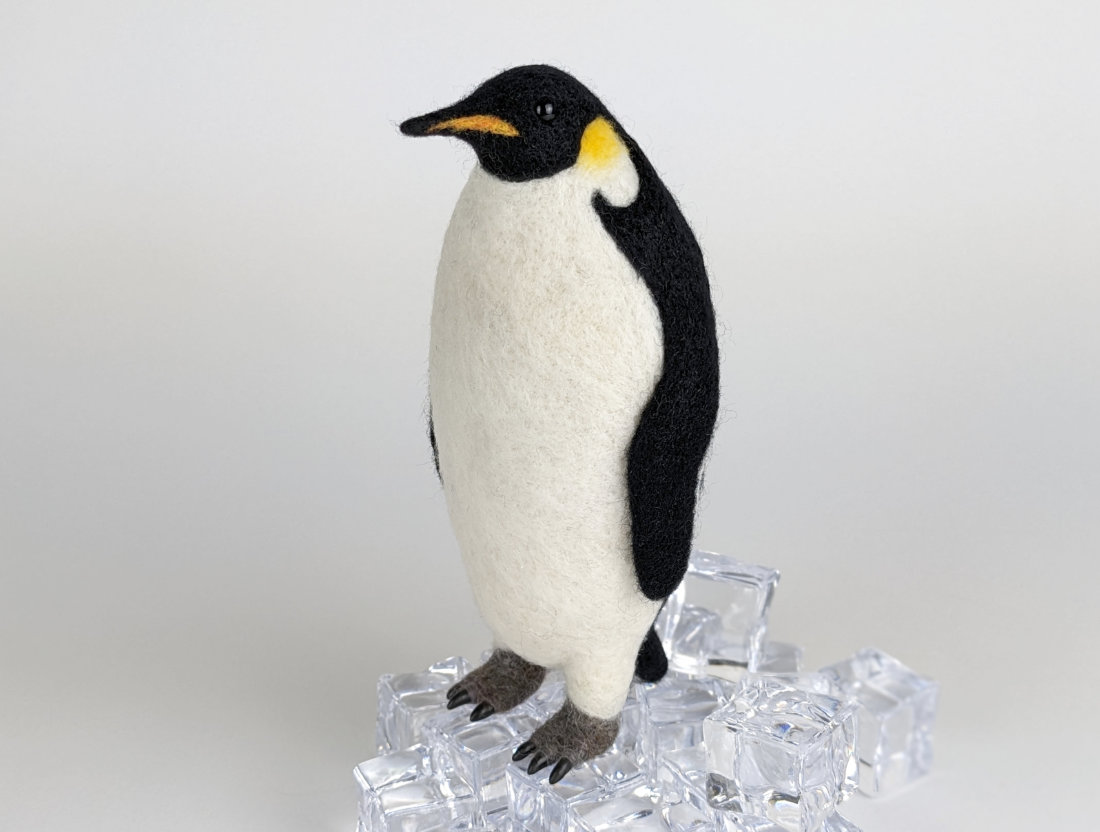
Note: The photos of Emperor Penguins on Snow Hill Island I used in my video are by Denis and Chris Luyten-De Hauwere. The photos are public domain and free to use. Nevertheless, I still want to credit them for their amazing work.
Last Updated on July 23, 2024

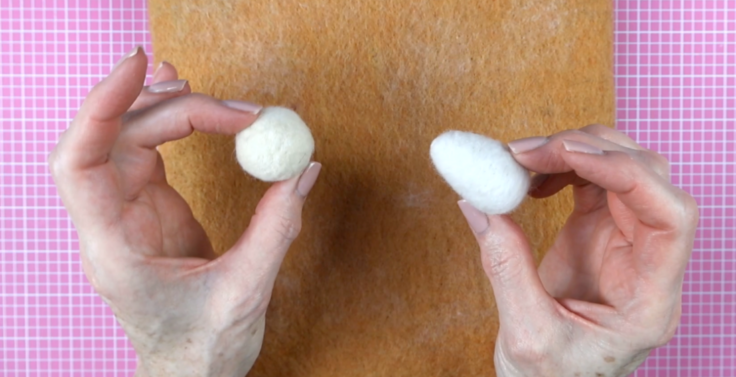 Basic shapes in needle felting: your foundation for fluffy creations (FAQ #5 video)
 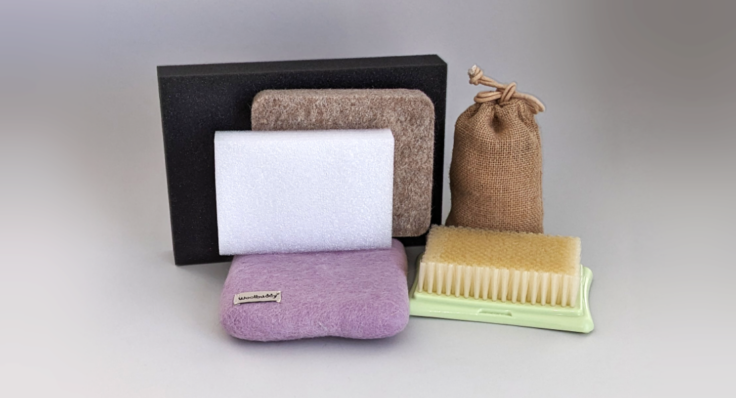 Choosing the right needle felting mat: a comprehensive guide (FAQ #4 video)
 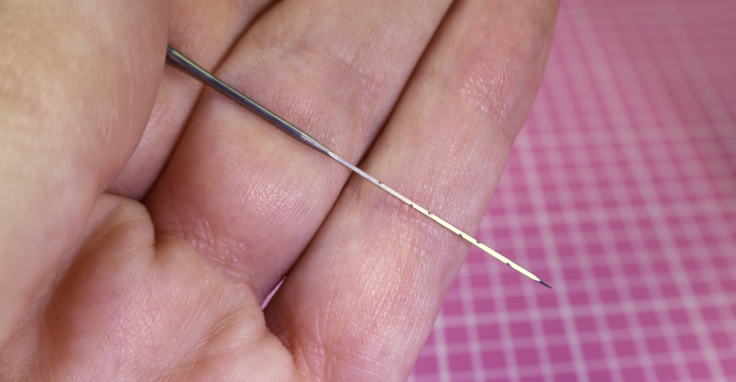 Needle felting needles: a comprehensive guide (FAQ #3 video)
  Ditch the overwhelm: essential needle felting supplies for beginners (FAQ #2)